How to Build a Bean Wigwam with Bamboo Canes
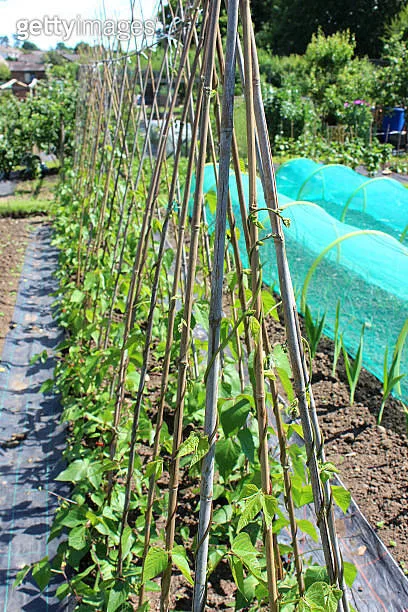
Making a bean wigwam with bamboo canes takes about 30 minutes. Most guides give you a cane count and stop there, which is why so many wigwams end up tipping over in July. Three things make the real difference: the lean angle, the apex lash, and a mid-frame ring tie.
Get those right and the frame will carry a full crop from June through to October.
The good news is this build costs almost nothing. As of 2026, a full set of materials runs under £15 in the UK or about $20 in the US. Here's exactly how to put it together.
Quick Answer
To make a bean wigwam with bamboo canes, use 6 to 8 canes.
Each should be 7 to 8 feet (210 to 240 cm) tall.
Push them into the soil in a circle roughly 70 to 90 cm wide.
Lean the canes inward and lash the tops tightly together.
Add a horizontal ring tie one-third up the frame for stability.
What You Need Before You Start
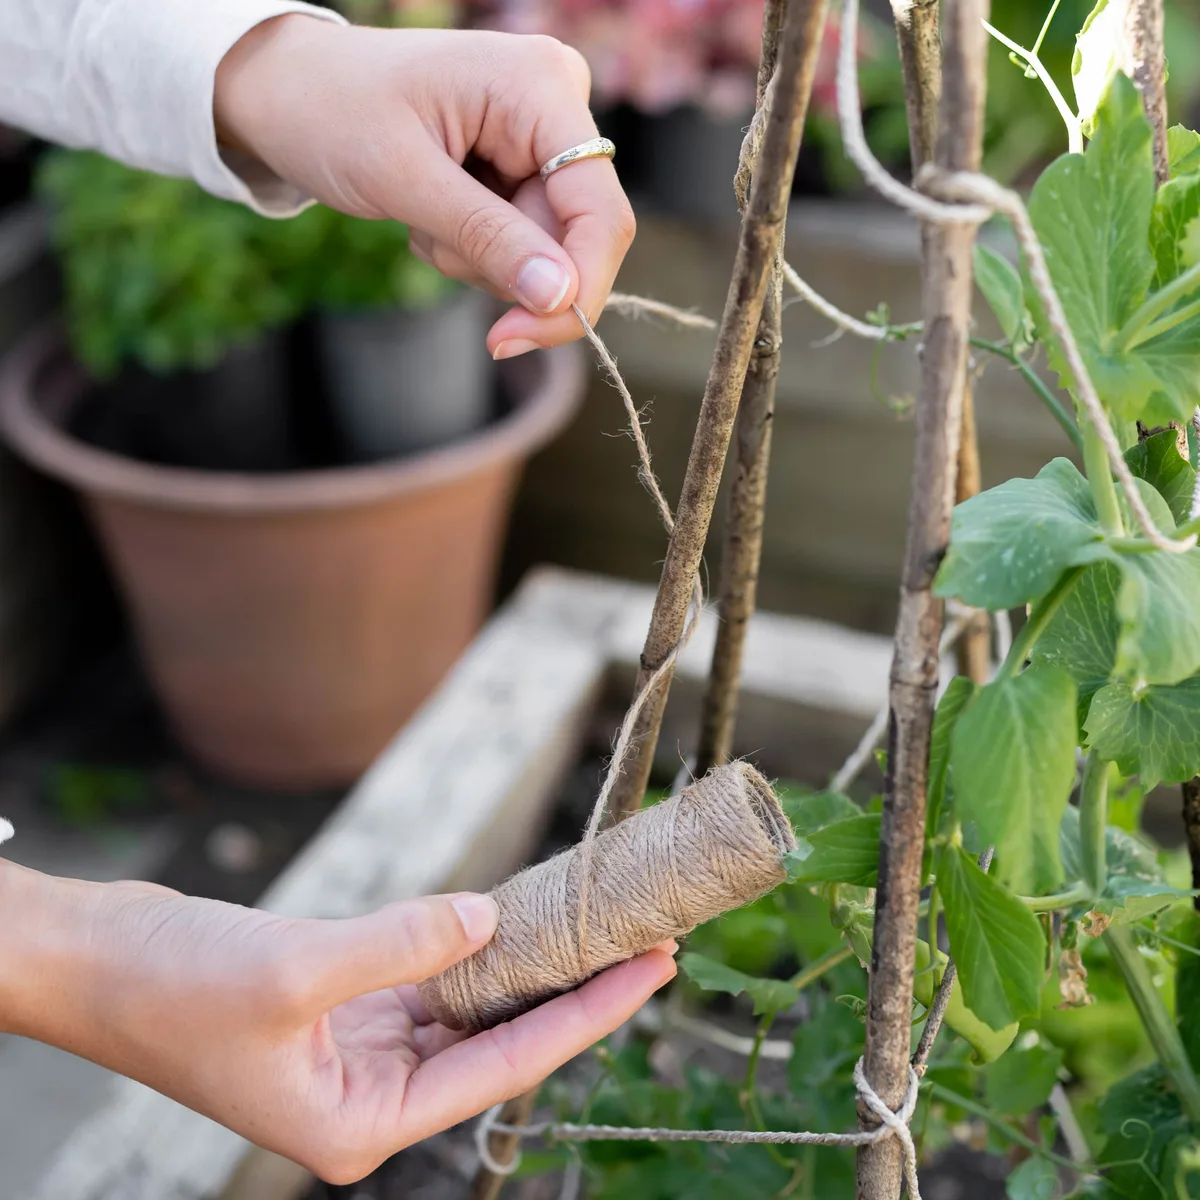
You need three things: bamboo canes, twine, and cane caps. No tools, no hardware, nothing to drill.
Choosing the Right Canes
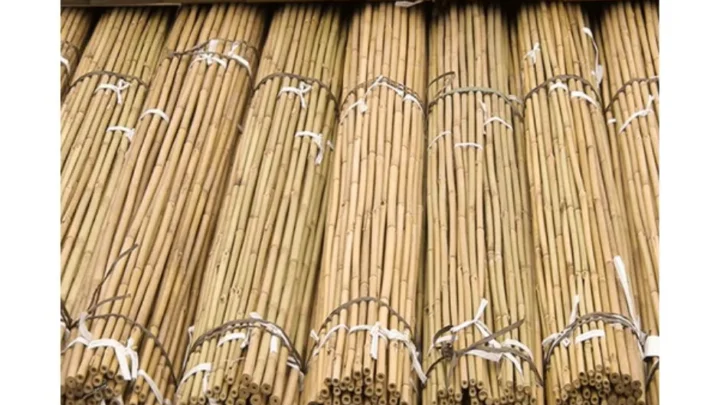
For runner beans, use canes that are 7 to 8 feet (210 to 240 cm) tall. Runner beans reach full height by midsummer, so shorter canes simply don't give them enough room.
Cane diameter matters too. Aim for 25 to 30 mm at the base. Thinner canes (12 to 16 mm) suit sweet peas but will flex and splay under the weight of a mature bean crop.
Buy natural bamboo over coated or dyed alternatives. Natural bamboo grips twine better, lasts 3 to 5 years outdoors with decent storage, and composts cleanly at the end of its life.
What Twine to Use (and What to Avoid)
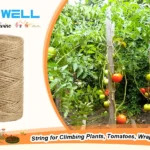
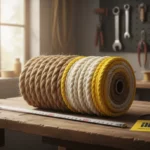
Jute twine is the standard choice. It's strong, biodegradable, and grips bamboo without slipping. Our guide to vegetable-plot twine covers the best weights and grades for this kind of build.
Avoid smooth synthetic twine for the apex lashing. It slides on bamboo under tension, and that's precisely where you need the most grip.
If you're deciding between jute and hemp, this breakdown of natural fibre options explains the differences. Hemp is slightly stronger and more weather-resistant. Jute is softer and easier to handle by hand.
| Material | Spec | Notes |
|---|---|---|
| Bamboo canes | 7–8 ft / 210–240 cm | 25–30 mm diameter at base |
| Twine | Jute or hemp, 3-ply | Natural fibre only, not synthetic |
| Cane caps | Soft rubber or plastic | One per exposed tip |
| Cane count | 6 minimum, 8 ideal | 8 gives better load distribution |
How to Mark Out the Base Circle
This is the step most guides skip, and it's the main reason home-built wigwams end up lopsided.
The base circle sets even spacing between canes. Uneven spacing means one side of the frame carries more load than the other. That's what causes the structure to lean and eventually tip.
Here's how to mark it without any special tools:
- Push a short stick into the center of where you want the wigwam to stand.
- Tie a length of string to it, measured to half your target diameter (35 to 45 cm for a 70 to 90 cm circle).
- Pull the string taut and trace a circle in the soil.
- Mark cane positions evenly around the circle: every 60 degrees for 6 canes, every 45 degrees for 8.
Walk the circle and count your marks before inserting anything. Two minutes now prevents a crooked frame you'll be adjusting all season.
For raised beds, a 60 to 70 cm base diameter fits comfortably within a standard 1m square bed and still leaves planting space at each cane position.
How to Build a Bean Wigwam with Bamboo Canes
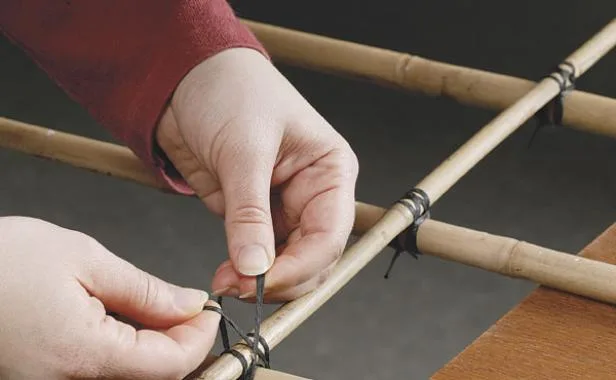
With your circle marked, the build moves quickly. Most gardeners finish the whole frame in 20 to 30 minutes.
Step 1: Push and Space the Canes
Insert each cane at your marked positions, pushing 15 to 20 cm (6 to 8 inches) into the soil. In loose or sandy ground, go to 25 cm.
Angle each cane inward as you insert it, leaning toward the center. Aim for roughly 70 to 75 degrees from horizontal. Think of it as almost upright, tilted just enough to meet the other canes at the top.
Leave the canes slightly loose at this stage. You'll adjust the lean once you gather the tops.
Step 2: Gather and Lash the Apex
Bring all the cane tops together with one hand. They should overlap by at least 30 cm (12 inches) to give the joint enough grip area.
Start with a clove hitch knot around the whole bundle. Wrap the twine in a tight figure-of-eight pattern between and around the canes, working down the bundle for 10 to 15 cm. Finish with a reef knot pulled firm.
This is the most critical joint in the structure. For exposed or windy gardens, a heavier-grade natural twine at the apex adds real holding strength under a full-crop load.
Step 3: Add a Mid-Frame Ring Tie
Tie a horizontal length of twine around all the canes at roughly one-third of the total height. On a 240 cm wigwam, that's about 70 to 80 cm from the ground.
Wrap it around each cane in turn and tie off firmly. This ring tie stops the lower canes splaying outward as beans grow heavier. It also gives young plants something to grab onto in their first weeks.
Step 4: Cap the Tips
Fit a rubber or plastic cane cap onto every exposed tip. Cane tops at face height are a genuine eye-level hazard, particularly in family gardens. The Royal Horticultural Society consistently highlights cane tip injuries as one of the most preventable common garden accidents.
What a Strong Wigwam Looks Like, and the Red Flags to Watch For
Once the frame is up, step back and assess it from two angles.
From the side, the canes should form a clean, even cone. No single cane should lean noticeably further in or out than the rest. If one is misaligned, adjust it now before the soil firms up around the base.
From above, the base circle should look even. Equal gaps between every cane. If two canes are bunched close together, that side of the frame is carrying uneven stress.
Give the structure a firm sideways push. It should resist without shifting at the base. If canes pull out of the ground, they need to go deeper.
Three markers tell you the frame is genuinely solid:
- The apex bundle doesn't twist or slip when pulled.
- The base canes don't splay under hand pressure.
- The ring tie sits flush around all canes with no slack sections.
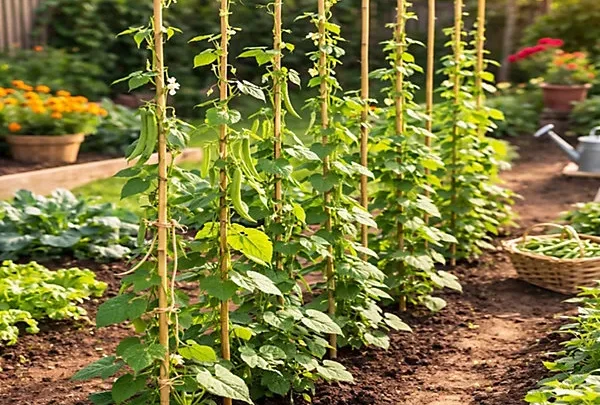
One thing photos often fail to show: a correctly built wigwam looks almost vertical when finished. If yours looks like a wide, shallow teepee, the base circle is too large or the canes aren't deep enough.
Common Mistakes That Lead to Wigwam Collapse
Most wigwam failures trace back to a handful of fixable problems.
Canes not deep enough. Fifteen centimetres is the minimum. After heavy rain, shallow canes rock at the base and eventually fall. In soft soil, go to 25 cm.
Uneven base spacing. Two canes grouped close together creates a weak panel. The frame tips toward it once the crop adds weight. Mark the circle properly from the start.
Poor apex lashing. A single wrap of twine is not enough. Without a figure-of-eight lash, canes shift against each other and the joint loosens within weeks. Work at least 10 cm down the bundle before tying off.
Wrong twine. Smooth synthetic twine slides on bamboo. By August the apex can loosen enough for the frame to rock. Use a textured natural twine that grips the surface.
Hemp twine is worth considering for heavier-load or exposed setups.
Skipping the ring tie. Without it, mature bean plants gradually pull the lower canes outward. The frame handles vertical load well. Lateral stress from a heavy crop will eventually win.
Planting and Training Your Beans on the Frame
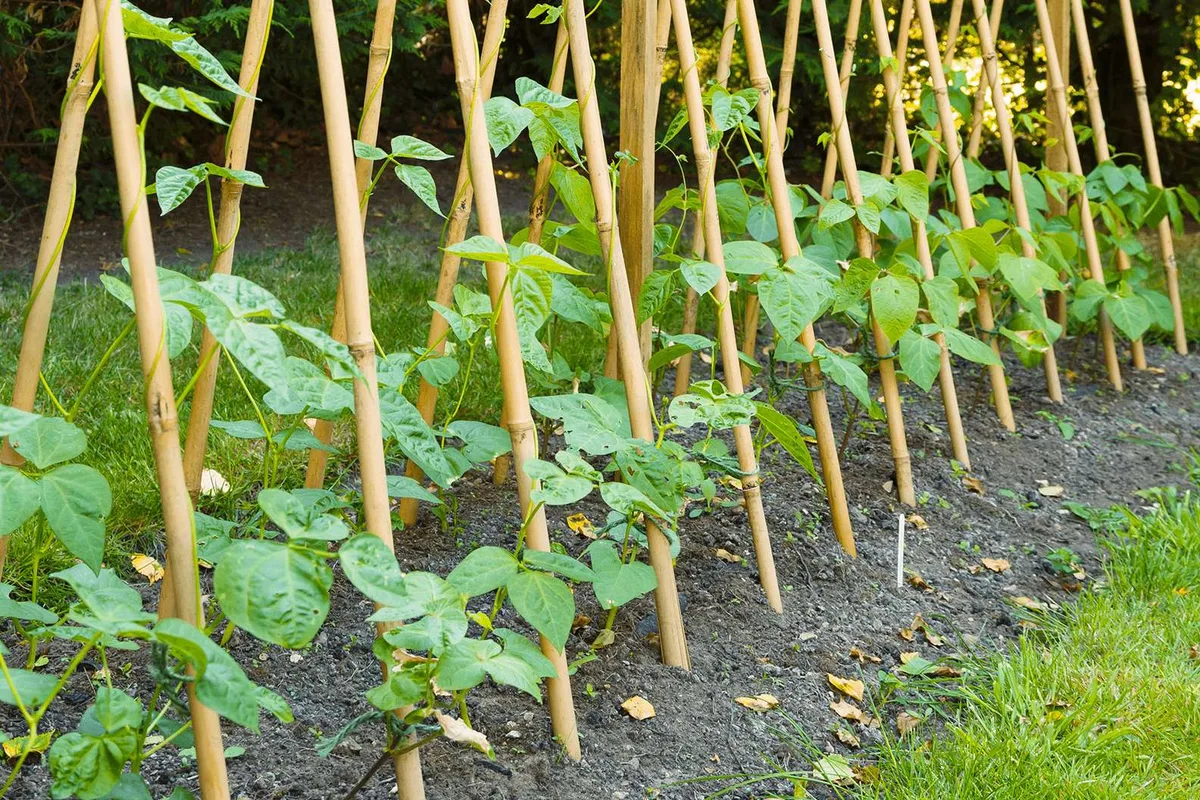
Wait until after the last frost before sowing or planting out. In the UK, that's typically mid-May. In the US, university extension guidance recommends waiting until soil temperatures are consistently above 12°C (54°F).
Runner beans are frost-tender, and a cold snap will kill young seedlings overnight.
Sow one seed per cane position, about 5 cm (2 inches) deep at the base of each cane. You can direct-sow outdoors or start seeds indoors two weeks earlier and transplant.
Germination takes 7 to 14 days in warm soil. Once seedlings reach 10 to 15 cm tall, they start searching for something to climb. The canes are the obvious target, but young plants often miss them in the first few days.
Tie a loose length of plant-safe garden twine from the base of each cane diagonally up to the ring tie. This gives seedlings a clear guide path. Check every few days in the first two weeks and gently wind any wandering shoots around the nearest cane by hand.
Once they find the cane, runner beans climb fast and don't need re-tying. Harvest every two to three days from midsummer onward to keep the crop producing until the first frosts.
Frequently Asked Questions
How many bamboo canes do you need for a bean wigwam?
Six canes is the minimum for a stable frame. Eight canes are better: they spread the crop load more evenly and improve airflow between plants. For a standard home garden or allotment plot, 8 canes in a 70 to 90 cm base circle is the most reliable setup.
How deep should bamboo canes be pushed into the ground?
Push each cane at least 15 to 20 cm (6 to 8 inches) into the soil. In loose or recently dug ground, go to 25 cm. Shallow canes are the most common reason wigwams tip after heavy rain, so always push deeper than feels necessary.
What is the best knot for tying the apex of a bean wigwam?
Start with a clove hitch to anchor the twine. Then work a figure-of-eight wrap around and between the canes for 10 to 15 cm. Finish with a reef knot pulled firm.
This combination locks the bundle without slipping, even under the weight of a full late-summer crop.
Can bamboo canes be reused the following season?
Yes. After the final harvest, cut the twine and pull the canes from the ground. Wipe off any soil and store them bundled flat in a dry shed.
Natural bamboo stored this way lasts 3 to 5 years before splitting or softening becomes a problem.
Do bean wigwams need any maintenance during the growing season?
Very little. Check the ring tie after any heavy wind and re-tighten if needed. Firm the soil around each cane base after prolonged rain.
Beyond those two things, a soundly built wigwam is largely self-managing for the whole season.

Similar Posts