How to Make a Rope Handrail for Your Garden Steps
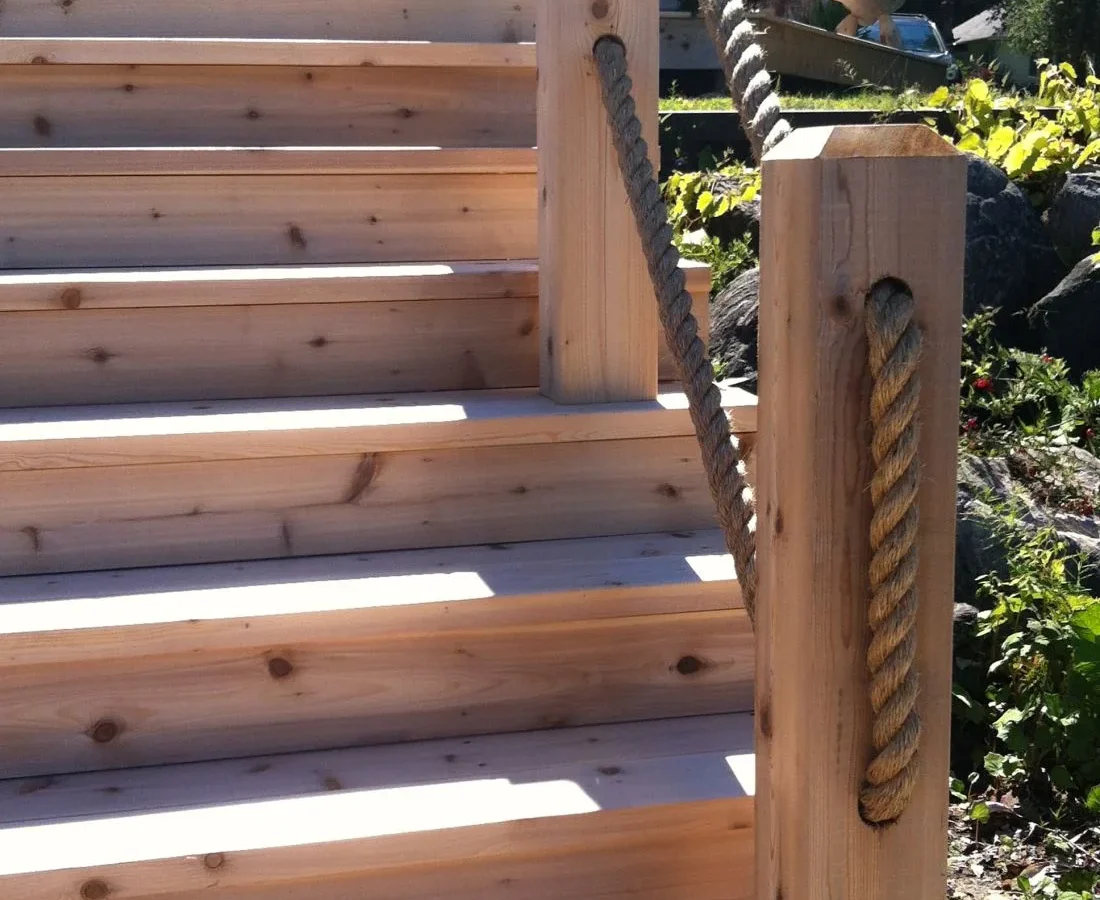
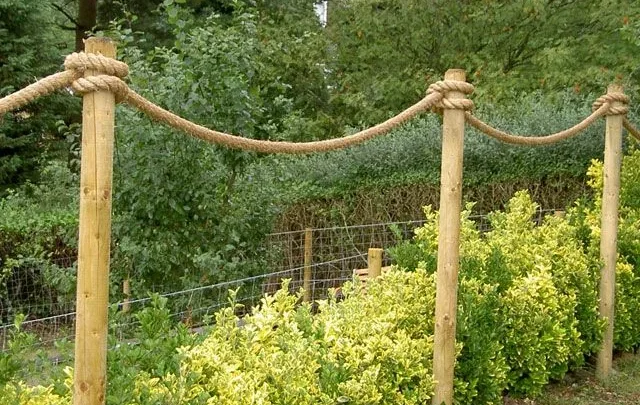
Knowing how to make a rope handrail for the garden is one of those practical skills that adds real safety to steps and paths you use every day. It costs a fraction of a timber balustrade, blends naturally into almost any garden style, and you don't need specialist trades to do it. With the right posts, the right rope, and a few solid knots, you can build something that holds firm and weathers the seasons.
UK Building Regulations Approved Document K sets the minimum handrail height at 900mm above a step nosing, and that's the spec worth following even on a domestic garden project. A rope properly tensioned and fixed into well-set posts handles the grip loads of daily use. Here's how to get it right, from post setting to the final knot.
Quick Answer
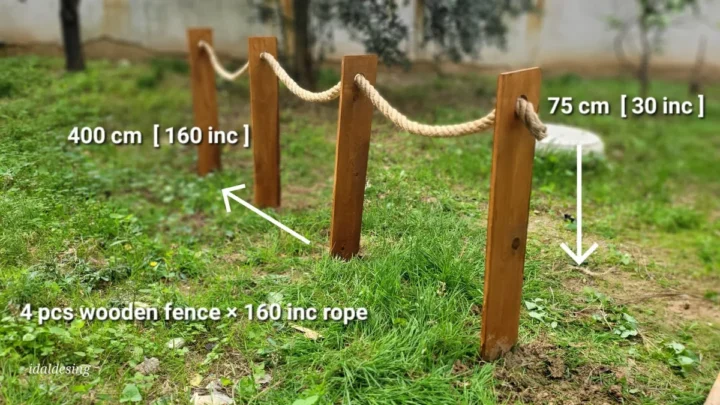
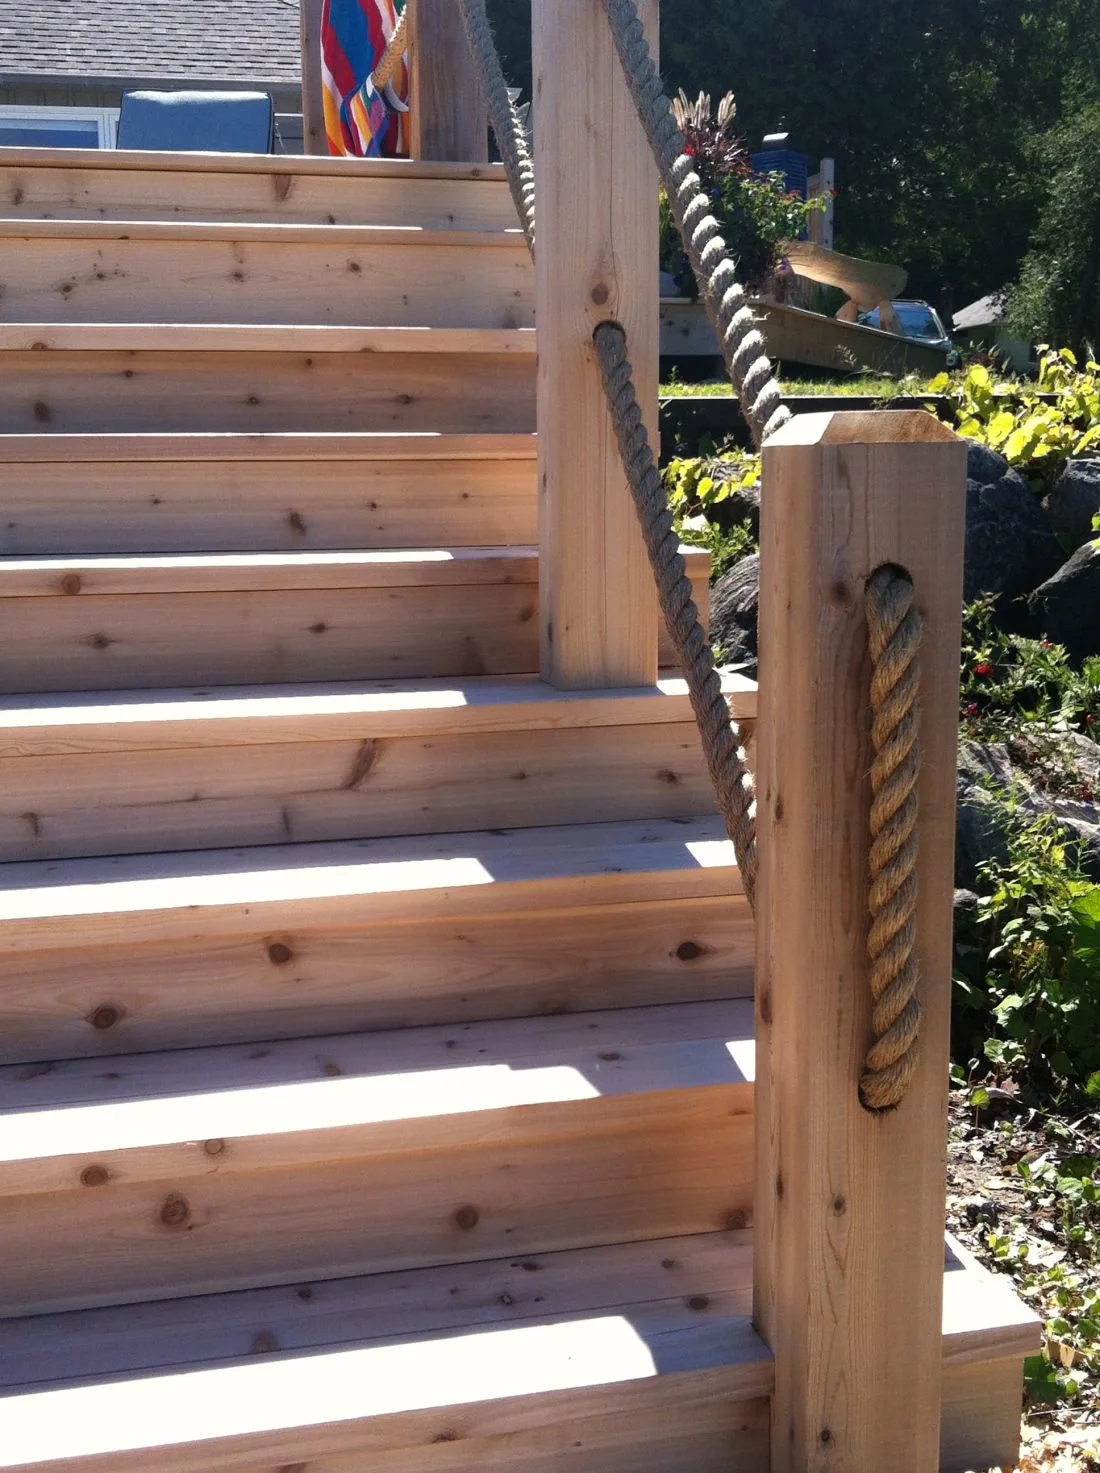
Making a rope handrail for the garden means setting timber posts, threading a 32mm to 40mm rope (usually manila or polyester), and securing it with load-bearing knots. Set posts 450mm to 600mm into the ground. Space them 1.2m to 1.5m apart.
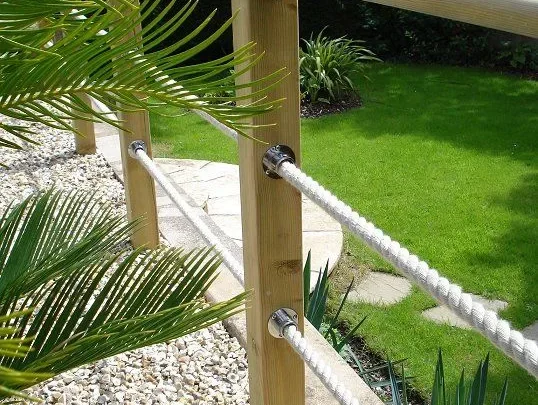
Use eyebolts for a clean rope run. Most garden step runs take a weekend to complete.
What a Garden Rope Handrail Can and Can't Do Safely
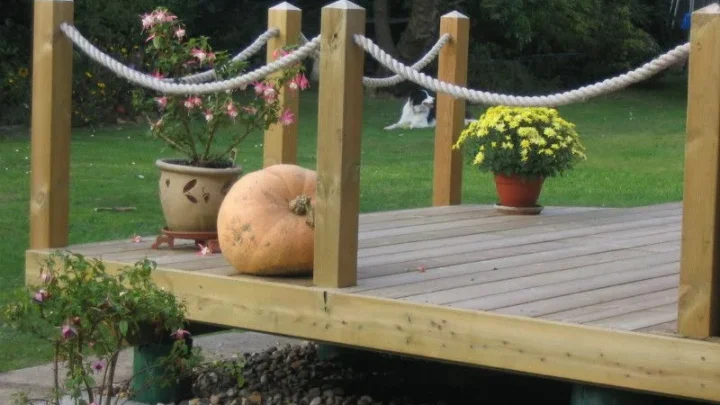
A rope handrail works well on garden steps, sloped paths, and shallow terraced drops where you need something to grip as you move up or down. It's not a guard rail. If someone could fall more than 600mm from the edge of your path, building regulations require a proper structural balustrade, not a rope between posts.
For most domestic gardens, a rope set at 900mm to 1,000mm above the step nosing is exactly right. That height follows the guidance in Approved Document K, the UK government's standard for stairs, ramps, and guards. Most homeowners don't need planning permission for a garden handrail, but building to the spec is still the right call.
A rope handrail needs to handle lateral force: a person gripping and leaning as they descend. That equates to a sustained sideways push of roughly 35kg to 74kg per metre of rail. A properly tensioned 36mm manila rope, fixed into sound posts and tied with load-bearing knots, handles that without issue.
When rope works, and when you need something more
Rope rails suit garden steps, sloped lawn paths, allotment terraces, and period or rural properties where metal fittings look out of place. They don't suit unfenced drops, pool surrounds, or high-traffic routes used regularly by young children or anyone who needs a fixed, rigid support.
The test is simple: could someone fall further than waist height if the rail gave way? If yes, a fixed timber or metal structure is the right answer.
What to Buy Before You Start: Posts, Rope, and Fixings
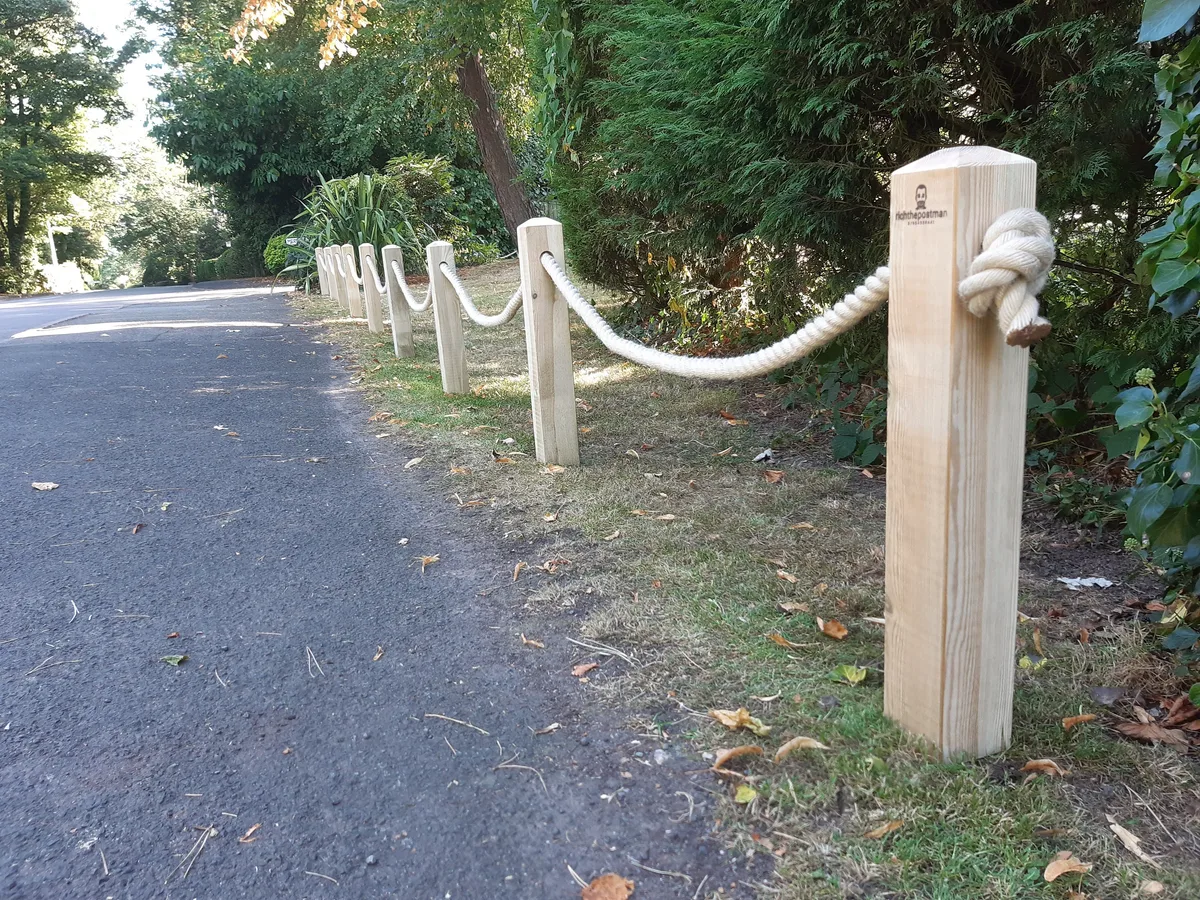
The materials list is short. For a typical 3m to 4m run with three or four posts, here's what you'll need:
| Item | Spec | Notes |
|---|---|---|
| Timber posts | 75x75mm or 100x100mm, pressure-treated | Minimum 1.5m length |
| Rope | 32mm to 40mm diameter | Manila or polyester |
| Eyebolts | M10, galvanised or stainless, load-rated | One per intermediate post |
| Postcrete | Fast-set, one 20kg bag per hole | Easiest for DIY |
| Post caps | Matching post width | Protects end grain |
| Exterior preservative | Brush-on type | For all cut surfaces |
For tools, you'll need a post hole digger, a spirit level, a drill with a 40mm wood bit, a mallet, and a sharp knife or heat gun for rope ends.
Choosing the right rope: manila, sisal, and synthetic compared
| Rope type | Weather durability | Grip feel | Outdoor lifespan |
|---|---|---|---|
| Manila | Good, softens after wet winters | Natural, warm | 3 to 5 years |
| Sisal | Fair, slippery when wet | Rough, fibrous | 2 to 4 years |
| Polyester | Excellent, rot-resistant | Smooth | 10 years or more |
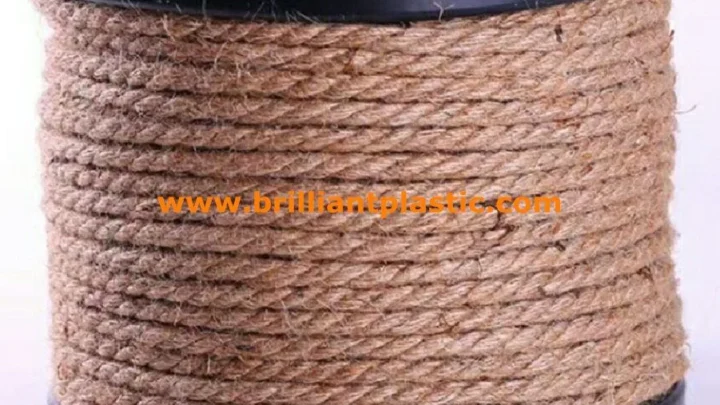
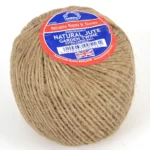
Manila is the traditional choice. It shares the natural fibre warmth you'd find in thicker hemp-based garden rope products, and it weathers to an attractive silver-grey. For a rustic or period garden, it's hard to beat on looks.
As of 2026, 40mm manila rope is widely available from chandlery suppliers and builders merchants for under £2 per metre.
Polyester lasts longer and doesn't rot, but it looks noticeably modern. If longevity matters more than aesthetics, it's the practical call.
Sisal should be avoided for handrails. It absorbs moisture, becomes slippery when wet, and degrades faster than either alternative. Jute cordage and sisal serve plant support and lighter garden tasks well.
For a rail you'll put your weight on, choose something more robust.
How to Set Timber Posts That Won't Lean or Work Loose
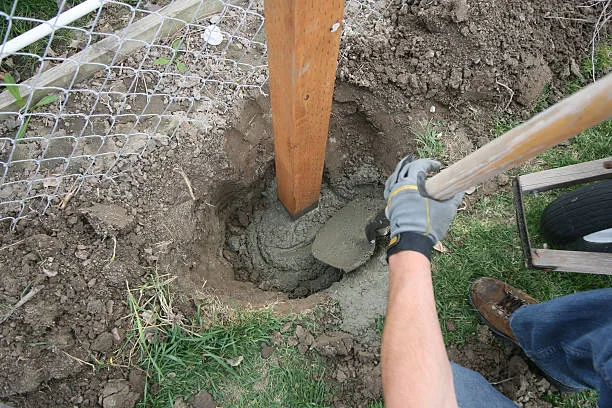
Post setting determines whether your handrail stays firm for five years or starts leaning after the first wet winter. Get this stage right, and everything else follows.
Mark your post positions before you dig. Space intermediate posts no more than 1.5m apart along the rail line. Set end posts at least 150mm beyond the top and bottom of the step run, giving the rope a clean anchor point off the stair line.
Dig each hole to a minimum of 600mm. In soft or clay-heavy soil, go to 700mm. Pour 50mm of gravel into the base of each hole before setting the post: this prevents water sitting against the timber base, even in pressure-treated wood.
Setting posts in Postcrete and getting them plumb
Drop the post in, pour Postcrete dry around it, then add cold water following the pack instructions. It begins setting within minutes, so work post by post rather than digging all your holes at once.
Hold each post plumb on two adjacent faces with a spirit level. Check the finished height at the same time: post tops should sit at 900mm to 1,000mm above the highest adjacent step nosing. Adjust before the Postcrete grabs.
Leave it to cure for at least 24 hours before loading any rope.
How to Thread, Knot, and Tension the Rope
With posts cured and standing plumb, drill a 40mm to 45mm hole through each intermediate post at handrail height. Fitting an M10 eyebolt into each intermediate post gives a cleaner result: the rope threads through the eye and bears against metal rather than raw timber, which reduces wear over time.
Preparing your rope ends
Before threading, finish the rope ends. For synthetic rope, a brief pass with a heat gun melts the fibres together cleanly. For manila, wrap 20mm of natural whipping twine tightly around each end.
This keeps the fibres bound while you work and prevents the terminal knot from slipping.
Tying off at the anchor posts
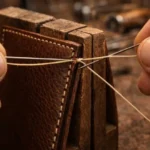
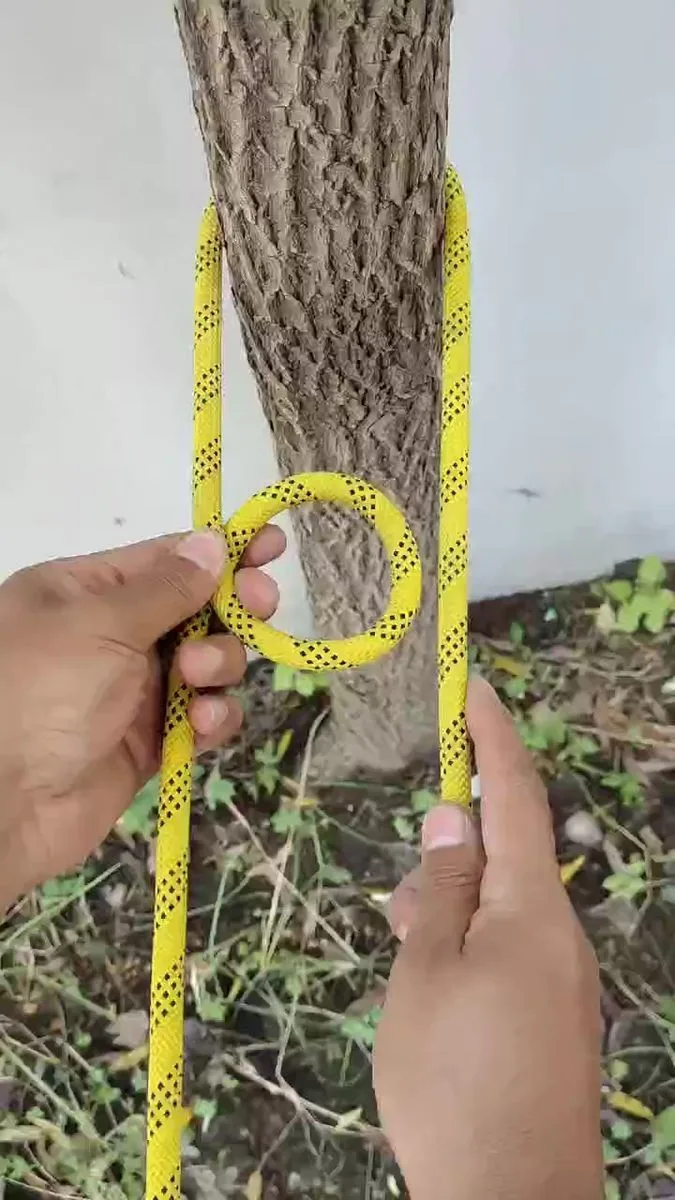
At your first anchor post, thread the rope through the hole or eyebolt and tie a figure-eight stopper knot on the far side. Pull it tight against the post face. The rope cannot pull back through under load.
Thread the rope through each intermediate eyebolt in turn, then run it to the final anchor post. Pull the rope taut by hand and tie a bowline at the terminal end. A bowline forms a fixed loop that won't slip under load and can be untied cleanly if the rope ever needs replacing.
Correct tension leaves 25mm to 40mm of natural droop midspan between posts. More than 50mm of sag means re-tensioning is needed, or your post spacing is too wide.
Five Mistakes That Make Rope Handrails Fail
Posts set too shallow. Less than 450mm of burial in soft ground and the post rocks under lateral load. The target is 600mm minimum, and 700mm in clay or soft soil.
Using sisal for a gripped rail. Sisal absorbs moisture and loses its texture when wet. For lightweight plant-support cordage it's a solid choice. For a handrail you'll lean on, it's not.
Slip knots at terminal posts. Any knot relying on friction alone will creep under repeated load. A bowline or figure-eight with a locking half-hitch is the minimum at every anchor point.
Skipping preservative on cut ends. Sawn timber wicks moisture fast through end grain. Brush exterior wood preservative onto every cut surface before installation, and treat the inside of any drilled holes too. Even heavier-grade natural fibre rope can trap moisture against bare timber at contact points, accelerating rot around eyebolts and post holes.
Posts out of plumb. A leaning post transfers rope tension at an angle, putting shear stress on the concrete footing rather than compressive load. Over one season it works loose. Check two adjacent faces with a spirit level before the Postcrete sets, every time.
How to Keep It Looking Good and Gripping Strong
A rope handrail needs far less maintenance than a painted metal rail, but a quick annual check keeps it safe. Pull the rope by hand along its full length to feel for soft spots, fraying, or sections that have lost tension. A rope that feels noticeably softer in one area has begun to degrade internally and needs replacing.
Re-tension the rope each spring if it's sagged beyond 50mm midspan. This usually means untying the bowline at the terminal post, pulling it a fraction tighter, and retying. Manila stretches slightly over its first winter, so some spring adjustment after the first season is expected.
Check post tops annually for splitting and water penetration. If the end grain is darkening or a post cap has lifted, apply a fresh coat of exterior wood preservative and reseat the cap. Per HSE guidance on outdoor safety, routine visual inspection of garden handrails is standard good practice.
When the rope needs replacing, the posts and eyebolts almost always carry over, which keeps costs low. Checking the full range of natural garden cordage lets you compare materials and fibre weights before you buy.
Frequently Asked Questions
How long does a rope handrail last outdoors?
Manila rope lasts 3 to 5 years in a UK garden before UV exposure and moisture reduce its grip and strength. Polyester rope extends that to 10 years or more. Pressure-treated timber posts, maintained with annual preservative, typically last 15 to 20 years before needing replacement.
What diameter rope is best for a garden handrail?
32mm to 40mm is the standard range for a gripped handrail. Anything below 30mm is hard to hold firmly, especially with wet hands. Anything much above 40mm is uncomfortable to wrap a hand around for most adults. 36mm is the most commonly used size for domestic rope handrail builds.
Do I need planning permission for a garden rope handrail?
In most cases, no. A rope handrail on domestic garden steps or a path falls under permitted development in England and Wales. If your property is listed or sits within a conservation area, check with your local planning authority first.
Building to the height and load specs in Approved Document K is always worth doing regardless.
How far apart should the posts be?
Space posts no more than 1.5m apart. Wider spacing allows too much sag and reduces lateral stiffness under load. For a short run of 3 to 4 metres, three posts (one at each end plus one midway) is usually enough.
Longer runs need an intermediate post every 1.2m to 1.5m.

Similar Posts