How to Anchor Garden Netting Firmly to the Ground
Founder & Lead Horticulturist at Gardener Expert · RHS Master of Horticulture, Certified Professional Horticulturist (CPH) · 16+ years in residential organic gardening, plant propagation, and structural plant training
Knowing how to secure garden netting to the ground is one of those jobs that looks simple until a fox lifts the edge overnight and your crops are gone. The principle is straightforward. Pin every edge firmly enough to keep pests out and hold through wind.
Done right, it holds for a full growing season.
What makes the difference is matching your method to your actual conditions. Research into common garden pest failures consistently shows that netting collapses at the edges, not through the mesh itself. Galvanized U-pins every 30 to 50cm is the standard starting point.
But soil type, pest pressure, and surface conditions all change what you actually need.
Quick Answer
Securing garden netting to the ground starts with galvanized U-pins. Space them every 30 to 50cm along the perimeter. Angle each peg outward at 45 degrees for a stronger grip.
For rabbit exclusion, use the buried apron method instead. On hard surfaces, place sandbags or weighted timber along the edge.
Why Garden Netting Fails at the Edges (And How to Stop It)
Most gardeners lay the netting correctly and then leave the edges loose. That's where the failure starts. A rabbit doesn't chew through mesh.
It noses under a gap at a corner.
Wood pigeons don't fly over netting either. They find slack edges and walk straight in. The entry point is almost always at the perimeter, not through the mesh itself.
The three most common failure modes are spacing anchors too far apart, using pegs that are too short for the soil, and leaving corners unsecured while only pinning the long sides. Corners lift first. On a 3-metre bed, one corner gap is enough for most pests to push through.
At least one section of most gardens will have drier or harder ground than the rest. A peg that grips well in moist April loam may barely hold in the same spot by August, when the soil has cracked and dried. That seasonal shift accounts for a lot of mid-season failures.
Wind is the other underestimated factor. Allotment gardener feedback and horticultural advisory reports consistently flag edge lift as the leading cause of netting displacement. On exposed sites, aim for anchor spacing of 20cm rather than the standard 40 to 50cm.
Know your weakest point before you start: usually a corner, a panel join, or a low hollow in the ground. Fix that spot first.
The Four Variables That Decide Your Securing Method
Four things determine which method will actually hold in your garden. Get these clear before you buy any materials.
Soil type
Soft, moist loam holds standard 150mm galvanized U-pins well. Sandy or dry soil needs longer pegs (200 to 300mm) because grip is weaker. Compacted clay or stony ground may not accept pegs at all, which means weights are the only practical option.
Pest type
Birds need the edge pinned flat so they can't walk under a loose flap. Rabbits are a different problem entirely. They push with their noses and will dig if there's any ground-level gap.
Surface pinning alone won't stop determined rabbits without a buried apron.
Netting weight and mesh size
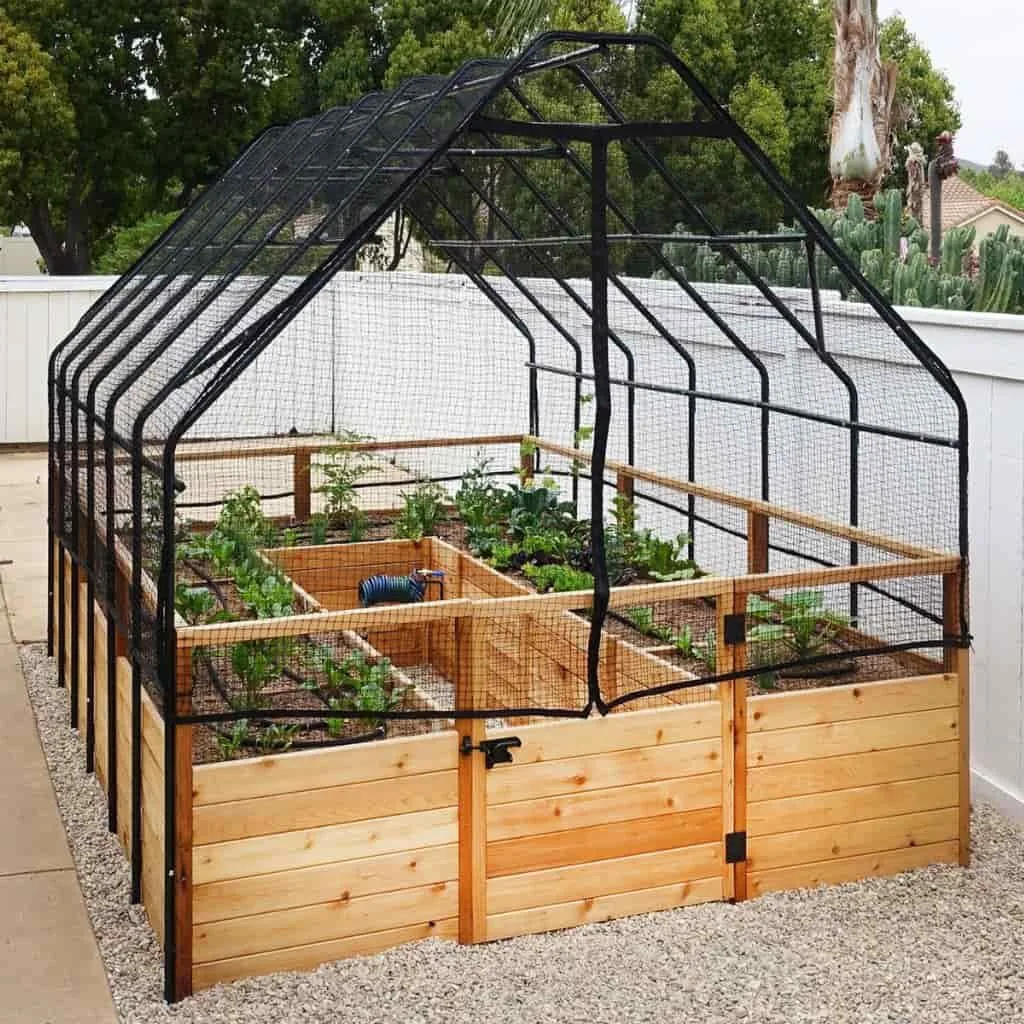
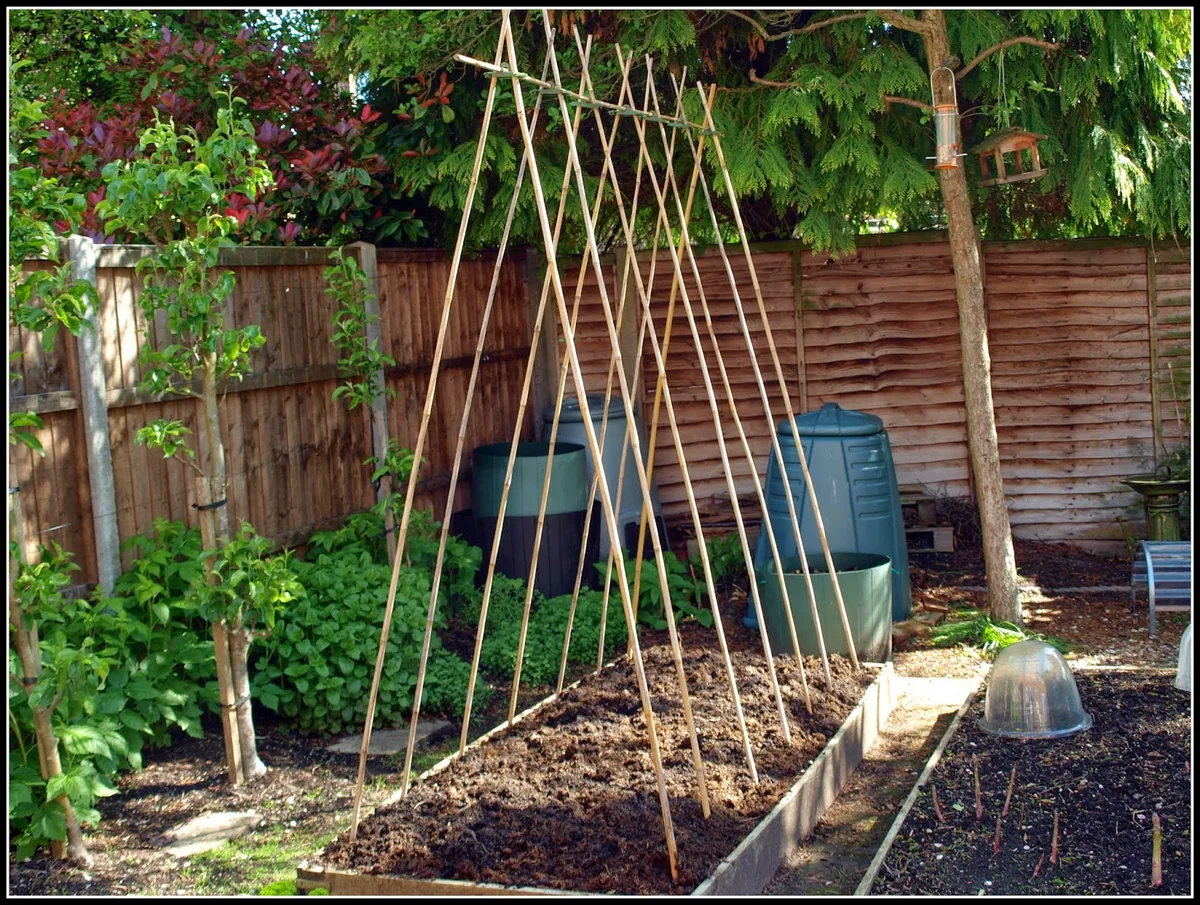
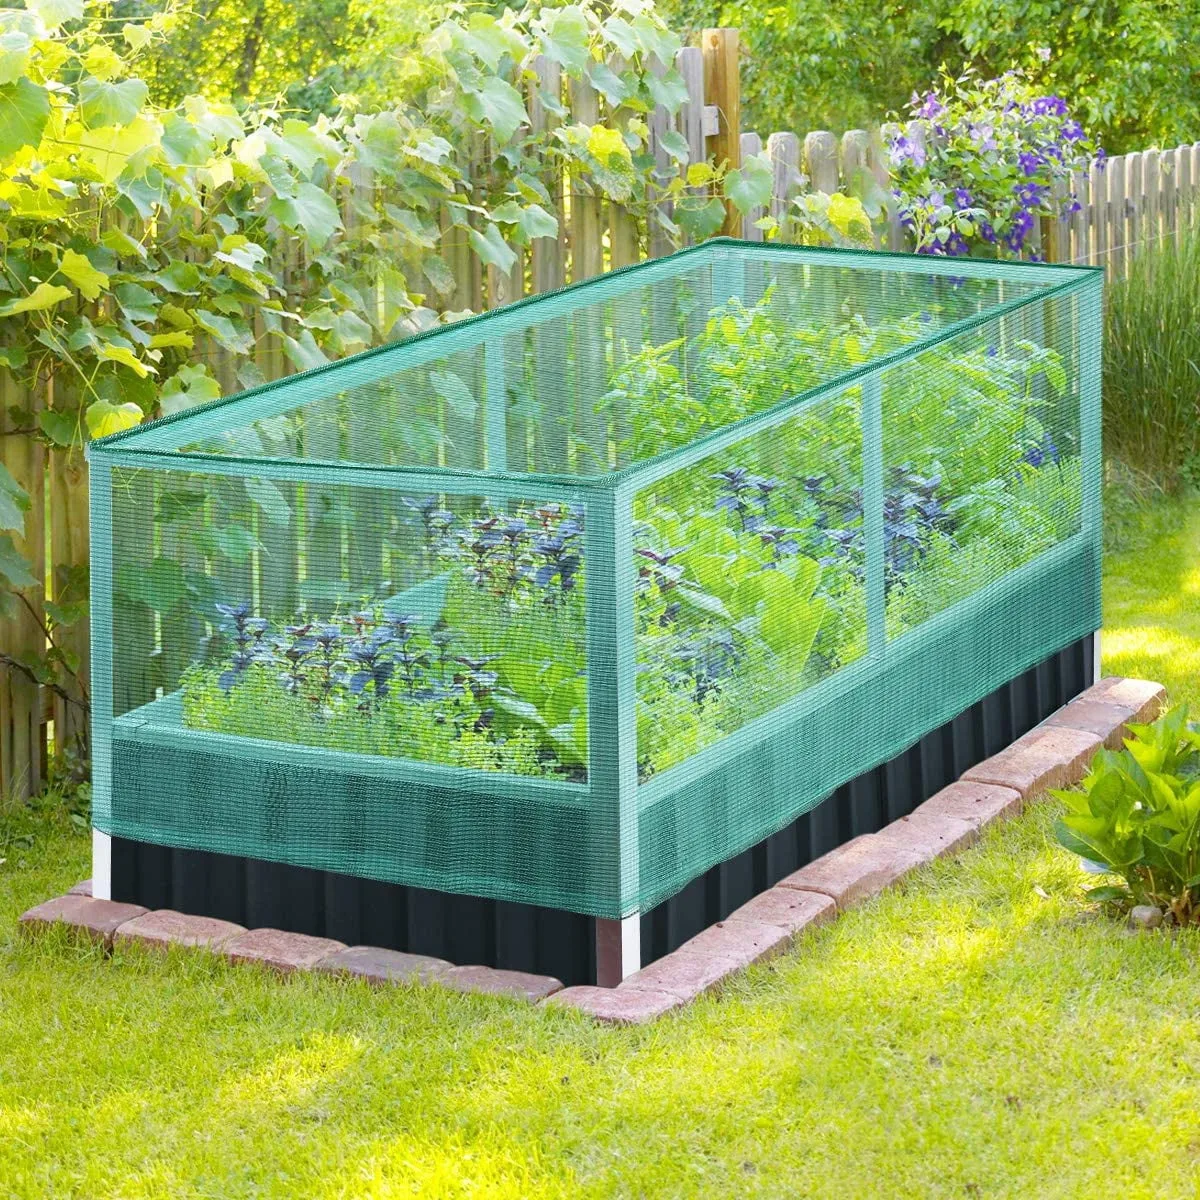
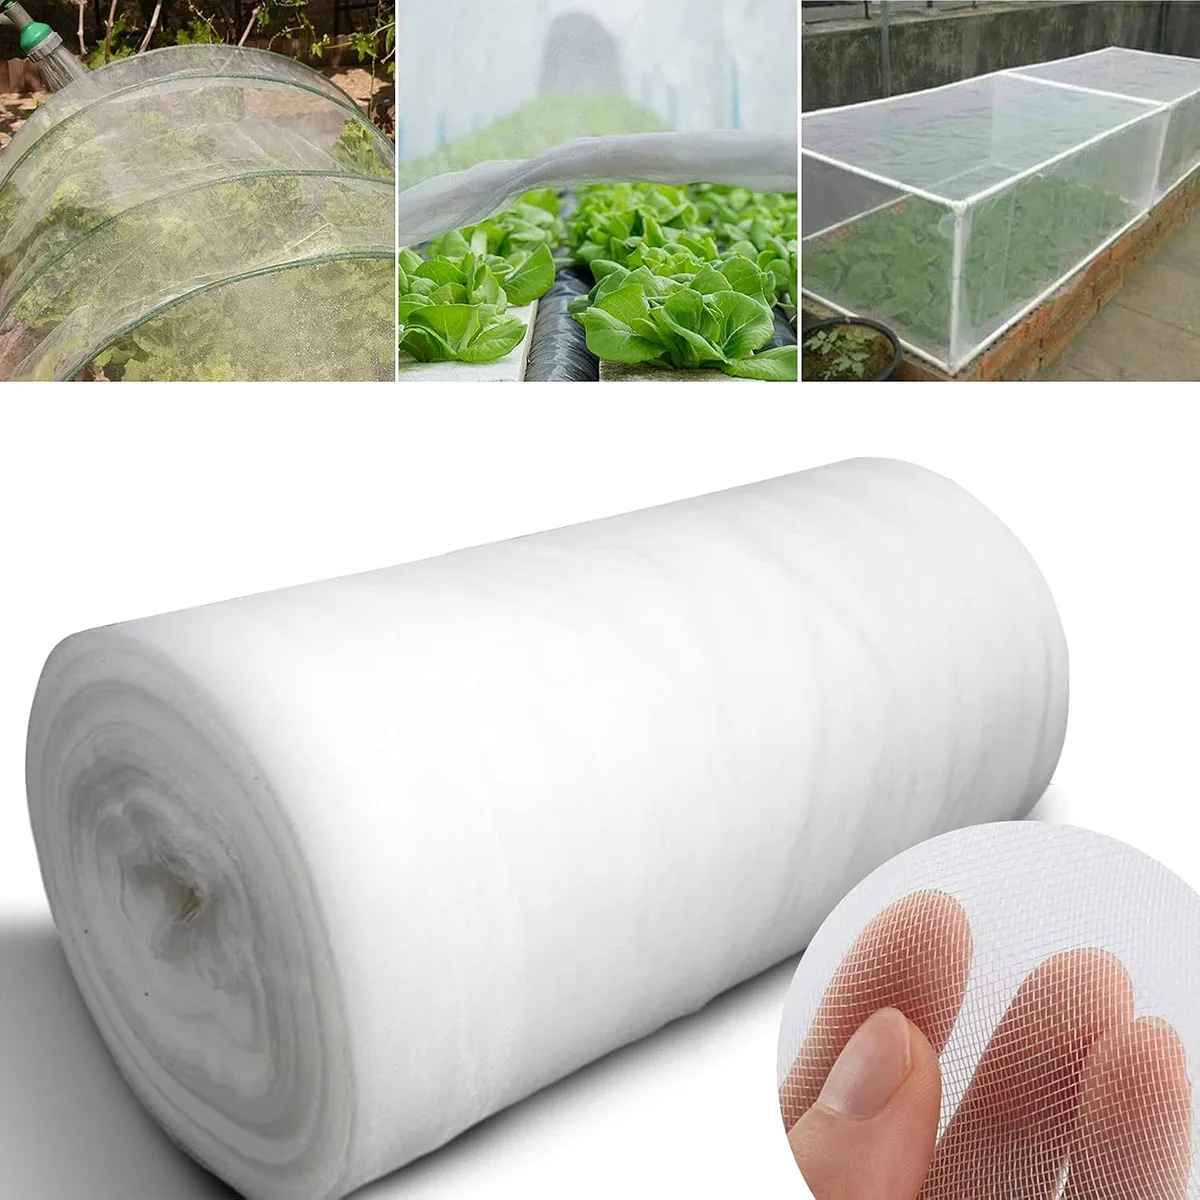
As of 2026, most commercial horticultural netting is polypropylene-based: 13 to 19mm mesh for bird exclusion, 25mm for adult rabbits. Lightweight mesh flaps in wind and tears easily at single pin points. When tying the netting to bamboo cane frame supports before pinning, hemp plant ties hold far better than cheap synthetic string.
Synthetic string degrades in UV and snaps by midsummer.
Surface condition
This is the variable most gardeners skip planning for. If any section of your perimeter runs over gravel, paving, or compacted hardcore, pegs won't grip. Plan for weights on those sections from the start.
Choosing the Right Method for Your Situation
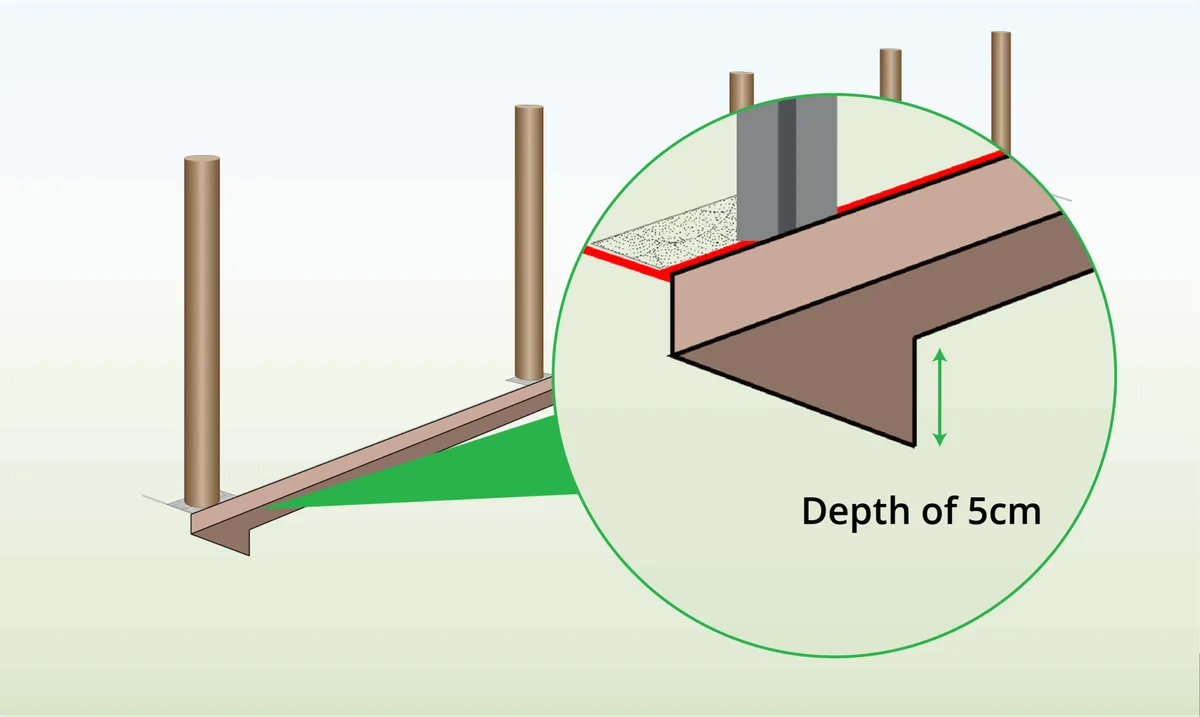
Find your situation below and follow the branch that fits.
Soft or loamy soil: U-pins and galvanized ground staples
Drive 150mm galvanized U-pins through the netting edge at a 45-degree outward angle. Space them every 30 to 40cm on straight runs and every 15cm around corners. For lightweight netting, fold a 5cm strip of edge back on itself before pinning.
This prevents the peg head from pulling through the mesh.
Sandy, loose, or dry soil: longer pegs and double-pinning
Use 200 to 300mm pegs and drive two into the same spot in a V-shape for extra hold. You can also press a timber batten or a row of bricks directly onto the netting fold for additional weight. Check the tension after the first rain, because damp soil shifts.
Hard ground, gravel, or paving: sandbags and weighted edges
Don't try pegs on hard or gravelly surfaces. Let the netting overlap the perimeter by at least 30cm, then lay heavy objects directly on that overlap: sandbags (5 to 10kg each), large stones, or pressure-treated timber. Space them every 60cm, or closer on exposed sites.
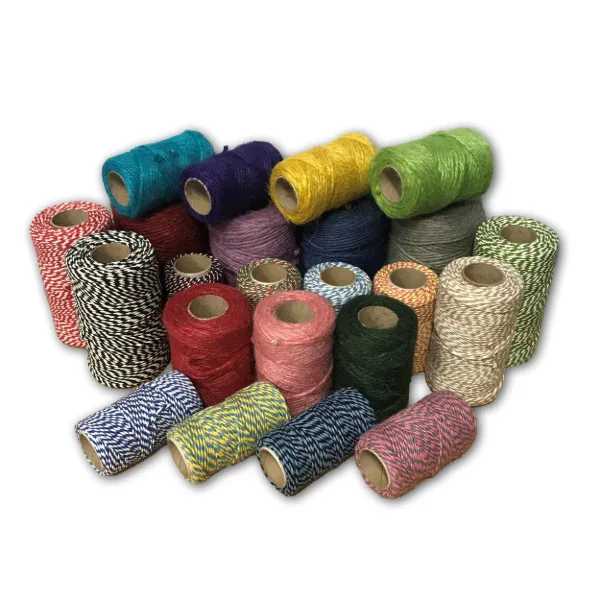
When aligning netting to upright cane supports before adding weights, a jute garden cord keeps the mesh tidy while you work.
Rabbit exclusion: the buried apron method
Dig an L-shaped trench around the perimeter: 15cm deep, with the horizontal base pointing outward 30cm. Fold the netting into the trench and back-fill with soil. Rabbits that try to dig hit solid ground before they get through.
Pin the top edge with standard U-pins. This is more work than surface pinning, but it's the only method that stops determined rabbits reliably.
How to Secure Garden Netting Step by Step
Gather your materials before you start. Per the Royal Horticultural Society, confirm your mesh size matches the target pest. Seal every edge before you trust the setup.
| Item | Specification |
|---|---|
| U-pins / ground staples | Galvanized steel, 150 to 200mm |
| Rubber mallet | For driving pegs cleanly |
| Netting overhang | 30 to 40cm on all sides |
| Panel join overlap | Minimum 15cm |
1. Measure and cut. Leave 30 to 40cm of overhang on every side. That extra length is your pinning apron.
2. Clear the perimeter. Remove stones, roots, and debris along the full edge line. Uneven ground creates natural pest entry points.
3. Stake corners first. Set pegs at all four corners with the netting pulled taut. This locks the tension before you work along the sides.
4. Pin the sides. Drive pegs at your chosen spacing, keeping the netting flat as you go. Angle each peg outward at 45 degrees.
5. Fold the edge before pegging. On lightweight netting, double the edge back on itself and pin through both layers. This stops the peg head pulling through.
6. Co-peg all panel joins. Overlap adjacent panels by at least 15cm and drive pins through both layers together. Single-layer joins pull apart under pressure.
7. Re-tension after the first weather event. Walk the full perimeter after rain or wind and re-drive any pegs that have shifted.
When securing netting to cane or timber frame supports during setup, a weather-resistant natural cord is gentler on the mesh than plastic cable ties.
Mistakes That Let Rabbits and Birds Straight Through
These errors come up again and again in allotment forums and gardener feedback. Every one has a simple fix.
- Spacing anchors too far apart. More than 50cm between pegs leaves enough slack for a pigeon to walk under. Tighten the spacing at corners especially.
- Using pegs that are too short. Standard 10cm plastic pegs don't hold in soft or loose soil. Switch to 150 to 200mm galvanized steel.
- Skipping corners and panel joins. These are the spots most people rush through. They're also the first points animals exploit.
- Over-tensioning lightweight netting. A drum-tight polypropylene net develops small tears at pin points within weeks. Keep it taut, not strained.
- Using the wrong tie material on frame supports. Cheap synthetic string breaks down in UV and fails within one season. Switch to a heavy-duty biodegradable cord for ties that need to last all summer. For quick running repairs mid-season, a strong plant-safe twine is worth keeping in your kit.
- Skipping mid-season checks. Soil dries and shrinks in summer, and pegs lose grip gradually. A five-minute walk-around every few weeks catches gaps before pests do.
- Ignoring uneven ground. Where the netting bridges a hollow, you have an automatic entry point. Pack the hollow with soil or add extra pegs pressed hard into the low spot.
Wildlife Safety and Your Legal Responsibilities
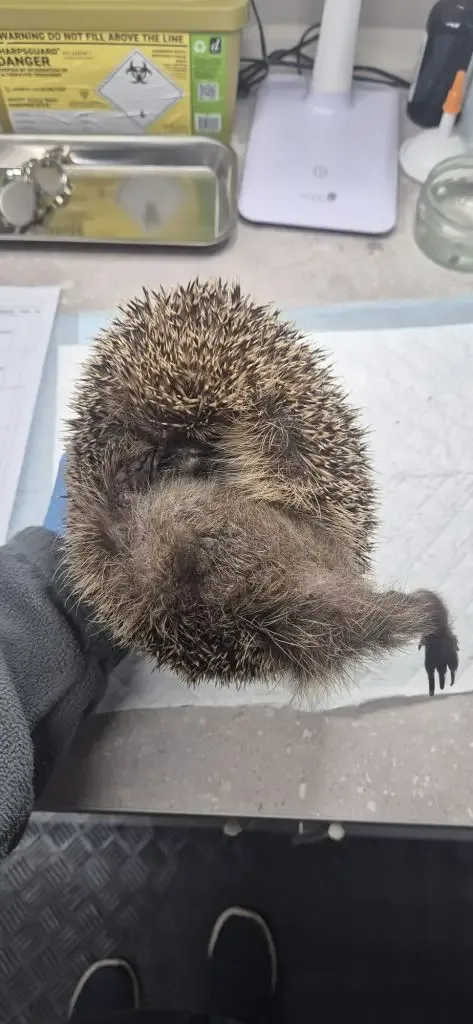
Loose or poorly secured netting is one of the leading causes of hedgehog injury in UK gardens. Hedgehogs, slow worms, grass snakes, and ground-nesting birds can all get tangled in slack mesh. Polypropylene bird netting with mesh larger than 50mm carries the greatest risk.
The RSPB advises checking all garden netting at least once a day during the growing season. A hedgehog can get fatally entangled in just a few hours. If any section of your netting has slack near ground level, that's where the risk is highest.
If hedgehogs visit your garden, use mesh no larger than 13mm at ground level. Larger mesh allows a hedgehog's head through but not its body. That mismatch is exactly what causes entanglement.
Under the UK Wildlife and Countryside Act 1981, unintentionally trapping a protected species can carry legal consequences. Poorly secured netting is a direct route to that risk. A daily perimeter check is the simplest way to stay on the right side of both the law and conservation.
During nesting season (March to August in the UK), take extra care around netting near dense ground cover or hedgerows. If you're not actively managing the area, remove it temporarily or ensure every edge is fully pinned with no slack.
For disposal, cut old or damaged netting into short sections before discarding it. Never leave loose netting near vegetation. Entanglement risk doesn't end when it leaves your vegetable bed.
Frequently Asked Questions
How do I stop garden netting from lifting in wind?
Drive pegs every 20cm rather than the standard 40 to 50cm on exposed or coastal sites. Fold the netting edge back on itself before pegging to add weight and stop the mesh flapping. On very exposed runs, a timber batten or sandbag line pressed along the full perimeter adds reliable ballast.
Can I secure garden netting without pegs?
Yes. On hard surfaces, overlap the perimeter edge by 30cm and place sandbags, large stones, or pressure-treated timber directly on the overlap. This works well on paving and gravel where pegs have no purchase.
On slopes, combine pegs on the uphill side with weights along the lower edge.
How deep should a rabbit-proof apron be buried?
Bury the apron at least 15cm straight down, then turn it 30cm outward horizontally, pointing away from the bed. This L-shape stops rabbits that try to dig straight down at the netting's base. Shallow burial of less than 10cm is usually overcome by a determined rabbit within one season.
How far apart should garden netting pegs be spaced?
On straight runs in soft soil, space pegs every 30 to 40cm and tighten to every 15cm around corners. On windy or exposed sites, use 20cm intervals on all runs. Any gap over 50cm on a straight run creates enough slack for birds to walk under the edge.
What size pegs work best for securing garden netting?
150mm galvanized steel U-pins suit most soft to medium soils. In sandy or loose ground, use 200 to 300mm pegs driven in a V-shape for extra hold. Plastic pegs under 100mm rarely hold well in any soil type and are best avoided on anything beyond very light, temporary netting.
Similar Posts