How to Protect Vegetables With Netting: A Simple Guide
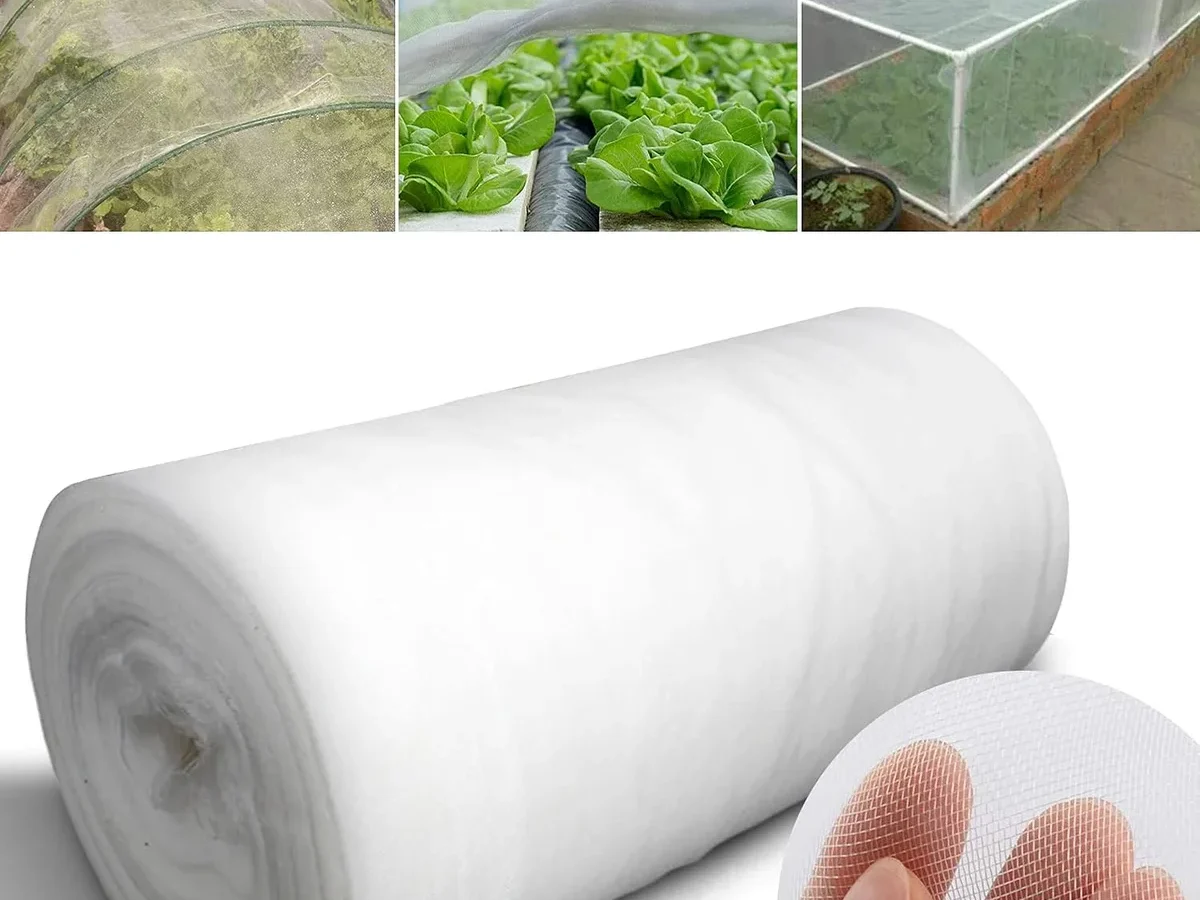
Knowing how to protect vegetables with netting is one of those skills that pays back every season, for years. A cabbage white butterfly needs only seconds to lay eggs on exposed brassicas, and carrot fly will find every unprotected row without fail. The fix isn't complicated, but using the wrong mesh or leaving gaps at the base makes the whole effort pointless.
The key variable is mesh aperture: the size of the opening in the weave. RHS guidance confirms that 1.3mm mesh blocks cabbage white butterflies, while 0.8mm stops carrot fly. Get the right mesh for the right pest, build a frame that holds the netting clear of your leaves, and your crops will come through untouched.
Quick Answer
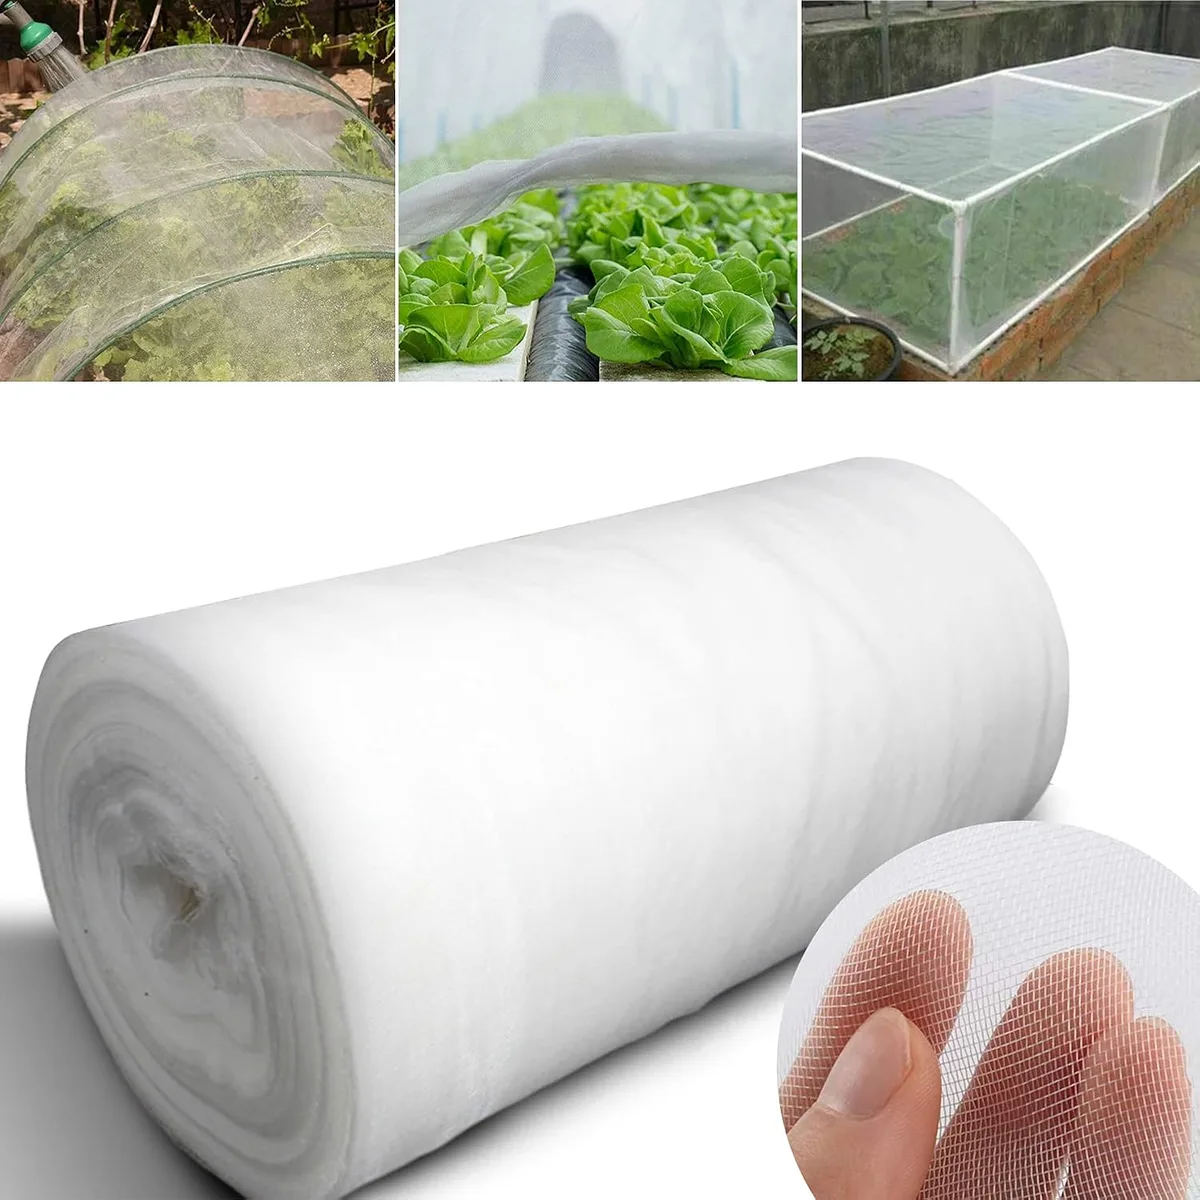
To protect vegetables with netting, choose the right mesh size first. Bird netting uses a 6mm aperture. Butterfly netting needs 1.3mm mesh or finer.
Carrot fly exclusion requires 0.8mm mesh. Drape the netting over wire or pipe hoops above the crop canopy. Seal all edges at ground level to close off entry points.
Which Netting to Use for Which Pest (Mesh Size Is Everything)
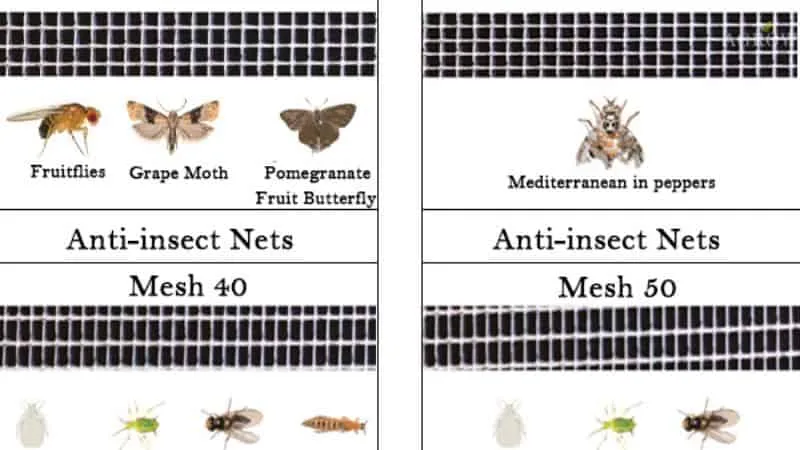
The single biggest mistake is buying bird netting and assuming it blocks everything. It doesn't. Mesh aperture is the whole game, and the wrong choice leaves your target pests completely unaffected.
Bird Netting (6mm+)
Standard bird netting runs from 6mm to 19mm aperture, enough to stop wood pigeons and starlings. Butterflies, moths, and carrot fly pass straight through. Use bird netting only when birds are your sole threat.
Butterfly and Cabbage White Netting (1.3mm)
Any brassica crop (cabbage, kale, broccoli, Brussels sprouts) needs 1.3mm insect mesh or finer. The cabbage white butterfly can't pass through, and neither can cabbage moth. Light transmission loss is around 10 to 15%, so plant growth isn't noticeably affected.
Carrot Fly and Insect Mesh (0.8mm–1.3mm)
Carrot fly travels low, rarely above 60cm from the ground. A 0.8mm to 1.3mm mesh barrier at least 60cm high is the standard exclusion approach. The same fine mesh also blocks onion fly and leek moth on alliums.
| Pest | Mesh Size Needed | Key Detail |
|---|---|---|
| Birds | 6mm+ | Knitted or rigid netting |
| Cabbage white butterfly | 1.3mm or finer | Cover brassicas the full season |
| Carrot fly | 0.8mm–1.3mm | Barrier must be 60cm+ high |
| Aphids | 0.8mm | Fine woven mesh only |
As of 2026, UV-stabilised polypropylene mesh rated for five or more seasons is widely available and far more durable than single-season budget alternatives.
What You'll Need Before You Start: Frames, Hoops, and Anchoring Kit
Netting draped loosely over plants is nearly useless. It sags onto leaves, and the contact points give pests a way in. A proper frame holds the netting taut above the crop canopy and makes everything else work.
Gather everything before you start:
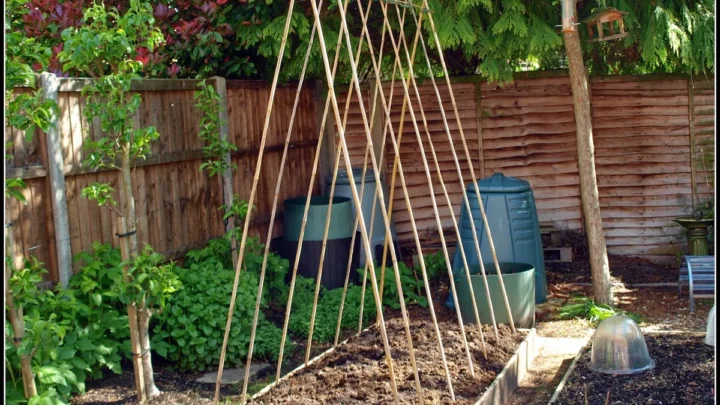
- Hoops: flexible MDPE water pipe (20mm to 25mm diameter) or alkathene tubing. Pre-bent galvanised wire hoops work well for smaller raised beds.
- Anchor stakes: short bamboo canes or metal rods pushed into the bed edges to hold the hoop ends in place.
- The netting: wide enough to drape over the hoops and reach ground level on both sides, with 20 to 30cm extra for securing the edges.
- Ground pegs: U-shaped metal or plastic pins to pin the netting skirt flat against the soil.
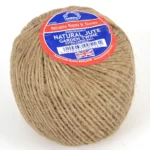
- Clips or ties: netting clips prevent tearing where net meets frame. A length of natural vegetable twine is useful for lashing hoop bases to their anchor stakes.
- Tape measure: bed width plus twice the expected crop height gives your minimum netting width.
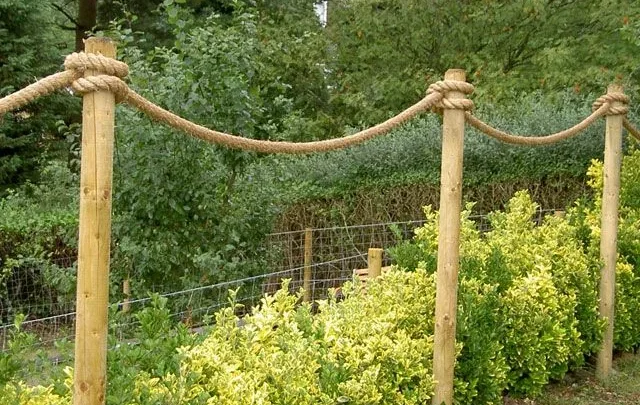
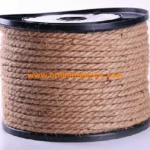
Space hoops every 60 to 90cm to prevent mid-span sagging. For lashing frame intersections together, plant-compatible hemp cord holds the structure stable in exposed gardens. For a wider choice of tying materials, the garden twine range covers everything from fine-gauge to heavy-duty options.
How to Build a Netting Tunnel Over Your Vegetable Beds, Step by Step
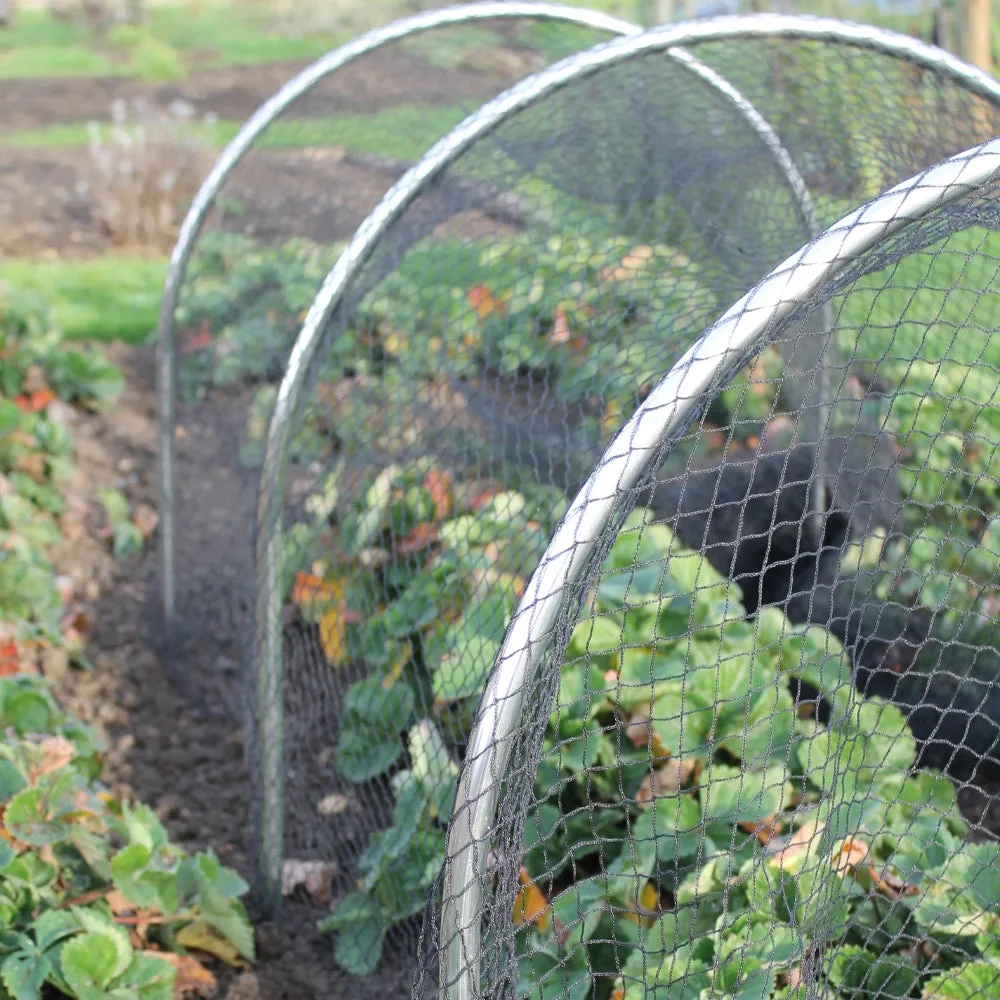
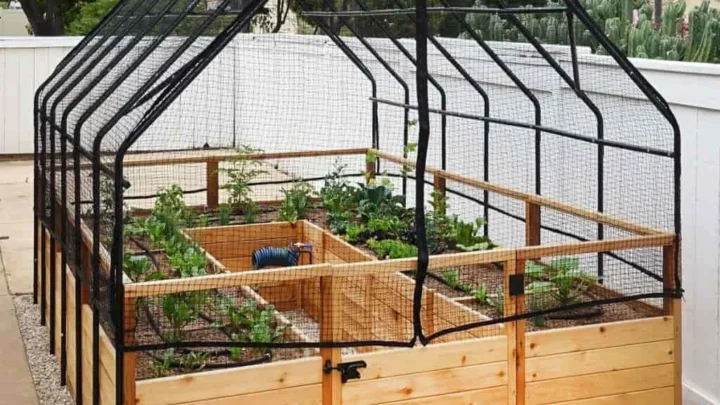
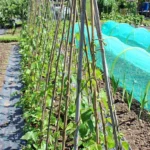
A netting tunnel is the most practical structure for most vegetable beds. Picture a row of arched hoops spanning the bed width, netting draped over them, and edges pinned flat along both sides.
Setting Up the Hoop Frame
Push anchor stakes into the bed edges at 60 to 90cm intervals. Fit the hoop ends over opposite stakes so each hoop arches above the crop. The highest point of the hoop should clear the tallest plant at full height by at least 20 to 30cm.
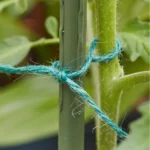
Lash each hoop base to its stake with a short length of soft plant-tying cord to stop the frame rocking loose in wind. Don't skip this on exposed beds.
Draping and Tensioning the Netting
Unfold the netting lengthways along the bed, then lift it over the hoops. Keep it centred so equal amounts hang down each side. Pull it gently taut from end to end before you peg anything down.
A taut net holds its shape. A slack one sags onto the canopy and creates gaps that pests exploit.
Sealing the Ends
Gather the netting at each short end of the tunnel. Twist it into a neat bundle, fold it down to ground level, and secure it with a peg or short tie. A piece of biodegradable tying cord bundles the end cleanly before you peg it flat.
Both ends must be fully sealed.
How to Anchor the Edges So Nothing Can Get In
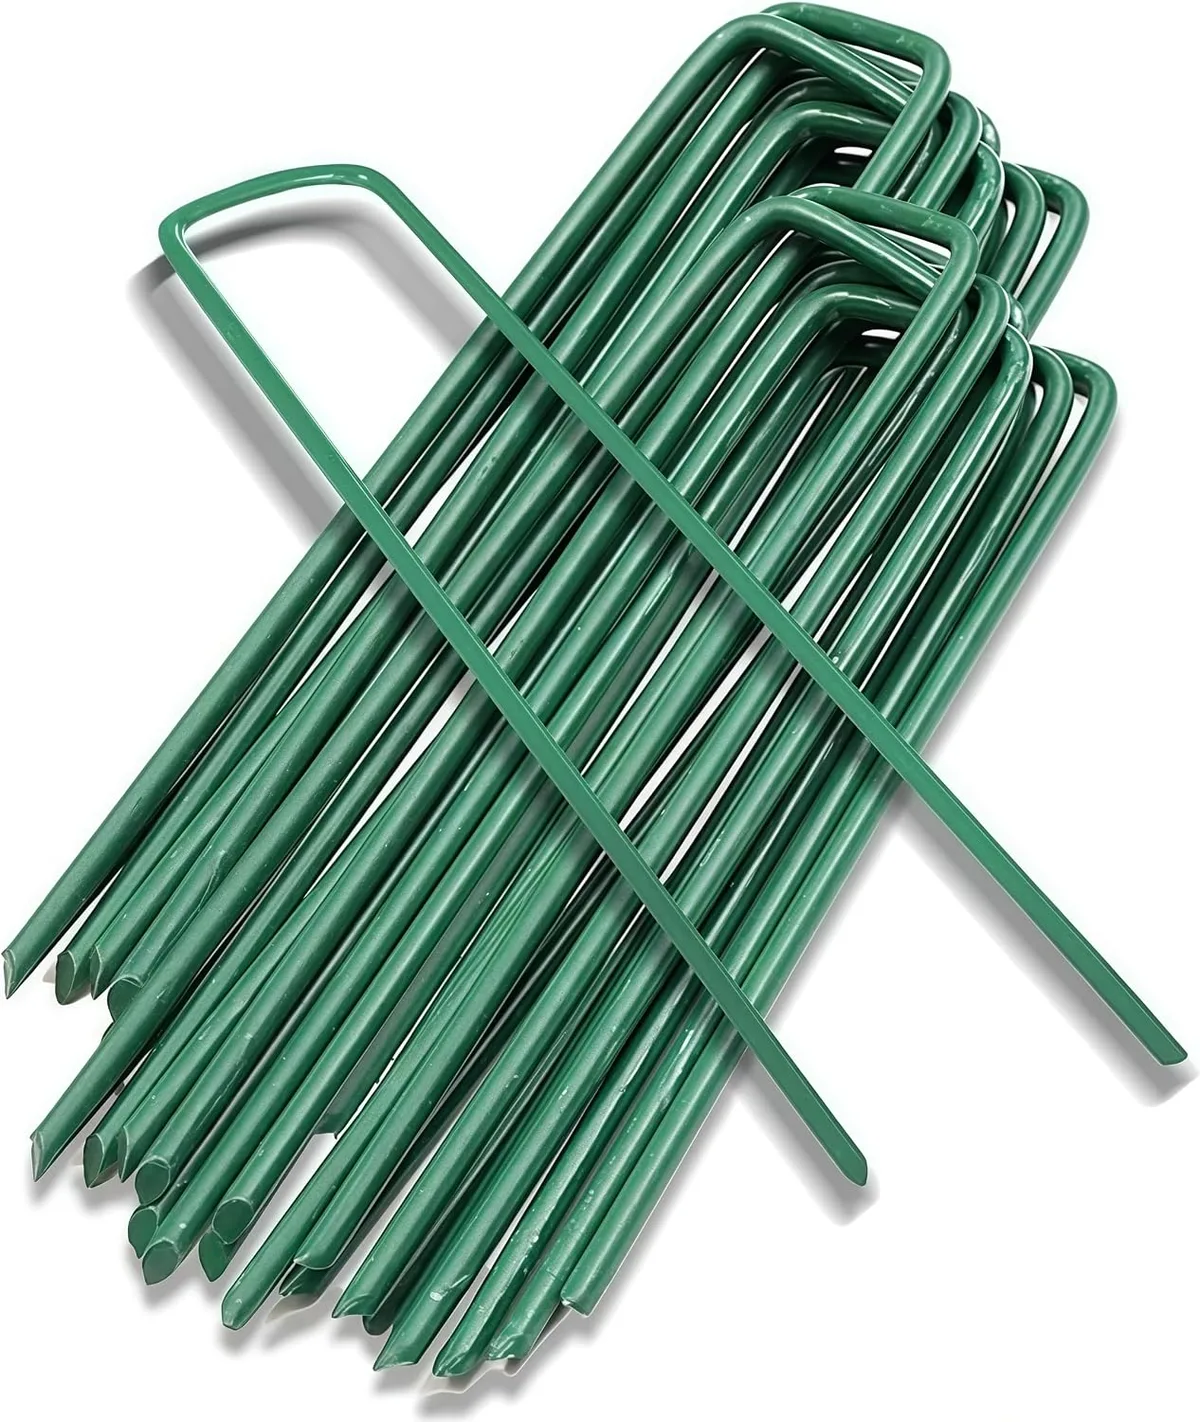
The side edges are where pest exclusion most often fails. A gap of 2 to 3cm at ground level is wide enough for slugs, crawling insects, and rabbits to push through.
Pin the side skirts flat along the full length once the netting is draped and tensioned. Use U-shaped ground pegs every 30 to 40cm. On soft or sandy soil, go longer (30cm pegs) or press a continuous ridge of soil over the edge as an extra seal.
On raised beds with a timber frame, clip the netting directly to the wood using binder clips or netting clips. This gives a tighter seal than pegs on open soil. If clips aren't available, heavy-duty natural cord laced through the netting edge and tied to the frame works well.
After the first windy day, walk the full perimeter and press down any lifted sections. Wind finds every gap, and a single lifted edge undoes everything you set up.
When to Open the Netting (Pollinators, Harvesting, and Seasonal Timing)
Not every crop wants netting for its full growing life. The rules differ by vegetable, and getting the timing wrong either lets pests back in or shuts pollinators out.
Brassicas: keep covered for the entire growing season. Cabbage, kale, and broccoli don't need insect pollination, so the netting never needs to come off.
Carrots and root crops: cover from the day of sowing to harvest. Don't wait for seedlings to emerge. Carrot fly pressure peaks in late May to June and again in August to September in UK conditions.
Runner beans and courgettes: these crops need bees. Open the netting fully once flowers appear. Roll it back over the hoops and re-drape once pods are setting if pest pressure returns.
Harvesting access: plan a fold-back flap into one end of the tunnel before you install the netting. Fold it back to harvest, then close it up again. This keeps the rest of the structure intact and avoids disturbing the sealed edges each time.
Mistakes That Let Pests Through Anyway
The most damaging mistake is reaching for bird netting to cover brassicas. The 6mm aperture is far too large. Cabbage white butterflies pass through freely, and the caterpillar damage appears before you realise the cover did nothing.
The second issue is netting that sags onto the leaves. Wherever mesh contacts foliage, caterpillars and aphids can feed straight through the fabric. Use hoops tall enough to keep a clear gap above the full-grown canopy.
The rest of the common failures tend to be structural:
- Pegging too infrequently: one peg every 60cm leaves wide gaps between fixing points. Wind stretches the netting and opens the edge. Peg every 30 to 40cm along the full perimeter.
- Buying non-UV-stabilised mesh: standard polythene netting becomes brittle after a single season outdoors. UV-stabilised polypropylene lasts five or more years and costs far less over time.
- Ignoring wildlife risk: loose netting with 6mm or larger apertures can trap birds and hedgehogs. Fine insect mesh at 0.8mm to 1.3mm carries no entanglement risk at ground level.
- Skipping the post-wind check: a 30-second walk around the bed after bad weather catches lifted edges before pests find them.
Frequently Asked Questions
What mesh size keeps butterflies off my brassicas?
1.3mm mesh or finer reliably blocks cabbage white butterflies and cabbage moth. Standard 6mm bird netting won't stop them. Use a UV-stabilised insect mesh draped over hoops that clear the canopy, and seal all ground-level edges so adults can't crawl underneath.
How do I water vegetables that are under netting?
Most fine insect mesh lets rainfall through freely. For irrigation, run drip lines or soaker hoses under the netting before installation. Alternatively, fold back one end of the tunnel temporarily, water by hand, then close it up again.
Can I net a raised bed?
Yes, and raised beds are often easier to net than open ground. Clip the netting edge directly to the timber frame using binder clips for a clean, tight seal. Add hoop supports inside the bed to keep the netting clear of the plants as they grow.
Does netting reduce how well my plants grow?
Fine insect mesh causes around 10 to 15% light reduction, which has minimal impact on most vegetables. Humidity can rise slightly under cover during wet weather, so check susceptible crops like lettuce or spinach for early signs of fungal disease during prolonged damp spells.

Similar Posts