How to Put Up Pea and Bean Netting the Right Way
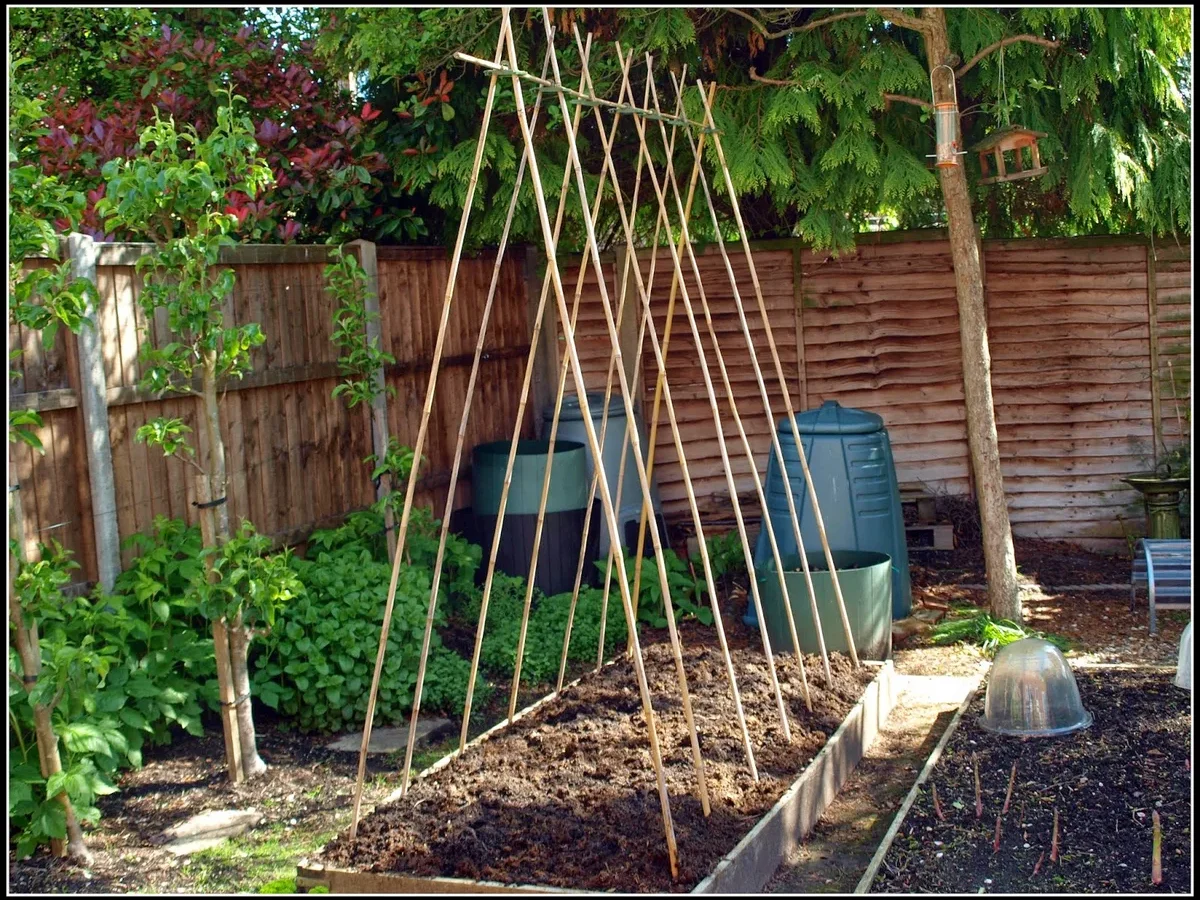
Getting how to put up pea and bean netting right is the difference between a productive row of climbers and a wind-blown mess by June. Most problems trace back to three things: supports spaced too far apart, netting left slack, and nothing anchoring the bottom edge.
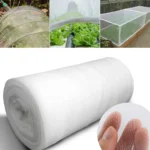
Standard horticultural netting comes in a mesh size of 15mm to 25mm, roughly half an inch to one inch. That range suits both peas and climbing beans, and as of 2026 it's widely available in widths from 1m to 2m. Get the structure right and the netting looks after itself all season.
Quick Answer
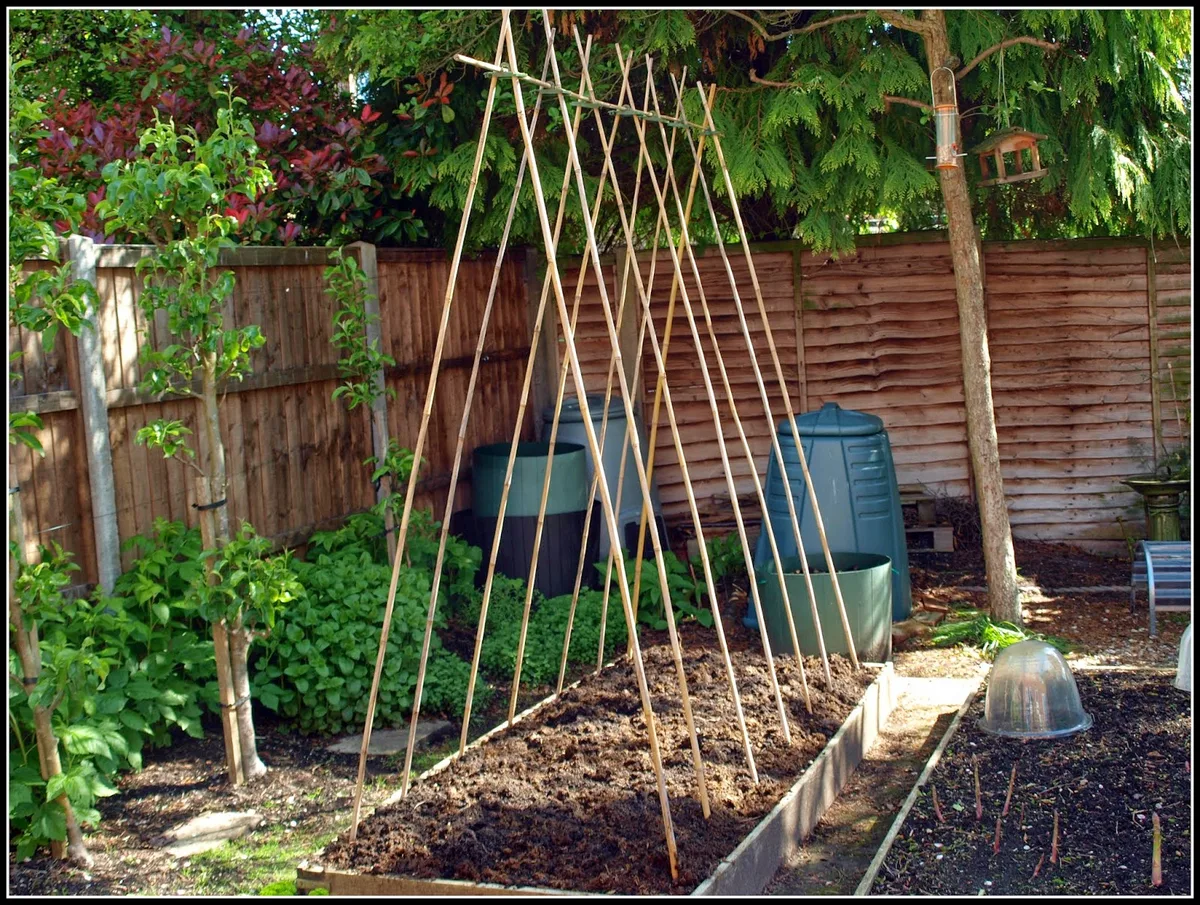
Put up pea and bean netting by spacing supports every 1m to 1.5m along the row. Drive each cane at least 30cm into the ground. Fix a horizontal top rail or wire across the cane tops.
Attach the netting to the rail and pull it taut. Tie it at each upright and peg the bottom edge firmly down.
What You Need: Netting Specs, Canes, and Kit
Measure your row length and expected plant height before you buy anything. Runner beans can reach 2.4m at full growth. Most pea varieties top out between 90cm and 1.5m.
Choose netting at least 15cm to 20cm taller than the mature plant height for your variety.
Choosing your netting
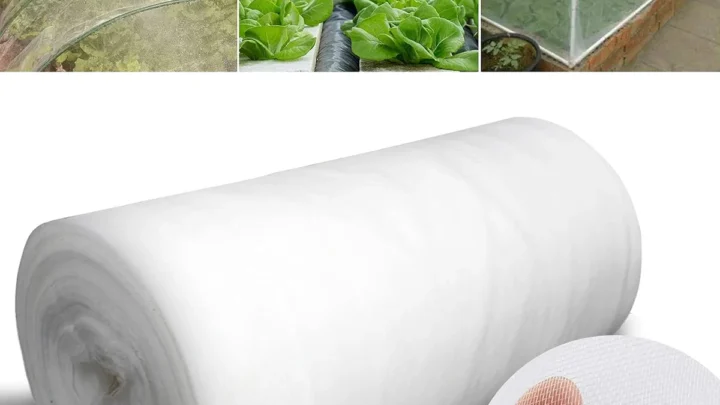
For peas, a 15mm to 20mm mesh is ideal. Their fine tendrils grip better in smaller squares. For climbing beans, 20mm to 25mm mesh works well.
Knotted nylon netting holds its shape better under plant load than extruded polypropylene.
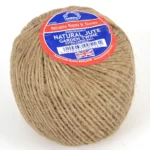
Jute netting is fully biodegradable. It composts at season's end alongside your plant debris, and ties off cleanly with natural twine safe for vegetables. The garden twine range covers the main material options if you're choosing between types.
Support materials
Use bamboo canes at 8mm to 12mm diameter for pea rows. For runner beans, go with 1.8m to 2.4m canes or sturdy metal stakes. Space one support every 1m to 1.5m along the row.
| Item | Purpose |
|---|---|
| Galvanised wire or spare cane | Top rail to carry the netting's top edge |
| Soft twine or cable ties | Securing netting to uprights |
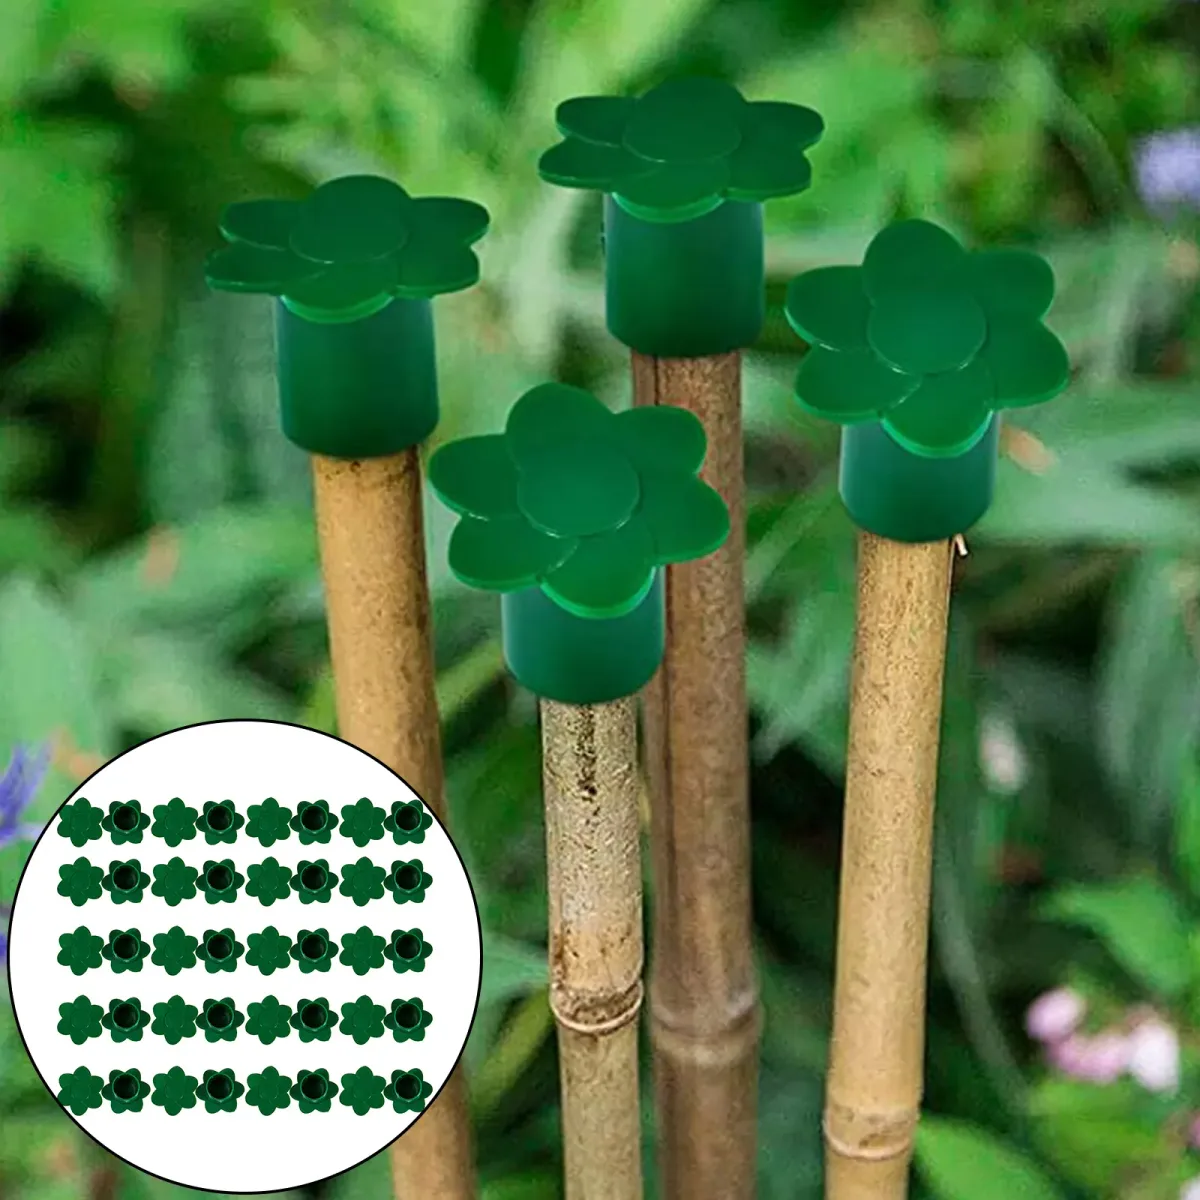
| Cane toppers or safety caps | Covering exposed cane tips at eye level |
| Tent pegs or wire staples | Anchoring the bottom edge to the ground |
| Rubber mallet | Driving canes without splitting them |
Pre-cut your netting to length before you start. Roll it out on a flat surface and cut with scissors or garden shears. It's much harder to cut accurately once the netting is stretched and fixed to supports.
Flat Panel, Wigwam, or String Grid: Pick Your Structure First
Your structure choice shapes every other step. Decide before you drive in a single cane.
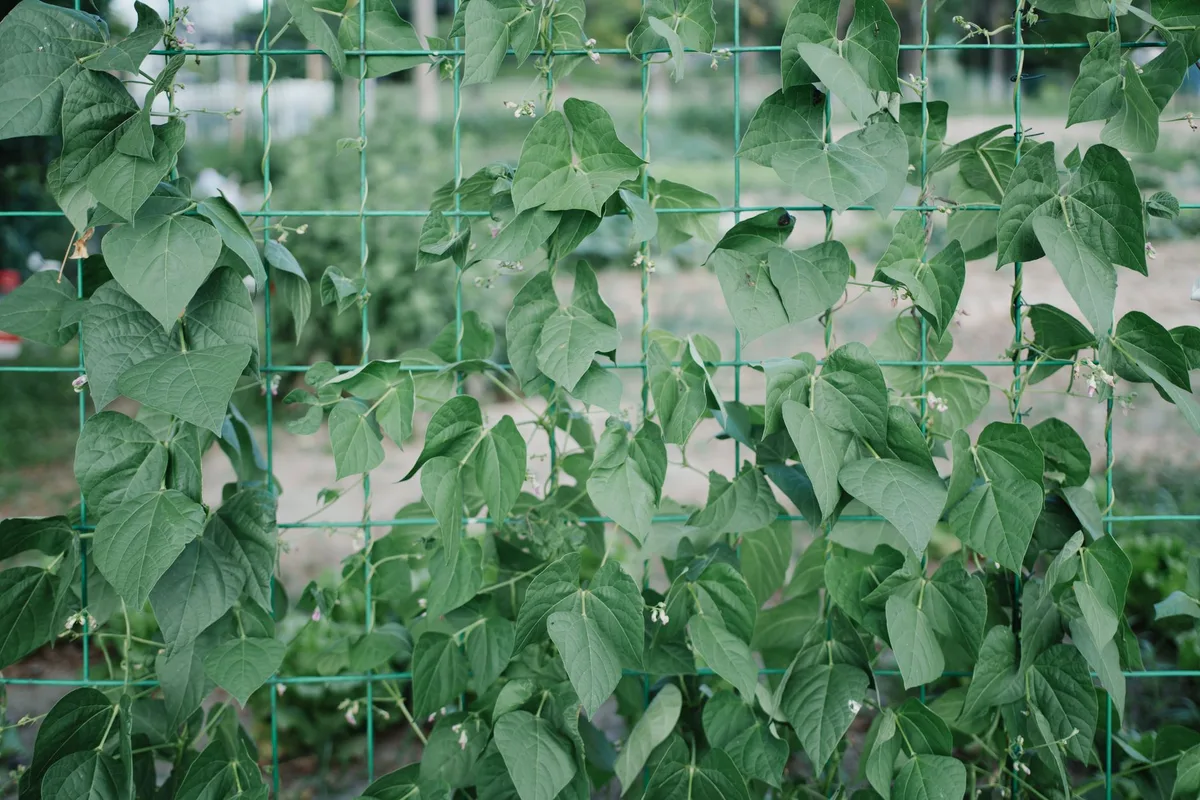
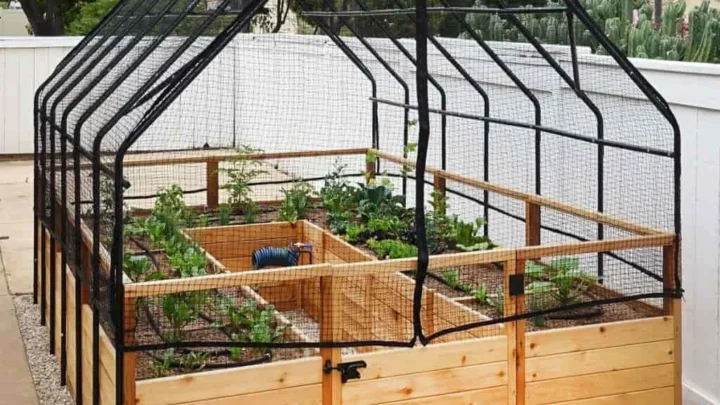
Flat panel is the standard setup for most veg plots. Two rows of uprights carry a horizontal top rail, from which a single run of netting hangs. It handles long rows well, keeps airflow high around the plants, and makes harvesting simple.
Wigwam or teepee frame suits smaller gardens and container growing. Push six to eight canes into a circle and tie them at the top. You can drape a cut panel of netting around the outside or run string loops between individual canes.
It works well for four to six plants.
String grid is the budget option. Horizontal and vertical runs of cord from natural plant-safe fibres are tied between uprights to form a grid. It's slower to build than purpose-made netting but fully compostable.
It suits peas better than heavy-cropping bean varieties.
| Structure | Best for | Main downside |
|---|---|---|
| Flat panel + netting | Long rows, runner beans, high yields | Needs firm end-post anchoring |
| Wigwam frame | Compact gardens, containers | Limited planting space |
| String grid | Peas, budget setup, no-waste finish | Less rigid, slower to build |
The steps below cover the flat panel, the most widely used structure by far.
How to Put Up Pea and Bean Netting: Step-by-Step
Work from one end of the row to the other. Finish each step fully before moving on.
Step 1: Mark Out and Space Your Supports
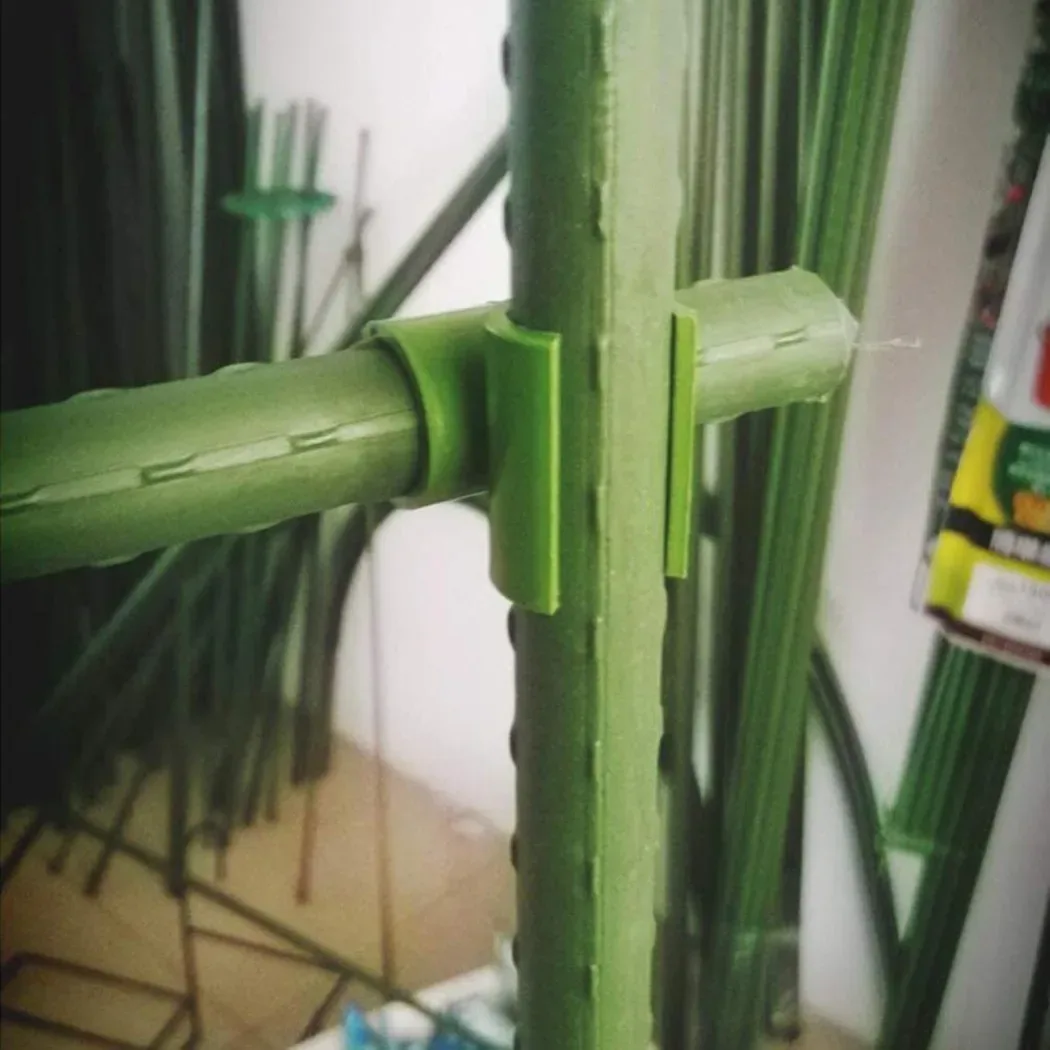
Push a cane or stake in at each end of the row first. Run a string line between them at ground level to keep the row straight. Space intermediate supports every 1m to 1.5m along the line.
In exposed or windy gardens, go with 1m spacing.
Step 2: Drive In Canes or Posts to the Right Depth
Each support needs to go at least 30cm into the ground. That's the minimum to stay upright once plants load the netting. For loose or sandy soil, aim for 40cm.
Use a rubber mallet rather than pushing by hand.
Step 3: Fix the Top Rail or Wire
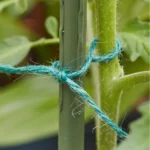
Run a galvanised wire or a horizontal cane across the tops of all the uprights. Fasten it to each support with soft jute twine or cable ties. This rail carries the netting's weight and prevents mid-row sag as plants grow and grab on.
Step 4: Attach, Tension, and Secure the Netting
Start at one end post. Tie the top corner of the netting firmly to the end cane. Work along the top rail, securing the netting at every second or third support.
Once the top edge is fixed, pull the netting outward horizontally before tying the sides. Then fasten the mesh to each intermediate cane with loose, non-cutting ties.
Step 5: Peg Down the Bottom Edge
Push tent pegs or wire staples through the mesh and into the soil every 30cm to 40cm along the base. In exposed spots, lay a spare cane along the inside of the bottom edge for extra weight. A free-floating base acts like a sail and gradually works every tie loose across the season.
The Mistakes That Cause Sagging, Collapse, and Trapped Plants
Canes not driven deep enough. At 15cm to 20cm depth, a fully loaded bean row pulls them straight over. The 30cm minimum is non-negotiable. Go to 40cm on soft ground and you won't need to re-stake mid-season.
No top rail. Without a horizontal bar or wire, the netting has no rigid edge to hang from. It sags in the middle and bunches at the ends before the first pod sets.
Bottom edge left floating. A free bottom catches wind and slowly works every tie loose. Pegging it flat takes five minutes and saves a lot of re-staking through summer.
Wrong mesh size. Netting below 10mm traps plant stems at harvest so tightly that removing them tears the mesh. Use 15mm to 25mm throughout.
Only tying the end posts. Without ties at intermediate uprights, the netting balloons outward under plant weight. Secure it at every upright using strong cord that won't cut into stems.
Pulling plants out through the mesh at season's end. Always cut stems at the base first. Pulling them back through the mesh is the fastest way to wreck netting that still has years of use left.
Wildlife Safety and Cane Hazards Worth Knowing
Birds and hedgehogs in loose netting is a genuine concern. The RSPB recommends keeping garden netting taut at all times and checking it every few days, particularly after windy nights when ground pegs may have shifted.
Slack netting at ground level is the main hazard for hedgehogs. They get in easily and can't reverse out. Pegging the bottom edge firmly removes most of this risk.
Mesh size also matters for birds. Netting below 15mm can trap a small bird's leg or foot. Staying with 15mm to 25mm keeps that risk low without affecting how the netting performs.
Exposed bamboo cane tips at face level cause real injuries in gardens every year. Fit a plastic cane topper to every exposed tip before you work near the structure. Keep a supply with your netting kit so it becomes routine.
Ties that are too tight cut into stems as they thicken through summer. Use cord that gives a little under pressure and leave a finger's width of slack around any stem you tie directly.
Taking It Down, Cleaning It, and Making It Last
Cut all plant stems at the base before removing the netting. With the stems gone, the mesh lifts away clean in one piece. Pulling plants back through the mesh is what ruins netting that still has years of use left.
Once the netting is off, shake it out or lay it flat and brush off loose plant material. If it's soil-caked, rinse it with a garden hose and let it dry completely before packing it away. Rolling damp netting into a bag leads to mould over winter.
To store it without tangling, roll the netting tightly onto a spare bamboo cane or a short cardboard tube. Secure it with a loose tie and keep it somewhere dry. Netting stored in a loose ball re-emerges in spring as a knotted mess.
It takes longer to untangle than to put up.
Before rolling, check the mesh for holes or torn sections. Small tears in nylon netting can be patched with a few loops of plant-safe cord to stop them spreading. A mesh that's mostly holes isn't worth another season.
Jute netting skips all of this. Cut it free, pile it on the compost heap, and it breaks down over winter. Nylon netting, cleaned and stored correctly, can last five to ten growing seasons without losing strength or shape.
Frequently Asked Questions
What mesh size is best for peas and beans?
For peas, use 15mm to 20mm mesh. Their tendrils are fine and grip better in smaller squares. For climbing beans, 20mm to 25mm works well.
Anything below 10mm traps stems at harvest, and anything above 30mm gives plants too little to hold onto.
How far apart should I space the canes?
Space support canes or stakes every 1m to 1.5m along the row. In exposed or wind-prone gardens, go with 1m intervals. That reduces mid-span sag and stops the whole panel bowing outward under a heavy crop.
End posts bear the most load, so drive them a few centimetres deeper than the intermediate ones.
Can I reuse pea and bean netting?
Yes, nylon netting can last five to ten seasons if handled correctly at removal. Cut plant stems off at the base rather than pulling them through the mesh, rinse off any soil, and let it dry fully before rolling it for storage. Jute netting is single-season and composts down once plants are cleared.
When should I put the netting up?
Put the netting up at sowing time or just before you transplant seedlings out. For peas, that's typically March to May in the UK and April to June across most of the US. For runner beans, wait until after the last frost.
Getting the structure in place early means it's ready the moment plants need something to climb.
How do I stop pea and bean netting from sagging?
Sagging almost always comes from a weak or missing top rail. Fix a horizontal wire or cane firmly across the tops of all your uprights and tie the netting to it at every support, not just at the ends. A properly tensioned top rail eliminates mid-span sag in most cases.

Similar Posts