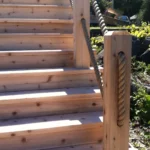
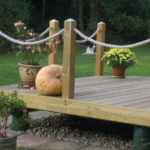
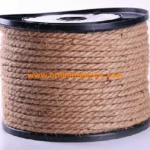
How to Attach Garden Rope to Posts the Right Way
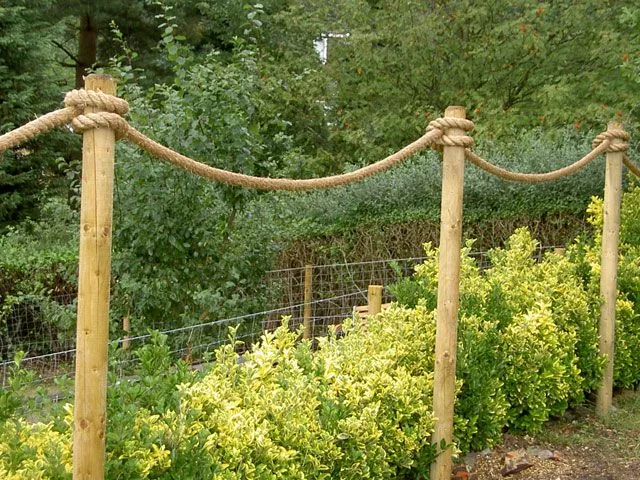
Getting how to attach garden rope to posts right is simpler than it first looks. But use the wrong rope on the wrong post type, and you'll spend the growing season watching things sag, slide, and fail. The method you choose depends on your post material and how much load the rope needs to carry.
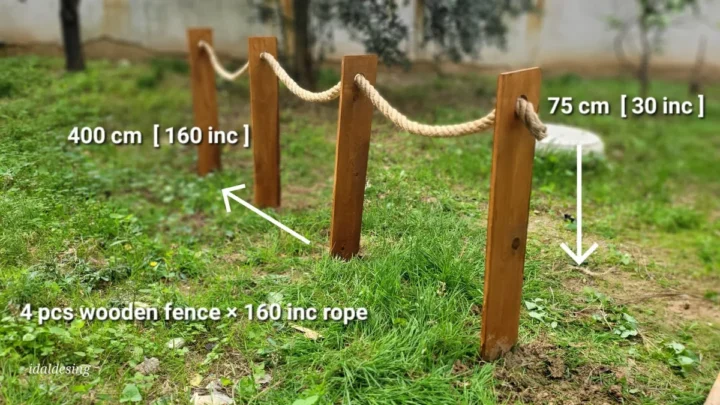
Rope diameter matters more than most gardeners realise. For plant training lines, 2-3mm jute or sisal is standard. For structural rope fencing, 6mm or thicker with properly tensioned fixings is what holds.
As of 2026, jute remains the most common natural fibre for seasonal plant support in both UK and US garden setups.
Quick Answer
Attaching garden rope to posts starts with matching rope to your post material. Use a clove hitch on timber or bamboo. Thread rope through screw eyes for tensioned horizontal runs.
On smooth metal posts, clip-on cable clips prevent slipping. For plant training, jute or sisal is the practical choice. For structural fencing outdoors, polypropylene lasts longer.
Rope Type, Post Material, and Why the Match Matters
Most attachment problems trace back to a mismatch between rope type and post material. Jute twine grips rough-sawn timber well but breaks down within a season or two in wet conditions. Polypropylene holds up against UV and rain but slides straight down a smooth metal post without hardware to anchor it.
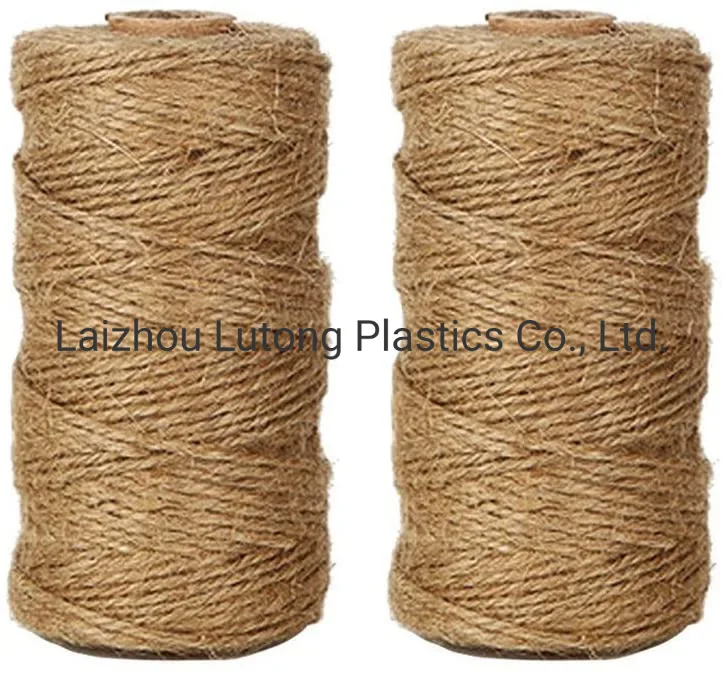
Here's how the main rope types compare for garden use:
| Rope Type | Diameter | Best Use | Outdoor Lifespan |
|---|---|---|---|
| Jute twine | 2-3mm | Plant training on timber or bamboo | 1-2 seasons |
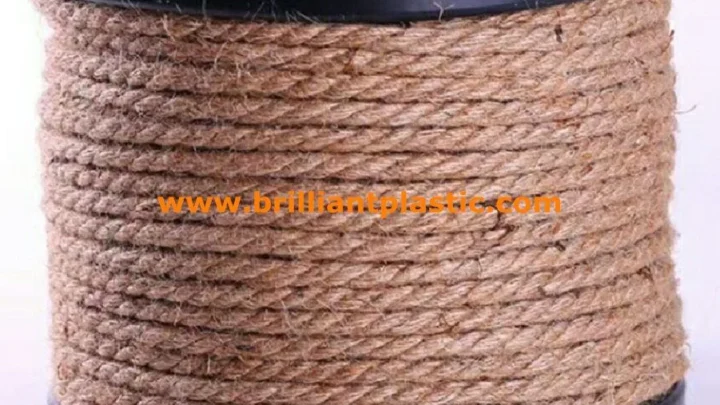
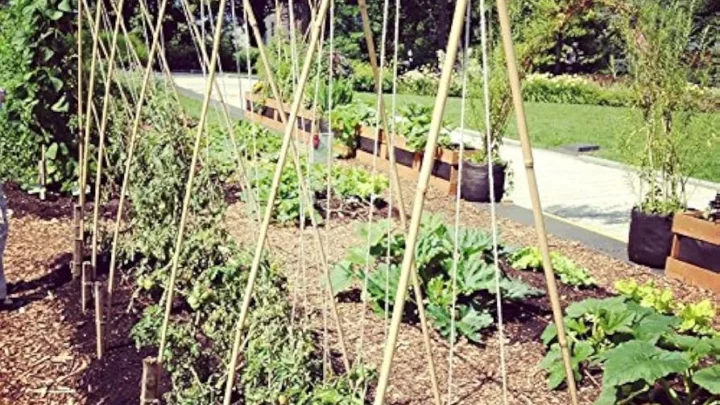
| Sisal rope | 3-6mm | Trellis lines, bean poles, cane support | 2-3 seasons |
| Hemp twine | 2-4mm | Light plant ties and soft stem support | 1-2 seasons |
| Polypropylene rope | 4-8mm | Rope fencing, long structural spans | 3-5 years |
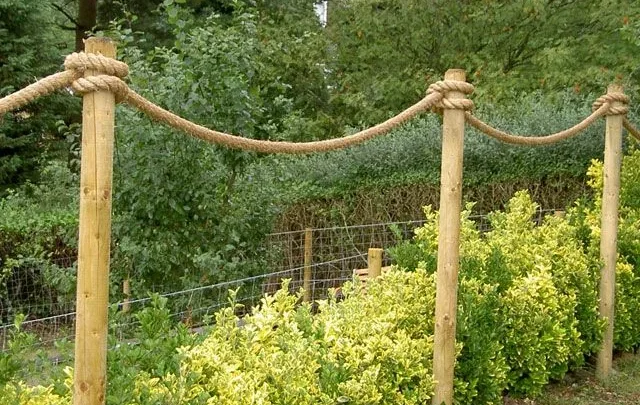
Post material dictates your attachment method just as much. Rough-sawn timber and bamboo give rope a natural grip point, so knotting works directly on the surface. Smooth galvanised steel and concrete posts offer almost no friction, and rope will slide under tension across longer spans.
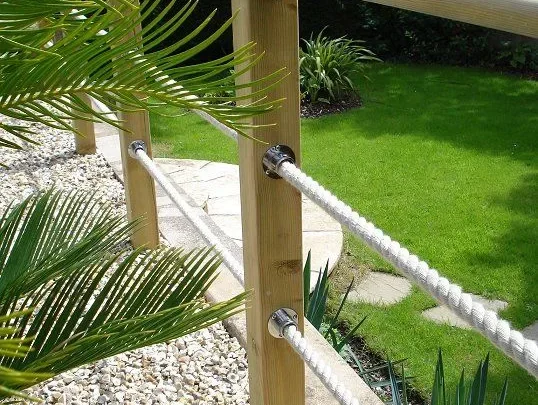
For metal or concrete posts, hardware creates the anchor point you need. Vine eyes and screw eyes are the most reliable solution. They drive directly into timber or clamp onto metal posts with the right fittings.
Standard mild steel staples rust outdoors over time. That rust transfers to natural fibre rope at the contact point and weakens it faster. Galvanised or stainless steel fittings cost slightly more but last considerably longer.
For kitchen garden setups on timber posts, seasonal training twine covers most annual plant support jobs. If you grow a wider variety of crops, choosing twine by crop type helps match the right fibre to each plant.
Tools and Hardware You'll Actually Need
Before you start, get the right kit together. The most common mistake is using the wrong staple size or a screw eye that's too small for the post timber. Both lead to slack, shifting rope within a few weeks.
Here's what you'll typically need:
| Tool / Hardware | What It's For |
|---|---|
| Heavy-duty staple gun + galvanised staples (19-32mm) | Fast, flush rope attachment to timber posts |
| Screw eyes or vine eyes | Fixed anchor points for threaded rope runs |
| Cable clips or U-clips | Anchoring rope to metal or concrete posts |
| Pliers or a screwdriver | Driving screw eyes firmly into post timber |
| Tape measure | Setting consistent rope height intervals |
| Sharp knife or scissors | Cutting rope ends cleanly |
| Spirit level | Keeping horizontal runs straight and level |
For most plant support setups, a staple gun and a roll of reliable garden twine is all you need. A 25mm galvanised staple is the go-to for 3-4mm rope on a standard timber post. Too short and the staple won't grip.
Too long and it risks splitting the timber grain.
For structural fencing or longer horizontal runs, screw eyes are the better choice. M5 (5mm thread) is the practical minimum for any post under sustained rope tension. Smaller screw eyes pull out under the load of a taut, fully weighted span.
Cable ties work as a quick fix on metal posts but aren't a long-term option. UV exposure makes them brittle, and they crack in cold weather. For anything you'll rely on through a full growing season, cable clips or proper rope clamps are worth the modest extra cost.
How to Attach Garden Rope to Posts: Three Methods That Work
The method you use depends on your post type and how long the setup needs to last. Here are the three approaches that hold up in practice.
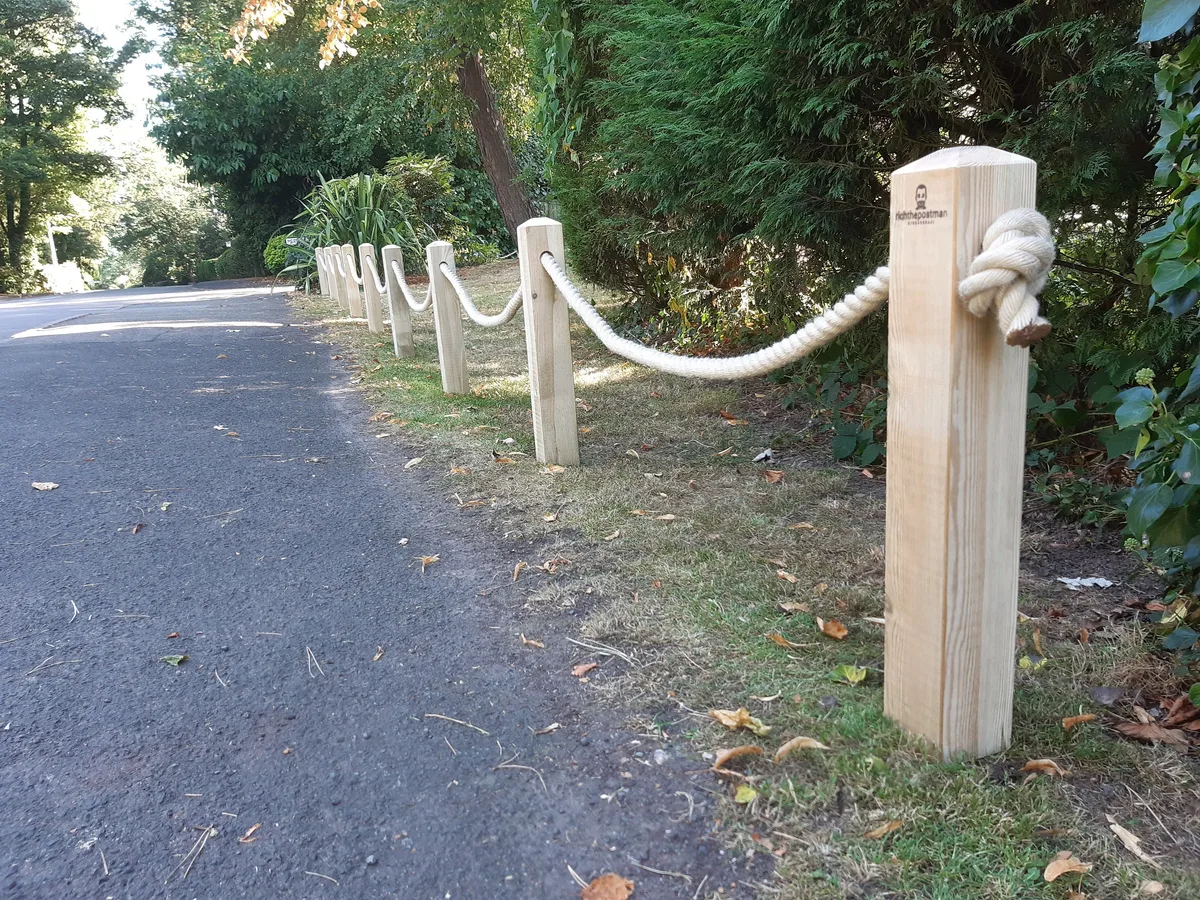
Knotting Direct to Timber or Bamboo
This is the simplest approach and suits most seasonal trellis and plant support setups. Start by securing the rope at the first post with a clove hitch. Pull it across to the next post with firm, even tension.
Finish with a double half hitch to lock the rope in place.
For bamboo canes, use a constrictor knot instead. It grips the smooth surface more reliably than a clove hitch and won't slip as tension builds.
Threading Through Screw Eyes or Vine Eyes
Screw eyes create a permanent anchor without knotting at every post. Drive them into the timber at your chosen height intervals, typically 30-40cm apart for climbing plant training. Thread the rope through each eye across the span, pulling consistent tension before tying off at the end post.
The rope can be replaced each season without disturbing the hardware. The Royal Horticultural Society recommends this method for training climbers along timber structures.
Staple Gun Method for Timber Posts
A heavy-duty staple gun is the fastest option for fixing rope to timber fence posts. Position the rope at the correct height, then drive a 25mm galvanised staple over it at a slight angle rather than flush across.
That angle lets the staple clamp firmly without pinching the fibres flat. In photos of this technique, you'll see the staple sitting diagonally across the rope rather than running straight over it.
The Three Knots Every Gardener Should Know
Most garden rope problems come down to using the wrong knot. A good knot holds under load, adjusts mid-season, and releases cleanly when you're done. Three knots cover almost every garden situation.
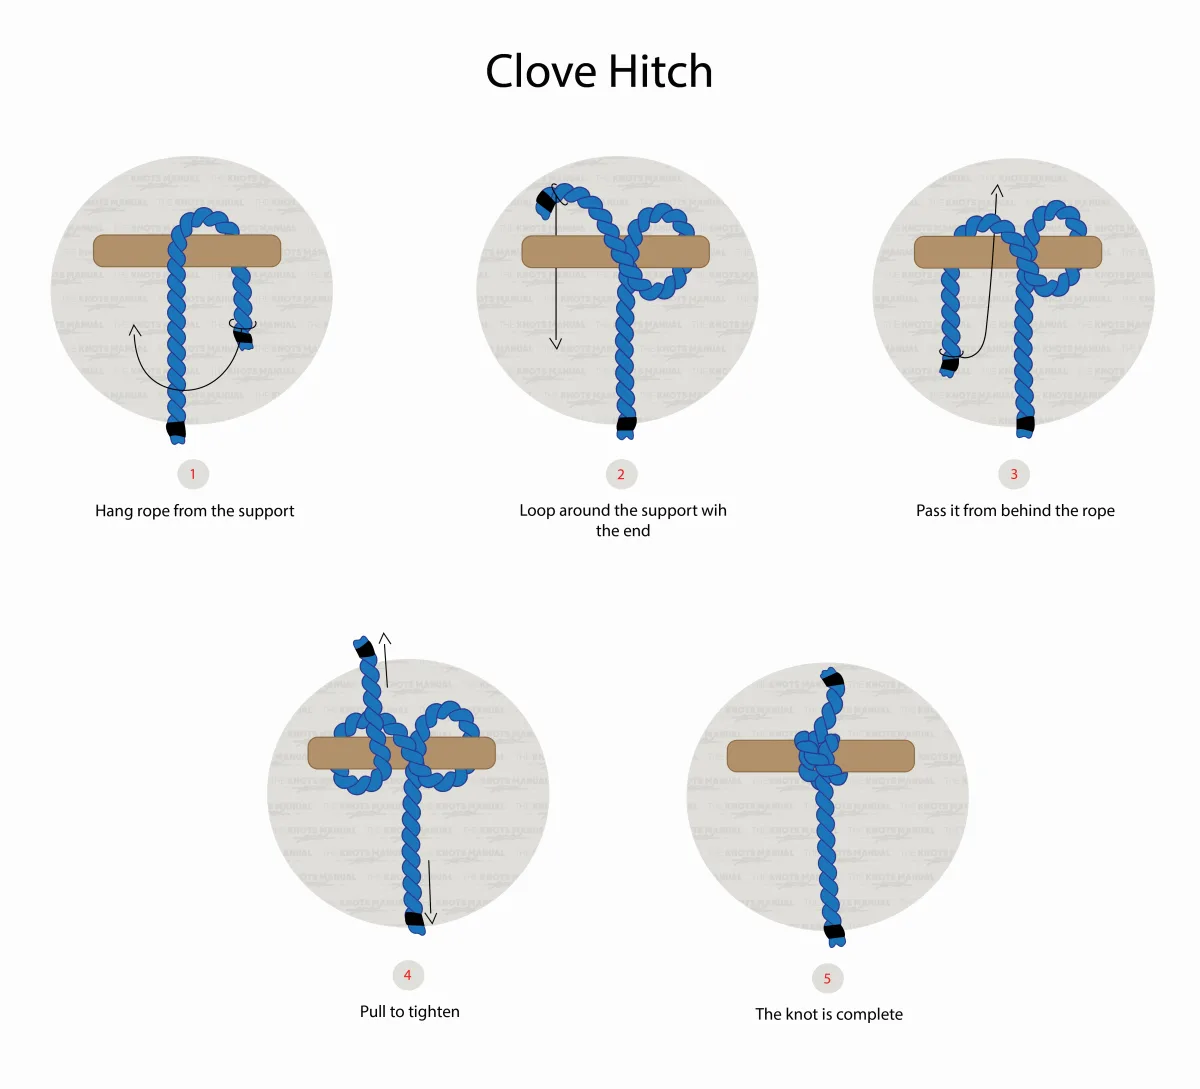
Clove Hitch
The clove hitch is the default garden knot and the one to learn first. Wrap the rope around the post, cross it over itself, wrap again, then tuck the working end under the second wrap and pull tight. It grips well on rough timber and bamboo and stays adjustable under light load.
That makes it ideal for trellis lines where fine-tuning tension matters. Any step-by-step photo of this knot shows two overlapping loops with the tail threading through the central gap. Rough-textured fibres like natural hemp grip post surfaces particularly well with this knot.
Constrictor Knot
The constrictor grips harder under load, making it the better choice on slippery surfaces like smooth bamboo or painted timber. Tie it like a clove hitch, then pass the working end under both wraps before pulling tight. Once loaded, it's very difficult to undo by hand.
Use it for semi-permanent anchor points where seasonal adjustment isn't needed.
Double Half Hitch
The double half hitch is the finishing knot. Use it to lock off the rope at the final post once you've set your tension. Wrap the rope around the post, pass the tail through the loop, repeat once more, and pull tight.
It's quick, secure, and reliable for all seasonal plant support applications. Paired with a clove hitch at the starting post, it gives you a clean, taut run that holds all season.
Knots vs Staples vs Screw Eyes: Which Method for Which Job
No single attachment method fits every garden situation. Here's a guide to which approach works best where:
| Method | Best For | Avoid When |
|---|---|---|
| Clove hitch | Timber, bamboo, seasonal trellis | Smooth metal or concrete posts |
| Constrictor knot | High-grip needs, slippery post surfaces | Easy end-of-season removal is needed |
| Staple gun | Fast attachment on timber fencing | Metal or concrete posts |
| Screw eyes / vine eyes | Long horizontal runs, permanent setups | Thin or soft timber prone to splitting |
| Cable clips | Metal fence posts | Long-term use with natural fibre rope |
For seasonal vegetable garden trellis on timber posts, knotting is the practical choice. It's fast, needs no hardware, and the rope composts cleanly at the end of the year.
For permanent or multi-season setups, like a rose training wall or an espalier fruit tree system, screw eyes are the right call. They hold consistent tension year after year with minimal maintenance.
For a quick rope run on timber fence posts, the staple gun wins on speed. A roll of extra-strength jute and a staple gun gets most jobs done in under an hour. Still choosing between materials?
Browse the full twine and rope selection to compare before you commit.
On long metal post runs, combine clip-on cable clips at each post with knotted anchors at both ends. That gives you a stable, non-slip setup without depending entirely on a single method.
Mistakes That Cause Rope to Sag, Slip, or Damage Plants
The most common mistake is tying directly onto a smooth post surface with no hardware underneath. A clove hitch on galvanised steel or painted timber will slide under load, no matter how tightly you tie it. Add a screw eye or cable clip first to give the knot a proper anchor point.
Setting the rope too tight at installation causes its own problems. Rope stretches and loosens as it cycles through wet and dry conditions across the season. Start with firm tension, not maximum tension.
That leaves room for natural adjustment without the rope cutting into plant stems or pulling staples loose.
Undersized staples are a consistent failure point. A 19mm staple on a 4mm sisal rope looks seated but won't hold under lateral load. Use 25-32mm galvanised staples for anything thicker than 3mm rope, and drive them at a slight angle rather than flush across.
Letting rope press directly against a post without any gap creates a moisture trap. Rot sets in faster at the contact point, weakening natural fibre rope from the inside. Driving the staple slightly proud, or routing the rope through a screw eye, keeps it lifted enough to allow airflow.
Don't reuse natural fibre rope that's spent a full growing season under staple pressure. Fibres weaken at the pinch point even when the rope looks fine on the outside. Replace natural fibre runs each spring and inspect polypropylene lines for UV cracking before the new season starts.
Frequently Asked Questions
What is the best knot for attaching garden rope to a post?
The clove hitch is the best all-round choice for timber and bamboo posts. It grips well, adjusts under light load, and unties cleanly at season's end. For smooth or slippery surfaces, use a constrictor knot instead.
It holds tighter under load but is harder to remove once fully tensioned.
How do I stop garden rope from slipping on metal posts?
Don't tie directly to a smooth metal post surface. Use clip-on cable clips or U-clips to create a fixed anchor point first, then tie the rope to the clip rather than the post. For a permanent fix, screw eyes bolted through a drilled hole give a non-slip, hardware-grade anchor.
How far apart should posts be spaced for a rope trellis?
A spacing of 1.5-1.8m works well for most garden rope trellis setups. Wider gaps cause the rope to sag mid-span under plant weight, especially with heavier crops like squash or climbing beans. For decorative rope fencing without plant load, 2-2.4m between posts is generally acceptable.
How long does garden rope last on outdoor posts?
Lifespan depends on material. Jute and hemp typically last one to two growing seasons before UV and moisture break down the fibres. Sisal holds up for two to three seasons.
Polypropylene rope can last three to five years in most climates. Check natural fibre rope each spring for brittleness or fraying before you use it again.
Can I reuse the same rope each season?
Natural fibres weaken at knot contact points and staple pinch areas after a full season under tension. In most cases, composting the old rope and starting fresh is the better call. Polypropylene rope can be reused if it shows no signs of UV cracking, colour fading, or significant stretch.

Similar Posts