How to Install Decking Rope: A Step-by-Step Guide
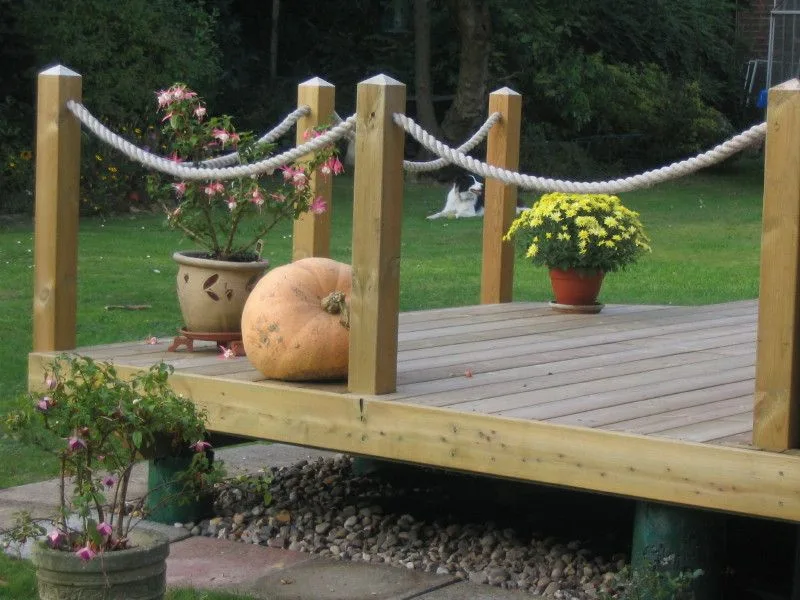
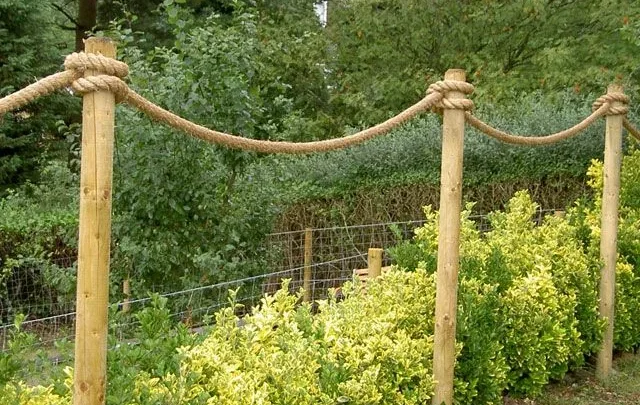
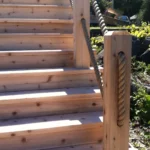
If you're wondering how to install decking rope, you already know the look you're after. Clean horizontal rope runs, timber posts, and that relaxed nautical character that glass panels and metal spindles simply can't replicate. The process is more involved than it appears, and most problems trace back to two things: wrong rope material and underestimated knot technique.
UK Building Regulations Approved Document K sets the minimum balustrade height at 1100mm. That applies to any deck more than 600mm above ground, with no gap between rope runs exceeding 100mm. These aren't optional guidelines, and any rope balustrade installed as of 2026 must meet them.
Here's what to buy, how to drill and thread, and how to knot and tension your way to a railing that holds.
Quick Answer
To install decking rope, drill evenly spaced holes through your deck posts. Feed the rope through each hole in sequence. Tie a stopper knot firmly against each post face.
Tension each run and check for mid-span sag. Four to five horizontal runs typically fill a 1100mm-high balustrade correctly.
What Rope, Tools, and Hardware Do You Actually Need?
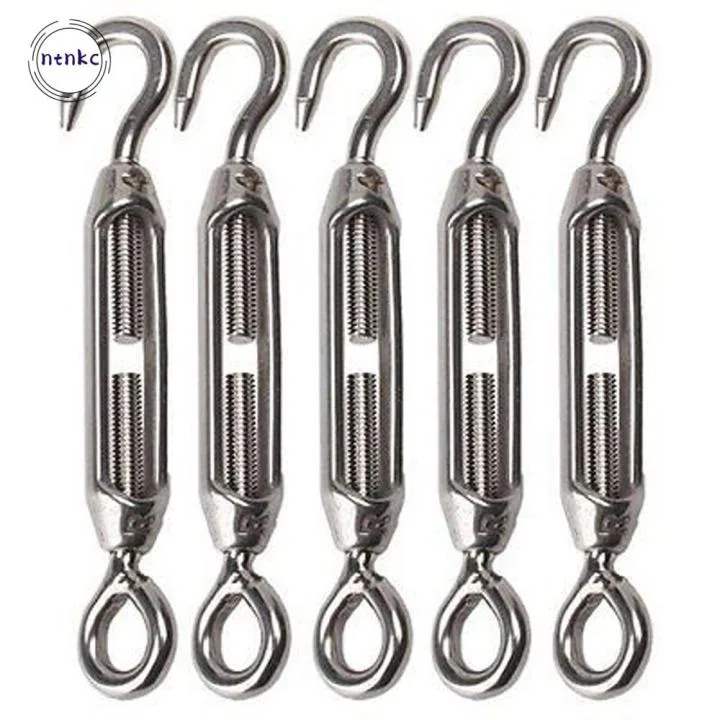
Getting the materials right before you start saves a lot of rework. The two decisions that matter most are rope material and diameter.
Rope material
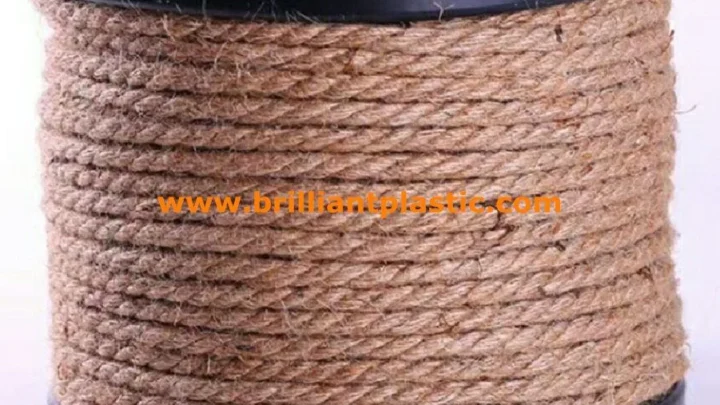
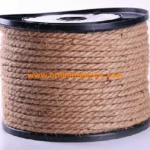
Manila is the traditional choice. It has a warm, golden-brown texture that suits timber posts and weathered decks well. Like heavy-duty natural outdoor cordage, manila absorbs moisture and will rot in persistently wet conditions without treatment.
Sisal, jute, and hemp-based rope share the same limitation. All three look great on timber decks but perform best in sheltered positions or with consistent seasonal treatment.
Synthetic polyester rope is the practical alternative. It looks nearly identical to natural rope, resists UV and rot, and holds tension far more consistently over time. For coastal or high-rainfall positions, it's the stronger long-term call.
Rope diameter
For most domestic decks, 24mm or 28mm hits the sweet spot.
| Diameter | Best For | Notes |
|---|---|---|
| 18mm | Decorative, light-duty use | Looks thin across longer spans |
| 24mm | Standard garden decks | Most popular size |
| 28mm | Wider post spacing, longer runs | Needs slightly larger drilled holes |
| 36mm | Feature-grade chunky posts | Heavy and harder to tension evenly |
Hardware and tools checklist
- Drill with a flat spade bit or auger bit, sized 2, 3mm above the rope's diameter
- M10 or M12 eye bolts for end posts
- Rope tensioners or turnbuckles for spans over 1.5 metres
- Whipping twine or a heat gun for sealing rope ends
- Tape measure, pencil, and a sharp rope knife
Add 15, 20% to your total rope length to account for threading and knotting at each post.
How to Install Decking Rope: Step-by-Step
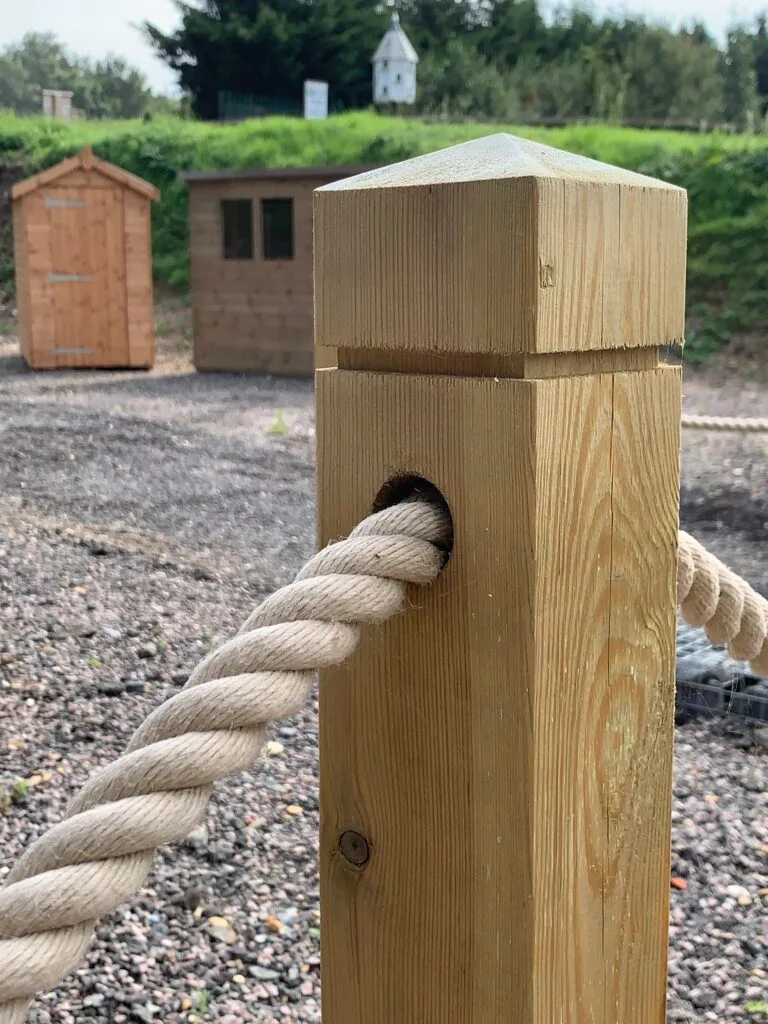
A methodical sequence matters here. Rushing the drilling stage produces crooked holes that show in the finished railing.
Step 1: Mark and Drill Your Post Holes
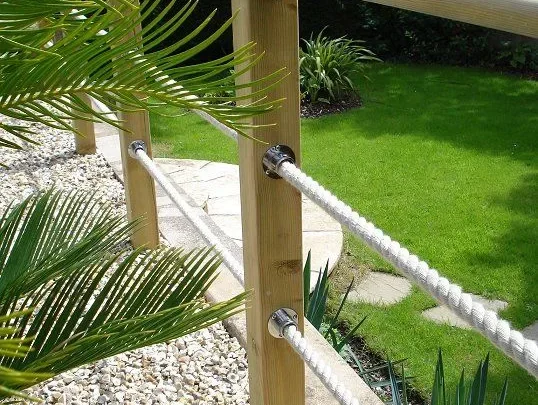
Fix all posts securely before you touch the rope. Once they're in place, mark consistent hole heights across every post using a tape measure and pencil. For a 1100mm balustrade with five rope runs, space your holes at roughly 180mm intervals starting around 100mm from the bottom.
Drill with a flat spade bit or auger bit. The hole needs to be 2, 3mm wider than the rope diameter so threading runs smoothly. Go slow on the exit side to avoid splintering the back face of the timber.
Step 2: Seal Your Rope Ends Before Threading
Cut rope ends fray fast and become nearly impossible to thread through tight holes once they unravel. Seal every cut end before threading anything. For synthetic rope, a heat gun or lighter melts and fuses the fibres in seconds.
For natural rope, wrap the end tightly with whipping twine for at least 50mm.
Step 3: Thread and Knot the Rope at Each Post
Feed a stiff wire leader through the drilled holes first, then attach your sealed rope end and pull it through. Start at one end post, pull through enough rope to tie your end knot, and work across toward the opposite post.
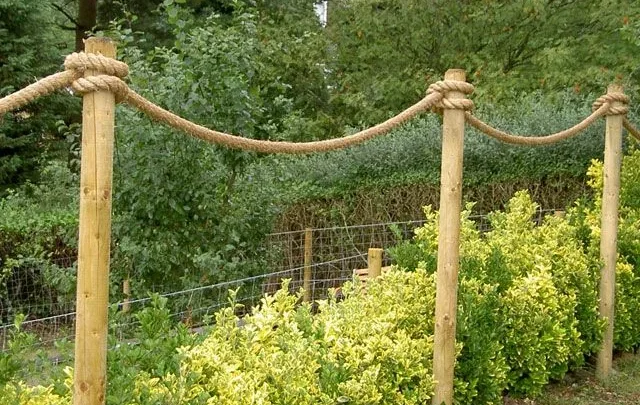
A figure-eight knot works best as your end knot. Tie it on the outer face of the end post where it seats flush against the timber and stops the rope pulling back through the hole.
Step 4: Tension Each Run and Check for Sag
At the far end post, pull the rope taut before tying off. For spans over 1.5 metres, fit a turnbuckle tensioner to allow fine adjustment later. Check sag at mid-span: you shouldn't be able to push the rope more than 30, 40mm off centre under moderate hand pressure.
Natural rope stretches as it settles. Plan to re-tension after the first two weeks.
The Right Knots for Decking Rope and Why They Hold
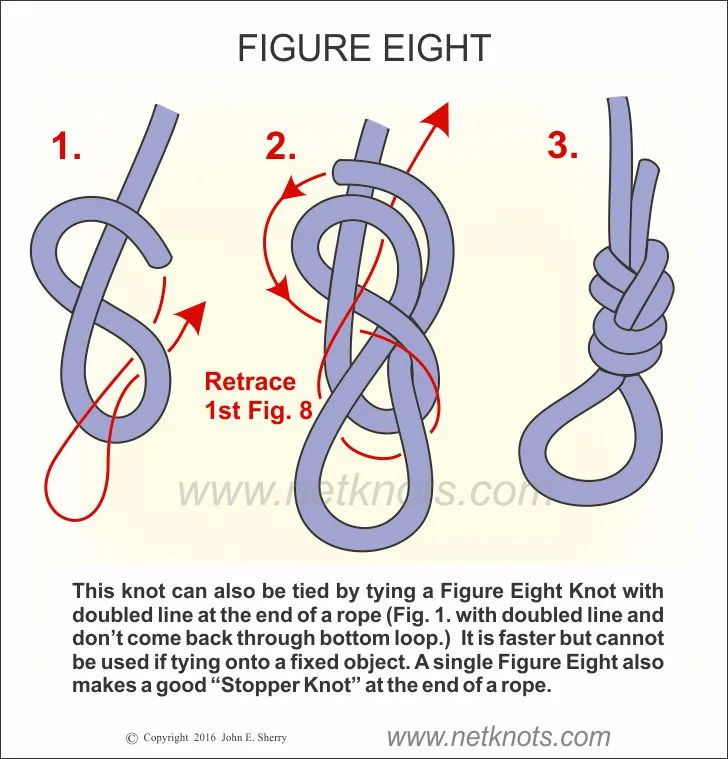
Knots are where most DIY rope railings fail. A poorly tied or misplaced knot works loose under tension and thermal movement within a season.
Figure-eight knot
Your primary end knot. Tie it on the outer face of the end post, where it acts as a positive stop against the post. A figure-eight creates a bulky, reliable lock that doesn't collapse under steady lateral load.
The visual check: the finished knot clearly forms a figure "8" shape and sits tight against the wood.
Matthew Walker knot
The better choice when aesthetics matter as much as function. It distributes load across multiple strands, looks cleaner at close range than a figure-eight, and suits 3-strand laid rope particularly well. It takes longer to tie correctly but doesn't slip or creep once set.
Stopper knot
A stopper knot is the simplest option for intermediate posts where rope passes through a hole but needs to be held at a fixed point. Tie one on each side of the hole to stop the rope shifting laterally along the run.
Why knots fail
Most failures come from tying knots in the wrong position, cutting rope too short before knotting, or choosing a knot that doesn't match the load direction. Natural fibre ropes also shrink when wet and loosen when dry. Check all end knots after the first heavy rainfall and re-tighten as needed.
Building Regulations Your Rope Balustrade Must Meet
Any rope railing used as a balustrade is a safety-critical structure. Non-compliance creates both a safety and a liability risk.
Key requirements from Approved Document K
According to the UK Government's building regulations guidance, Approved Document K specifies:
- Minimum balustrade height: 1100mm for decks more than 600mm above ground
- Maximum gap between rope runs: 100mm (the 100mm sphere rule, designed to prevent children passing through or becoming trapped)
- Minimum horizontal load resistance: 0.36 kN/m at the top of the balustrade
What this means in practice
With a 1100mm post height, four to five horizontal rope runs are typically needed to close all gaps below 100mm. Don't rely on visual estimation. Use a 100mm diameter rod to physically test every gap before finishing the job.
Post fixing is as critical as rope configuration. Posts surface-fixed only to deck boards with coach screws generally won't satisfy load requirements. Posts should be mortised into the deck frame or bolted through to the joist structure with appropriate steel connectors.
For commercial or rental properties, get a structural engineer to review the post design before installation.
Mistakes That Cause Sagging Rope, Rot, and Loose Knots
Most installation problems are predictable. These are the ones that come up most often.
Using natural rope in an exposed position without treatment
Manila and sisal absorb water readily. Other tough outdoor natural ropes share this weakness: untreated, they break down quickly in persistently wet conditions. In sheltered gardens, annual linseed oil treatment extends their life considerably.
In exposed or coastal positions, synthetic rope is the smarter starting point.
Not accounting for natural rope stretch
Natural rope can stretch 5, 10% in the first few weeks. If you tie off at full tension on day one, expect visibly sagging runs by week three. Tie off with slight over-tension, or plan to re-tension after the first fortnight.
Post spacing too wide
Beyond 1.8 metres between posts, rope sag becomes hard to manage regardless of tensioner hardware. Keep post centres at or below 1.5 metres for clean, consistent results across all runs.
Skipping the rope end seal
Unsealed rope ends fray inside post holes and make re-threading nearly impossible later. Heat-sealing or whipping each end takes 60 seconds. Don't skip it.
Drilling holes exactly the same diameter as the rope
A perfectly matched hole grips so tightly that threading becomes a fight and the rope wears faster at contact points. Drill 2, 3mm over the rope's diameter.
Not physically testing gap compliance
Eyeballing gaps between runs leads to failed inspections. Use a 100mm rod to test every opening before signing the job off.
How to Maintain Decking Rope Through the Seasons
Rope doesn't need constant attention, but a couple of checks each year will extend its life and keep your balustrade looking sharp.
Spring: inspect and re-tension
Winter frost and wet conditions work tension through the whole system. In spring, push each rope run at mid-span: anything deflecting more than 40mm needs tightening. Check all end knots and tensioners for signs of movement.
Natural rope is particularly susceptible to loosening after a cold, wet winter.
Summer: treat natural rope
If you're running manila or sisal, summer is the right time for a treatment coat. A light application of raw linseed oil, brushed along the full length, slows moisture absorption and reduces rot risk. Let it soak in for 24 hours before rain exposure.
Synthetic rope needs no treatment, but check for brittleness at post contact points once a year.
Autumn: check the hardware
Tensioners and eye bolts are most likely to show corrosion or backing-off after a season of thermal movement. Tighten anything that's shifted. Replace any bolt showing surface rust before it reaches the thread.
When to replace a run
Individual rope runs can be replaced without dismantling the whole system. If a run shows persistent sag that won't tension out, or visible fraying along its length, replace it before the next season. The full range of natural and synthetic outdoor rope options covers manila, sisal, hemp, and polyester in multiple diameters.
Natural rope typically lasts 3 to 5 years with treatment. Synthetic lasts 8 to 12 years before UV degradation becomes visible.
Frequently Asked Questions
How long does decking rope last outdoors?
Natural rope (manila, sisal, or hemp) lasts around 3 to 5 years in a sheltered garden with annual linseed oil treatment. In exposed or coastal positions, expect closer to 2 to 3 years. Synthetic polyester rope typically holds up for 8 to 12 years before UV degradation becomes a practical concern.
What diameter rope is best for deck railing?
24mm is the most common choice for standard domestic decks. It threads cleanly, ties reliable knots, and looks proportionate against 75mm or 100mm timber posts. For chunkier posts or longer spans, 28mm gives more visual weight and holds tension more consistently across the run.
How do I stop decking rope from sagging?
The main causes are natural rope stretch, post spacing over 1.5 metres, and no tensioner at the end post. Fit a turnbuckle tensioner where the span exceeds 1.5 metres, re-tension natural rope after the first two weeks, and keep post centres at or below 1.5 metres throughout.
Does decking rope need to be treated?
Synthetic rope needs no treatment. Natural rope (manila, sisal, hemp) benefits from an annual coat of raw linseed oil to slow moisture absorption and reduce rot risk. Always seal cut rope ends with heat or whipping twine before installation, regardless of rope type.
Can I replace a single rope run without dismantling everything?
Yes. Cut the old rope at both end knots, feed a new sealed rope through the existing holes using a wire leader, and re-knot at both ends. There's no need to remove posts or disturb adjacent runs.
The job typically takes under an hour per run.

Similar Posts