How to Use Garden Rope to Build a Stunning Pergola
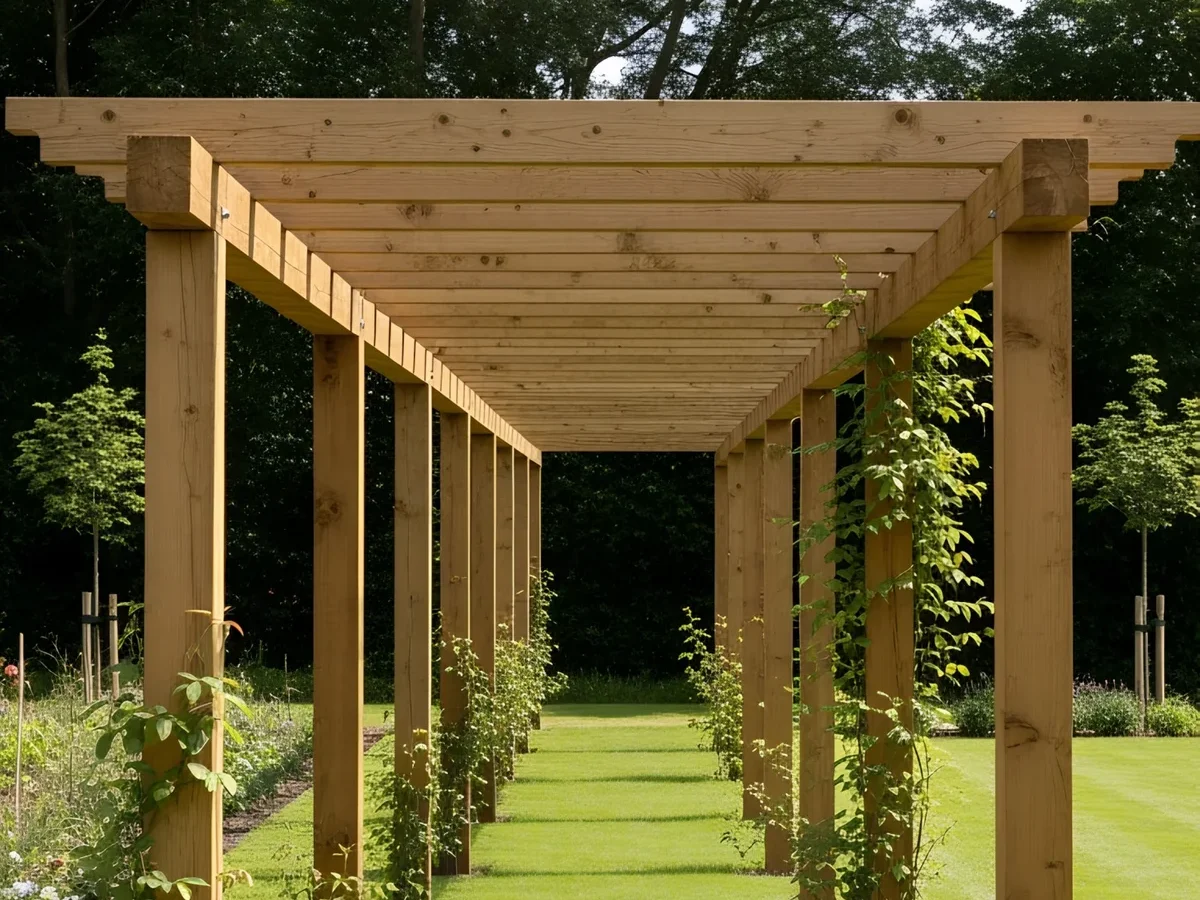
Knowing how to use garden rope for pergola projects is easier than most people assume, but the details make a real difference. A poorly rigged system sags under plant weight, slips at the knots, or rots out after one wet season. Get it right, and you've built a structure that supports years of vigorous climbing growth with minimal upkeep.
Research into outdoor rope performance shows that natural fibre ropes degrade at very different rates depending on material and diameter. A 10mm sisal rope carries roughly 800 to 1,000kg of tensile load, far more than any climbing plant will apply. Start with the right material and thickness, and the rest becomes straightforward.

Quick Answer
To use garden rope for a pergola, install eye bolts along the posts. Run horizontal or grid rope lines between them. Tie each end with a clove hitch or timber hitch knot.
Space lines 20 to 30cm apart for climbing plant coverage. Natural ropes like sisal and hemp perform best outdoors.
Which Garden Rope Actually Lasts Outdoors: Materials, Thickness, and What to Avoid
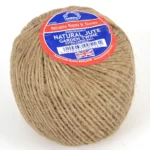
The most common mistake is reaching for thin jute twine for a pergola job. Jute is perfect for light plant tying, but it breaks down fast outdoors. On a pergola exposed to rain, frost, and UV all year, it won't survive a single season.

For a pergola rope system, your practical options are:
| Rope Type | Outdoor Lifespan | Best For | Weakness |
|---|---|---|---|
| Sisal | 2-4 years | Climbing plant grids, decorative runs | Stiff, rough on delicate stems |
| Hemp | 3-5 years | General plant support, aesthetics | Higher cost than sisal |
| Coir (coconut) | 3-5 years | Coastal or humid gardens | Less widely available |
| Polypropylene | 5-10 years | Long-term permanent systems | Plastic appearance, not biodegradable |
| Jute | Under 1 season | Light indoor or covered tying only | Rots quickly outdoors |
As of 2026, sisal and natural hemp cord remain the most popular choices for pergola use. They're strong, look natural against timber, and hold knots reliably.
Rope thickness matters as much as material. For climbing plant support on a standard pergola, 8 to 10mm diameter is the sweet spot. Thinner rope cuts into soft plant stems and won't hold tension cleanly across a long span.
Rope at 12mm or above works structurally but looks bulky and is harder to knot.
What You Need Before You Start: Fixings, Tools, and Basic Measurements
Before you thread a single strand of rope, get the fixings sorted. The rope is only as good as what it's anchored to.
Fixings:
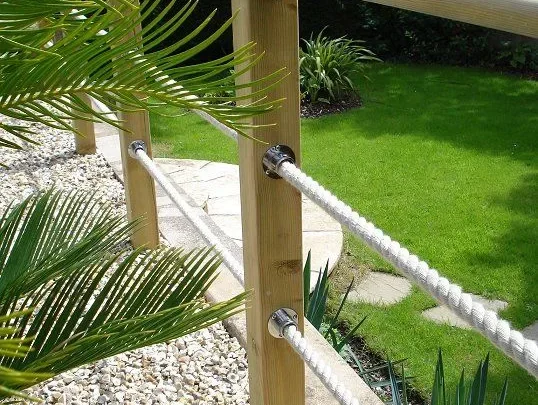
- Galvanised or stainless steel eye bolts (M6 or M8 for timber pergola posts)
- Screw-in hook eyes for lighter decorative rope runs
- Stainless steel turnbuckles or rope tensioners for spans over 2m
- Metal rope thimbles to protect the rope eye at anchor points
Use galvanised or marine-grade stainless steel for all outdoor fixings. Zinc-plated hardware rusts out within 12 to 18 months in most UK and northern US climates.
Tools:
- Cordless drill with a 6 to 8mm wood drill bit
- Tape measure and chalk line
- Spirit level
- Sharp knife or lighter for sealing rope ends cleanly
- Work gloves (sisal and hemp are rough on bare hands)
Estimating rope length:
Measure the span between posts and multiply by the number of lines you plan to run. Add 20% for knots, waste, and adjustments. For heavy-duty rope runs, always buy slightly more than your calculation suggests.
Running short mid-installation forces compromised tension or unsightly joins.
| Pergola Size | Lines at 25cm Spacing | Approx. Rope Needed |
|---|---|---|
| 2m × 2m | 8 lines | ~20m |
| 3m × 3m | 12 lines | ~40-50m |
| 4m × 3m | 12 lines | ~55-65m |
How to Attach Rope to a Pergola: Anchor Points, Eye Bolts, and Knots That Hold
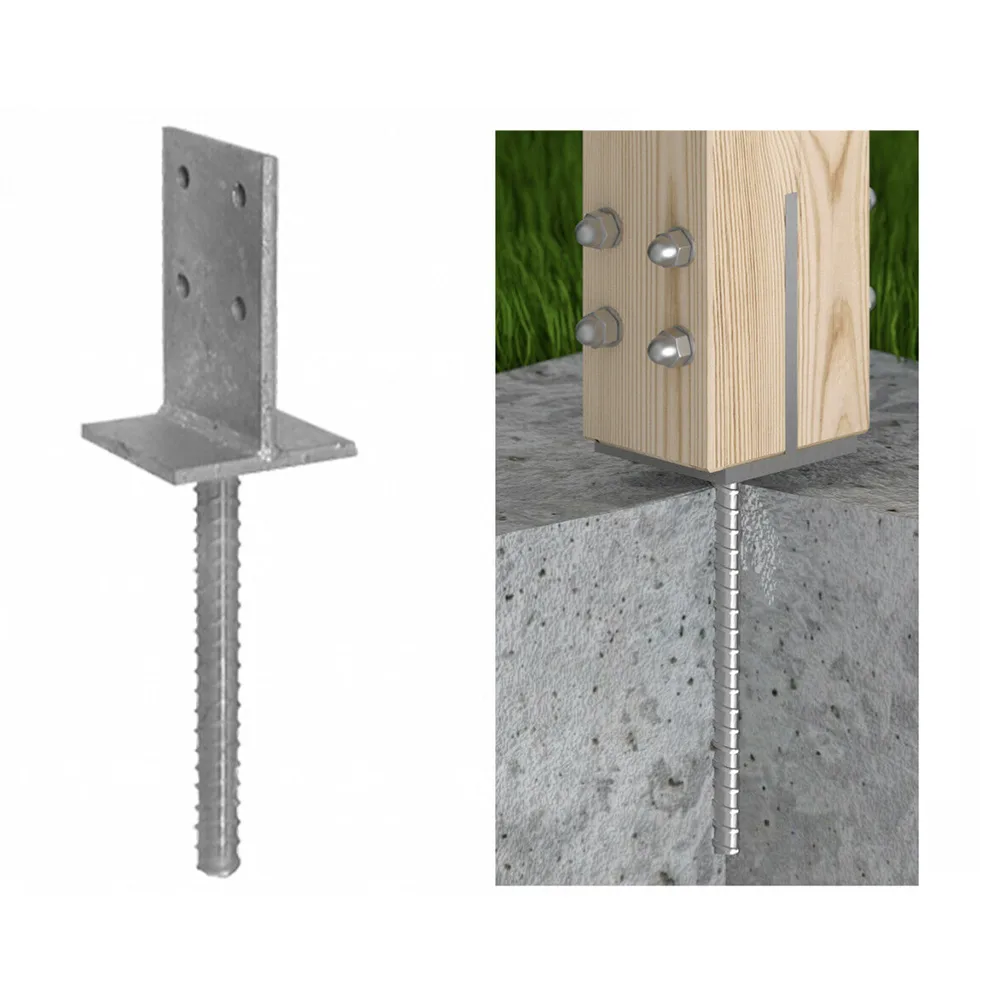
Mark your anchor points on each pergola post first. Use a spirit level and chalk line so they align horizontally across the span. For climbing plant support, space eye bolts 25 to 30cm apart vertically.
For a diagonal decorative run, mark a grid and offset every other bolt by half a spacing unit.
Drill pilot holes slightly smaller than your eye bolt diameter. Screw each bolt in firmly by hand, then finish with a screwdriver through the eye for added torque. They should sit flush to the post with no wobble.
The Royal Horticultural Society recommends a minimum fixing depth of 40mm into structural timber for garden plant support systems, which applies directly to pergola eye bolt installation.
The three knots worth knowing:
- Clove hitch: The go-to starting knot. Wraps around the eye bolt and holds firmly under load. Easy to untie and reposition later.
- Timber hitch: Self-tightening under tension. Ideal for natural rope on wood. Hard to loosen accidentally.
- Half hitch (repeated): Use this to lock off the tail end after your main knot.
Tie your starting knot, run the rope across the span, apply firm hand tension, then tie off at the opposite anchor. The rope should feel firm but shouldn't strain the fixing hardware. For spans over 2.5m, thread a turnbuckle into the line so you can fine-tune tension after the rope settles.
Three Rope Layout Patterns That Work Best on a Pergola
The pattern you choose affects how plants grow, how private the space feels, and how the pergola looks before plants fill in.
Horizontal lines
Run parallel ropes from post to post at 20 to 30cm intervals. Plants grow upward and find natural anchoring at each line. This works well for wisteria, climbing roses, and most vigorous climbers.
It's also the easiest pattern to maintain and re-tension each season.
Grid pattern
Run horizontal lines first, then cross them with vertical lines. Tie each intersection with a short piece of outdoor-rated natural twine to stop lines shifting under plant weight. The result is a trellis-style structure that holds lighter plants like jasmine and clematis very effectively.
Diagonal or fan pattern
Fix a central anchor near the top of the pergola and run lines outward and downward in a fan shape. This suits ornamental pergolas where you want a visual feature year-round. Grapevines respond particularly well to angled training because lateral canes produce better fruit set than vertical growth.
| Pattern | Best Plants | Visual Effect | Difficulty |
|---|---|---|---|
| Horizontal lines | Wisteria, roses, hops | Clean, structured | Easy |
| Grid | Clematis, jasmine | Dense, trellis-like | Moderate |
| Fan or diagonal | Grape, ornamentals | Geometric, dramatic | Moderate |
There's no rule that locks you into one pattern. Many gardeners run horizontal lines on two sides and a fan on the end panel to create variety across the same pergola.
How to Train Climbing Plants Along Pergola Rope Lines

Most climbing plants don't self-attach to rope the way they grip wire mesh or rough timber. You'll need to guide them actively through the first growing season.
Getting stems onto the ropes:
- Wait until the plant has established at the base (usually 4 to 6 weeks after planting).
- Gently bend the strongest stem toward the nearest rope line.
- Attach it loosely with a figure-of-eight tie using soft plant-tying twine. The figure-of-eight keeps the stem from rubbing directly against the rope.
- Never pull stems taut. Leave slack for growth and seasonal swelling.
Guide new stems every 2 to 3 weeks through spring and early summer. Training horizontally works especially well for roses and wisteria, where lateral growth produces far more flowering shoots than unchecked vertical growth.
Research from University of Minnesota Extension confirms that active plant guidance in the first season is critical to how well climbers establish on any support structure.
For plants with tendrils or aerial roots like clematis, the rough texture of sisal or hemp gives them a natural grip point. Keep lines at 20 to 25cm spacing so tendrils can reach between them without straining.
Inspect all ties at the end of each growing season. Replace any that have tightened around woody stems and remove ties from stems that have hardened enough to support themselves.
Mistakes That Cause Rope Systems to Sag, Slip, or Rot Early
Rope that's too thin
Rope under 8mm diameter lacks the rigidity to hold tension across a span without sagging. It also cuts into plant stems as they thicken through the season. Eight to 10mm is the minimum for any climbing plant application.
No eye bolts
Tying rope directly to a pergola post gives it no fixed anchor point. It will shift or slip as plants add weight. Eye bolts take 10 minutes to install and make the system significantly more reliable over time.
Over-tightening at installation
Natural rope stretches as it weathers and then contracts in dry spells. Rope pulled too tight at the start can bow timber posts or pull fixings loose by midsummer. Set initial tension firm, and use a turnbuckle to adjust after the rope has settled.
Untreated cut ends
Every cut end of natural rope frays within a few weeks if left raw. For sisal and hemp, wrap the end tightly with a short binding of twine before finishing. For polypropylene, briefly pass the cut end through a flame to melt and seal the fibres.
Skipping seasonal checks
Natural rope stretches when wet and contracts when dry. Lines that felt taut at installation can sag noticeably by midsummer. A quick tension check at the start of each growing season keeps the whole system performing as it should.
FAQs: Garden Rope for Pergolas
How much rope do I need for a pergola?
For a standard 3m × 3m pergola with lines spaced 25cm apart, plan for 40 to 50 metres. Measure your span, multiply by the number of lines you plan to run, then add 20% for knots and waste. Always buy slightly more than your calculation suggests.
What is the best knot for attaching rope to a pergola?
The clove hitch is the most practical choice. It holds firmly under consistent load, doesn't slip when tension is applied, and can be untied and repositioned easily when plant growth needs adjusting at the end of the season.
Can garden rope support string lights on a pergola?
Yes, provided you use rope rated for the load. Most outdoor string light sets weigh well under 5kg per span, which any 8 to 10mm sisal or polypropylene rope handles comfortably. Fix the rope end points to eye bolts rather than draping the rope loosely over posts.
How often should I replace natural rope on a pergola?
Sisal typically lasts 2 to 4 years outdoors. Hemp runs slightly longer at 3 to 5 years. Inspect at the start of each growing season.
Replace any rope showing consistent fraying, discolouration, or loss of tension that can't be corrected by re-tightening.
Will natural rope rot if it stays wet?
Natural fibres like sisal and hemp degrade faster in consistently wet conditions. They won't rot overnight, but persistent moisture shortens their lifespan considerably. In very wet climates, polypropylene rope is a more practical long-term choice, though it sacrifices the natural look most gardeners prefer.

Similar Posts