Garden Rope Rustic Fencing: A Complete How-To Guide
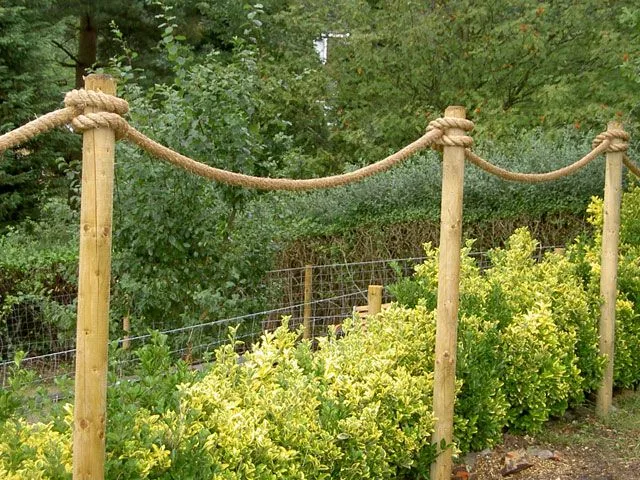
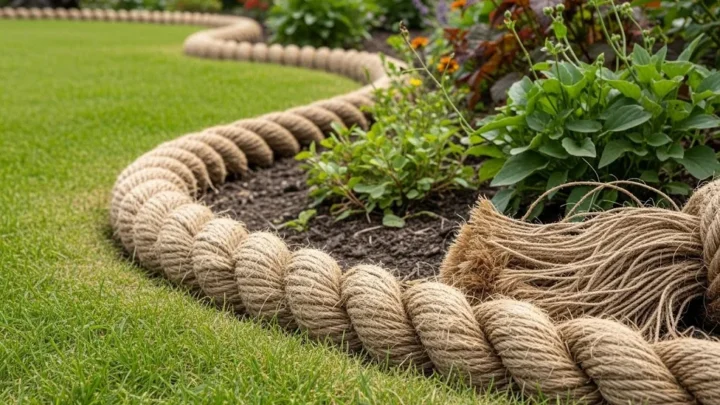
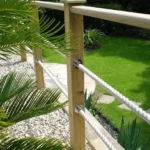
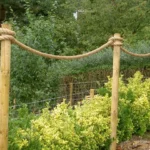
Learning how to use garden rope for rustic fencing is one of the most satisfying garden projects you can take on at low cost. The look is warm, natural, and genuinely charming. It suits cottage gardens, coastal plots, allotments, and front garden borders equally well.
The most popular rope choices, as of 2026, are jute, sisal, hemp, and coir, each lasting between one and seven years outdoors depending on material and climate. Post spacing typically runs 80 to 120 cm apart. Once you understand post depth, rope tensioning, and basic knotwork, the whole thing comes together quickly.
Quick Answer
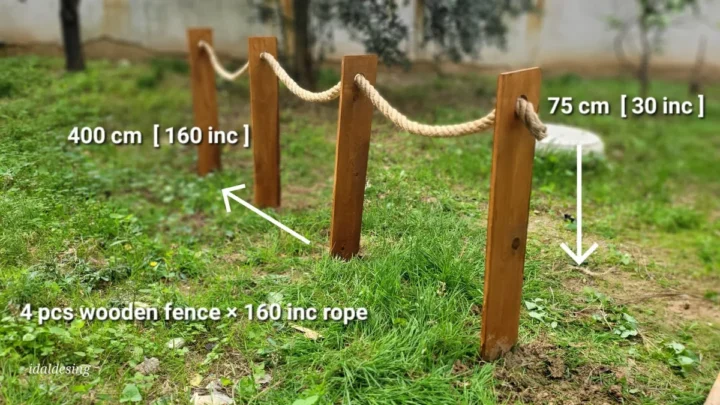
The key to using garden rope for rustic fencing is solid post placement. Space timber posts 80 to 120 cm apart. Drive each post at least 30 cm into the ground.
Thread or tie natural rope between posts at two to four heights. Clove hitch and cleat hitch knots hold the rope reliably at each post.
Why Garden Rope Makes Such a Good Rustic Fence (And When It Actually Works)
Garden rope fencing is easy to install, affordable, and looks exactly right in a natural garden setting. A basic 10-metre run costs as little as £20 to £40 in materials. Timber panel fencing for the same stretch costs three to five times more.
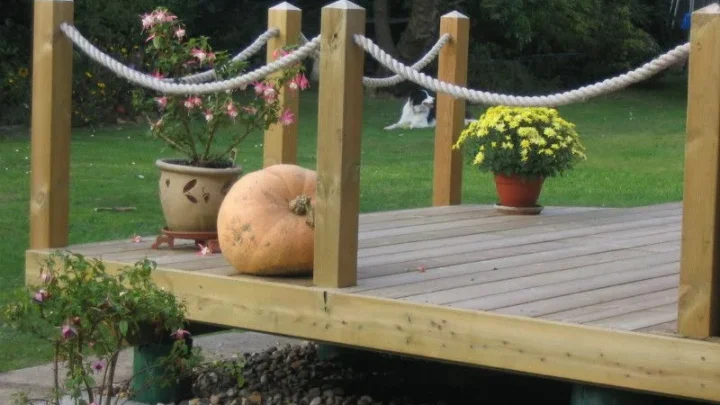
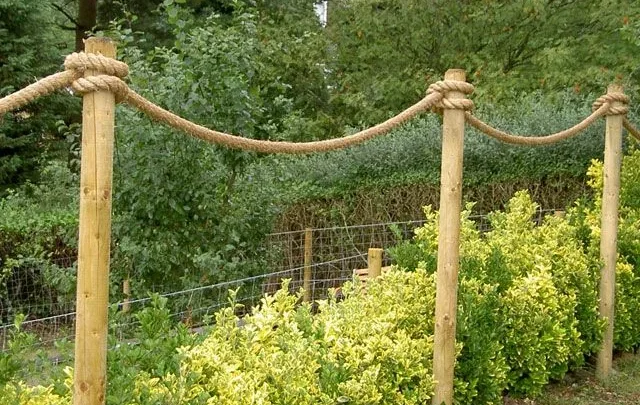
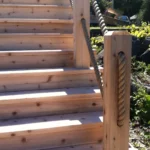
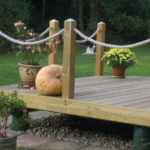
The style suits garden borders, pathway edges, flower bed perimeters, and allotment boundaries. It fits cottage, coastal, nautical, and farmhouse-style gardens particularly well. The rope's natural texture sits comfortably alongside timber, stone, gravel, and dense planting.
The ideal height for a decorative rope fence is 60 to 90 cm. That range reads clearly as a boundary without blocking sightlines or obscuring neighbouring planting.
Where it falls short: anywhere you need real security, animal containment, or a solid windbreak. A rope fence is decorative and directional, not structural. It marks a boundary clearly, but it won't hold back a determined pet or stop intruders.
If your fence runs next to a road in the UK, permitted development rules cap the height at one metre. Anything taller needs planning permission before you start.
Choosing the Right Rope: Jute, Sisal, Hemp, and Coir Compared
The rope material determines how the fence looks, how long it survives outdoors, and how often it needs replacing. Here's a straightforward comparison of the four most common natural options.

| Rope Type | Typical Outdoor Lifespan | Texture | Best For |
|---|---|---|---|
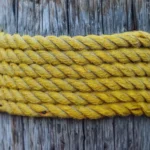
| Jute | 1 to 2 years | Soft, light tan | Seasonal or temporary borders |
| Sisal | 3 to 5 years | Rough, golden-brown | Medium-term garden fencing |
| Hemp | 4 to 7 years | Firm, earthy brown | Permanent or semi-permanent fences |
| Coir | 3 to 5 years | Very coarse, fibrous | Exposed or coastal gardens |
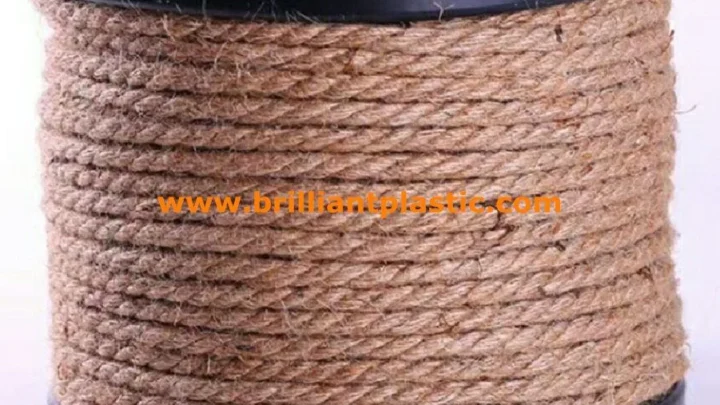
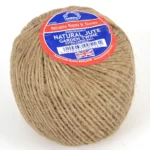
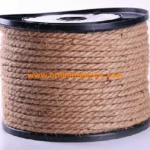
Jute is the cheapest and degrades fastest in wet conditions. Sisal holds up well in most temperate UK and US gardens. Hemp is the most durable natural choice, resisting moisture and UV degradation better than either jute or sisal.
That's why it costs more per metre.
For a fence meant to last, thicker-gauge hemp rope in 10 mm or 16 mm diameter is the most reliable starting point. For seasonal borders or a temporary allotment fence, a roll of jute in 8 to 10 mm gets the job done at a lower upfront cost.
For most UK and US climates, sisal or hemp in 10 mm hits the sweet spot between cost, longevity, and visual weight. Go thicker for a bold country look, thinner for a lighter border edge.
What You Need Before You Start: Posts, Rope, and Tools
A standard 10-metre rope fence with three rails needs roughly 36 metres of rope and nine to twelve posts. Here's the full materials and tools list.
| Item | Spec | Approx. Cost |
|---|---|---|
| Timber fence posts | 90 cm above ground, 30 cm below | £4 to £10 each |
| Natural rope (sisal or hemp) | 10 mm diameter, 3-strand twist | £0.15 to £0.40/metre |
| Post driver or club hammer | For driving posts | Hire from £10/day |
| Spirit level | Checking vertical alignment | £5 or already owned |
| Whipping twine or tape | Sealing rope cut ends | Under £5 |
| Craft knife or scissors | Clean rope cuts | Already owned |
Timber posts should be pressure-treated softwood or naturally durable hardwood like oak or larch. Pressure-treated timber resists rot for 15 to 20 years, giving the fence a solid, long-lasting anchor. Add 20% to your rope total to account for knots and wastage.
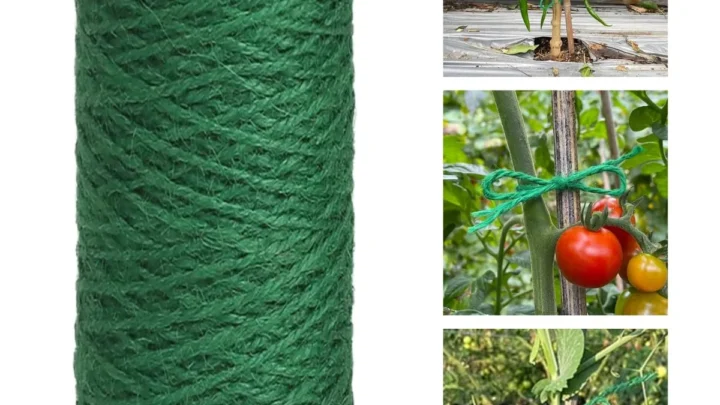
Rope in the 16 mm range gives a bolder, more rustic look and sags less between posts. If you're also growing climbers along the fence line, rope suited to climbing plant support handles both jobs with the same material.
How to Build a Garden Rope Fence Step by Step
Mark and Space Your Posts
Run a string line the full length of your fence route. Mark post positions every 80 to 120 cm with a stake or spray paint. Consistent spacing matters more than hitting an exact number.
Uneven gaps make the finished fence look rushed.
Drive Posts to the Right Depth
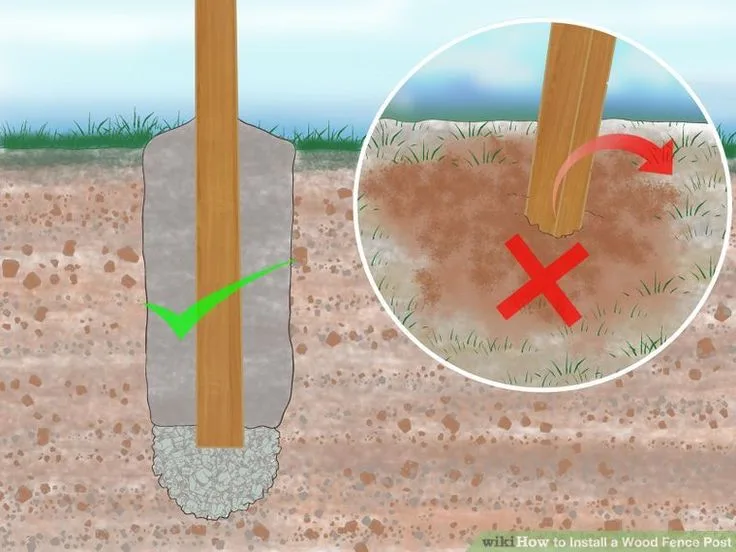
Each post needs at least one-third of its total length below ground. For a 120 cm post, that's 40 cm underground and 80 cm above.
Drive posts with a post driver or club hammer, using a block of scrap timber to protect the top. Check each post with a spirit level before moving to the next.
Cut, Seal, and Tension Your Rope
Measure each rope length to span the full run, with 30 cm extra per end for knotting. Seal cut ends immediately by wrapping tightly with whipping twine. This stops fraying and keeps moisture out of the twist.
Starting at one end post, tie your first knot and feed the rope to the next post. Maintain steady, even tension throughout. Don't pull hard enough to bow the posts inward.
Tie Off Each Post Cleanly
At every intermediate post, tie the rope off firmly rather than looping around. A loose loop slips under load or wind pressure. Finish each run at the final post with a locking knot and trim the tail.
Repeat for each rope rail, working from the bottom strand upward.
The Knots That Hold It All Together (And How to Tie Them Right)
The knot is the weakest point in any rope fence. Get it right and the fence stays taut for years. Get it wrong and you'll be re-tensioning it every few months.
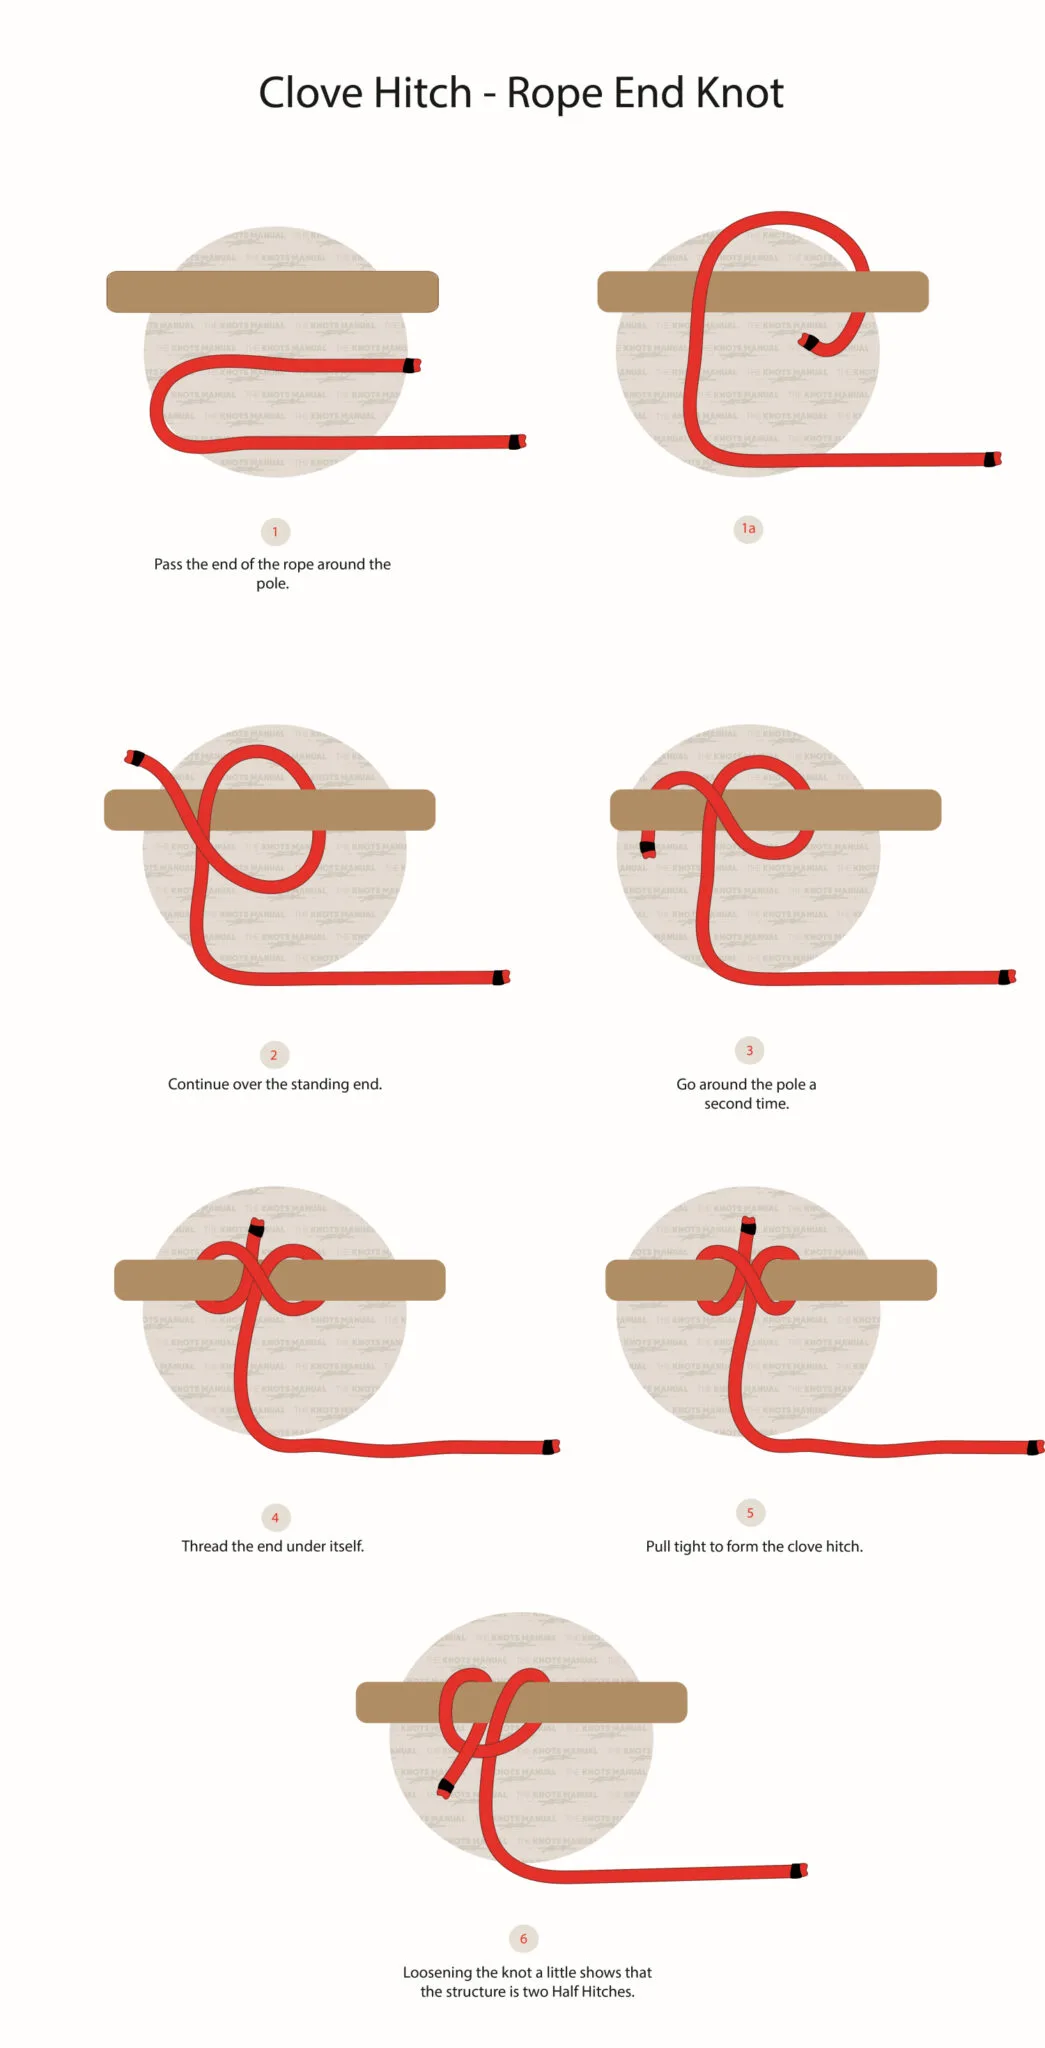
Three knots cover almost every rope fence application:
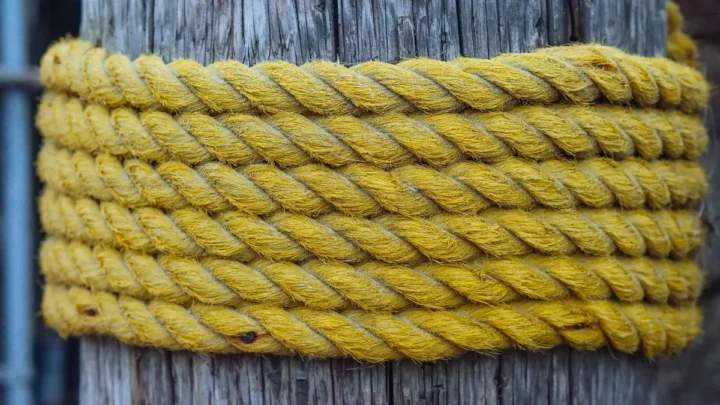
Clove hitch. The standard choice for intermediate posts. It grips well under load and is quick to tie and release. Wrap the rope around the post twice in a crossing X pattern.
Tuck the tail under the second wrap to lock it.
Cleat hitch. Best for start and finish posts where you need a firm, adjustable hold. It locks securely but releases cleanly when you need to re-tension the rope later.
Half hitch (doubled). Used as a finishing knot over a clove or cleat hitch for extra security. Two half hitches over the standing rope hold firmly even after rain and temperature cycles.
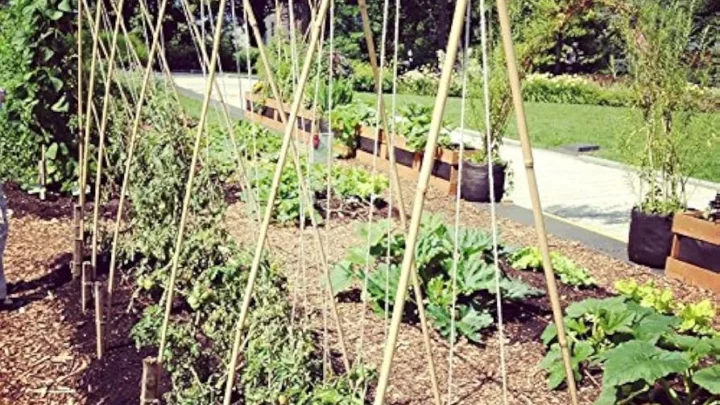
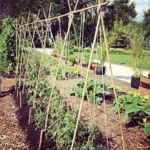
For fencing around a vegetable plot, rope that also works for tying in crops and veg gives you versatility beyond the fence itself. The full range of garden rope types covers the natural fibre options worth considering for any garden boundary project.
Mistakes That Make Rope Fences Sag, Rot, or Fall Apart
The most common mistake is going too shallow with posts. Many fencers drive them only 15 to 20 cm into the ground. That's not enough in any soil type.
In loose or sandy ground, posts at that depth lean or rock within a season.
Using jute in a consistently wet climate is the next fastest way to shorten a fence's life. Jute degrades quickly once it starts holding moisture. In rainy UK gardens or damp Pacific Northwest climates, the small extra cost of sisal or hemp pays back many times over.
Looping rope around intermediate posts instead of knotting is a shortcut that fails fast. A loop shifts under tension or wind load within weeks. A clove hitch at every post takes only seconds more to tie and holds indefinitely.
Overtensioning is as damaging as leaving the rope slack. Pulling too tight bows posts inward over time and works the base loose. Aim for firm tension with a small natural sag of 2 to 3 cm at mid-span between posts.
Skipping seasonal checks is where most long-term damage quietly begins. A 10-minute inspection each spring catches loose knots, early-stage rot, and frost-heaved posts before they turn into a full replacement job.
How to Make Your Rope Fence Last Longer
Annual treatment is the single biggest factor in rope lifespan. Raw linseed oil or a beeswax-based rope dressing, applied at the start of spring, resists moisture absorption far better than untreated natural fibre. Apply in dry conditions before the wet season arrives.
Keep the rope off the soil surface. Ground contact accelerates rot faster than rain exposure, especially on jute and sisal. Where rope runs low on a post, make sure the lowest strand stays above bare soil.
Re-tension the fence once a year. Rope stretches through the first wet and dry cycle, losing roughly 10 to 15% of its initial tension. A quick walk along the fence each spring, tightening slack knots, restores the structure and extends its life.
Replace individual rope rails when one section shows wear rather than pulling the whole fence out. Posts typically outlast rope by many years. Swapping a single rail takes under 30 minutes and costs only a few pounds in new material.
After a hard winter, check posts for frost heave. A post that has lifted even a centimetre needs driving back down before the ground softens completely. Left too long, it leans and the rope line runs visibly uneven.
If climbing plants take hold on the rope, trim them back promptly. Vegetation traps moisture against natural fibres and accelerates rot faster than weather alone.
Frequently Asked Questions
How long does a garden rope fence actually last?
It depends on rope type and your climate. Jute lasts 1 to 2 years in wet conditions. Sisal manages 3 to 5 years with basic care.
Hemp, treated with linseed oil or beeswax each spring, can reach 6 to 7 years. Timber posts typically outlast the rope by a decade or more.
What rope diameter works best for a rustic garden fence?
10 mm diameter is the most versatile choice for most garden fences. It looks substantial from a distance and holds knots reliably. Go up to 16 mm for a chunkier, more country-style look.
Drop to 6 or 8 mm only for lightweight decorative borders with closely spaced posts.
Do rope fence posts need to be set in concrete?
Not always. In firm, clay-heavy soil, well-driven posts at the correct depth hold securely without concrete. In loose or recently cultivated soil, a small concrete collar adds useful stability.
Most domestic rope fences perform well without concrete when post depth is correct.
How do I stop the rope sagging between posts?
Reduce post spacing and use a thicker rope. Posts set 80 to 90 cm apart carry a shorter rope span and sag less under their own weight. Rope at 12 mm or 16 mm diameter also holds its shape better at standard 100 cm spacing.
Re-tension all knots at the start of each season.
Can a garden rope fence keep pets in the garden?
Not reliably. A rope fence at 60 to 90 cm is a visual marker, not a physical barrier. Cats clear it easily and most dogs can push through or duck under the lowest strand.
For reliable pet containment, a close-boarded timber, post-and-rail, or metal mesh fence is the more suitable option.

Similar Posts