Garden Rope Edging: Create Perfect Lawn Borders

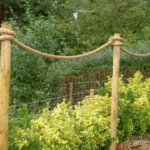
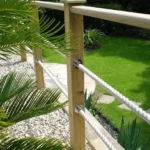
Knowing how to use garden rope for edging is one of those small skills that has an outsized effect on how a garden looks. A well-defined border separates lawn from bed, gravel from planting, and gives the whole space a sense of intention. Rope edging achieves that without concrete, specialist tools, or a large budget.
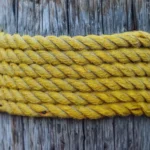
The standard diameter for garden edging rope sits between 16mm and 20mm, thick enough to read clearly from a distance but easy to handle by hand. Material choice matters just as much as thickness. Jute, sisal, and polypropylene each behave differently once installed.
Getting that choice wrong leads to sagging, early rot, or a look that doesn't suit the setting.
Quick Answer
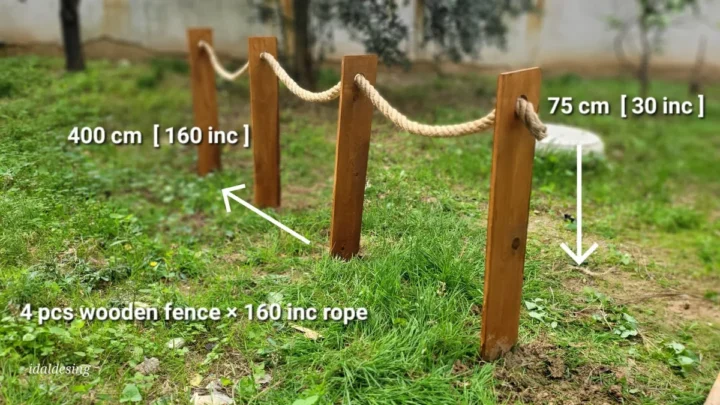
Garden rope edging creates a clean, raised border along a garden edge. Drive stakes at a slight outward angle every 60 to 90cm. Thread rope through stake hooks or tie it securely at each post.
Pull it taut as you work along the run. Pre-soak natural fiber rope before installing to reduce post-install sag.
Why Garden Rope Makes Such a Clean Edge
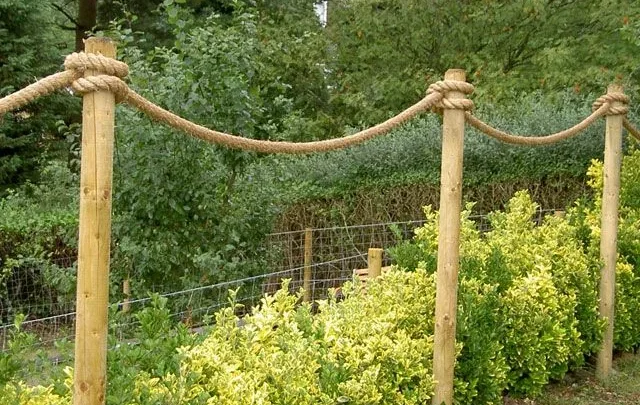
Garden rope edging works because it gives a border a visible, three-dimensional presence. A spade-cut lawn edge is subtle. Rope is immediate.
Even from across the garden, a rope border tells you clearly where the planting zone ends and the lawn begins.
The practical advantages go beyond aesthetics. Unlike brick or metal edging strip, rope follows curves without cutting or bending. If the line isn't working, pull the stakes and reposition in minutes.
No rigid material gives you that option.
The aesthetic suits a wide range of garden styles. Twisted natural rope fits cottage borders, heritage kitchen gardens, and formal parterre layouts equally well. The Royal Horticultural Society identifies defined edging as one of the highest-impact structural changes a gardener can make to a domestic space.
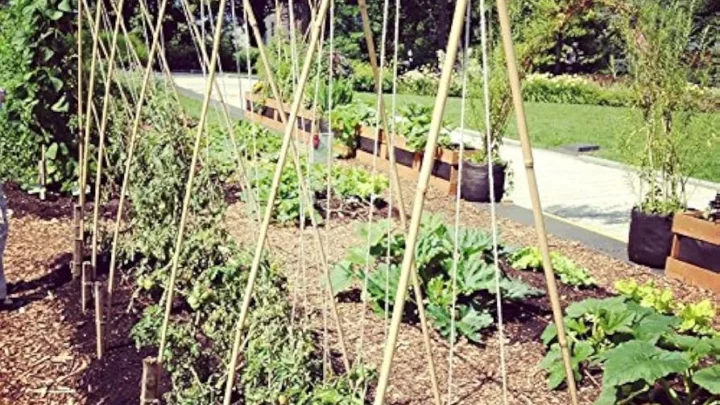
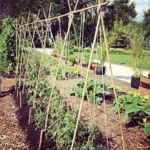
Rope also acts as a gentle deterrent to creeping lawn grass. It won't stop determined growth entirely, but it slows encroachment enough to extend maintenance intervals. If you're already using natural fiber for plant support elsewhere in the garden, structural edging rope is a logical next step.
A 10-metre run typically costs between £15 and £40 all-in, depending on material and stake type. That compares favorably against brick, stone, or metal strip edging, which often runs two to three times higher for the same length.
Jute, Sisal, or Polypropylene: Picking the Right Rope for the Job
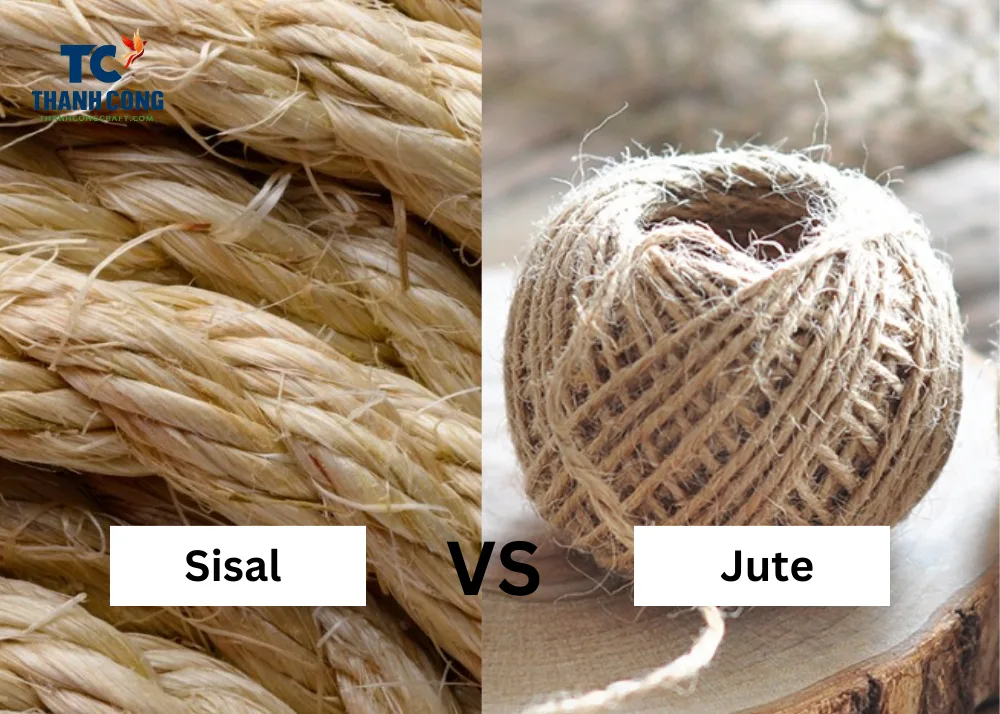
Garden rope edging comes down to three core materials. Each behaves differently in the ground, and picking the wrong one creates problems that are frustrating to fix mid-season.
| Rope Type | Lifespan | Visual Quality | Key Weakness |
|---|---|---|---|
| Jute | 1-3 years | Excellent natural look | Sags if installed dry |
| Sisal | 2-5 years | Very good, rougher texture | Absorbs moisture over time |
| Polypropylene | 5-10+ years | Fair | Reads as synthetic up close |
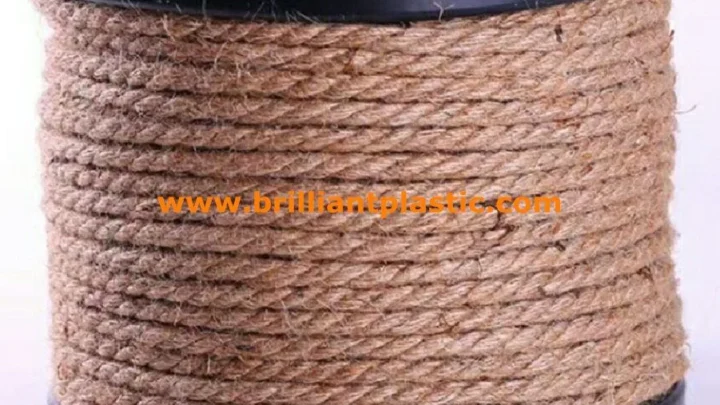
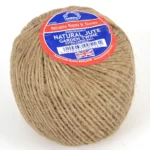
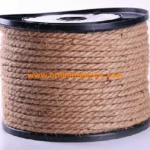
Jute is the most affordable option and fully biodegradable. Heavy-duty jute handles edging well for one or two seasons. In wet climates, expect to replace it within 18 months.
It also works as a practical temporary border while you're finalizing a bed's shape.
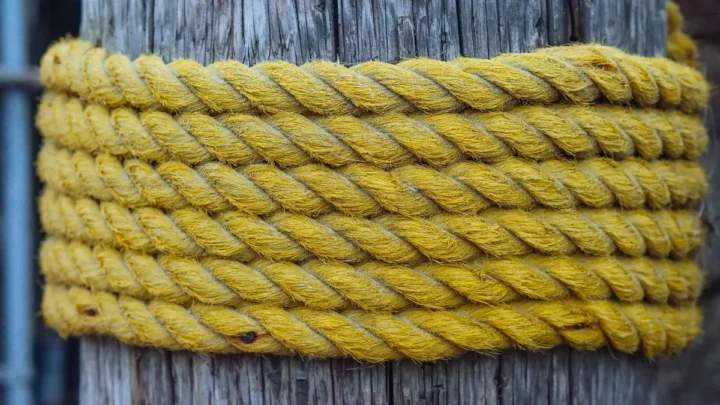
Sisal is denser and more durable, with a coarser texture that holds its shape better under sustained rain. It's the most versatile natural choice for home gardeners who want a long-lasting look. Thicker-gauge sisal rope makes a particularly solid edge, and the slightly higher cost pays back over two or three growing seasons.
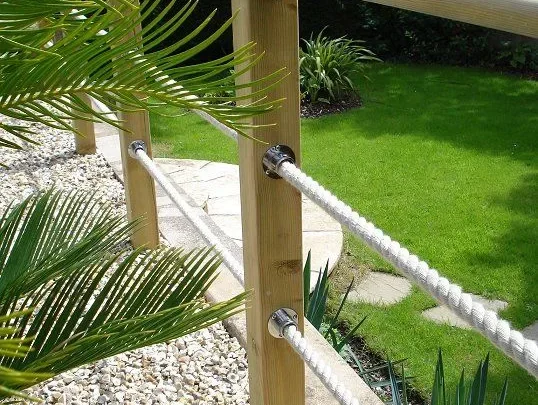
Polypropylene won't rot and resists UV degradation. That makes it the right pick for exposed front gardens and driveway borders where durability matters most. Up close, though, synthetic rope often reads as cheap, especially in gardens where natural materials dominate the design.
If your rope also needs to support climbing plants or tie in canes nearby, choosing a natural fiber throughout keeps the garden consistent.
How to Install Garden Rope Edging Step by Step
Getting the installation right comes down to four things: a guide line, stake angle, consistent spacing, and proper tension. Cut any of those corners and it shows immediately.
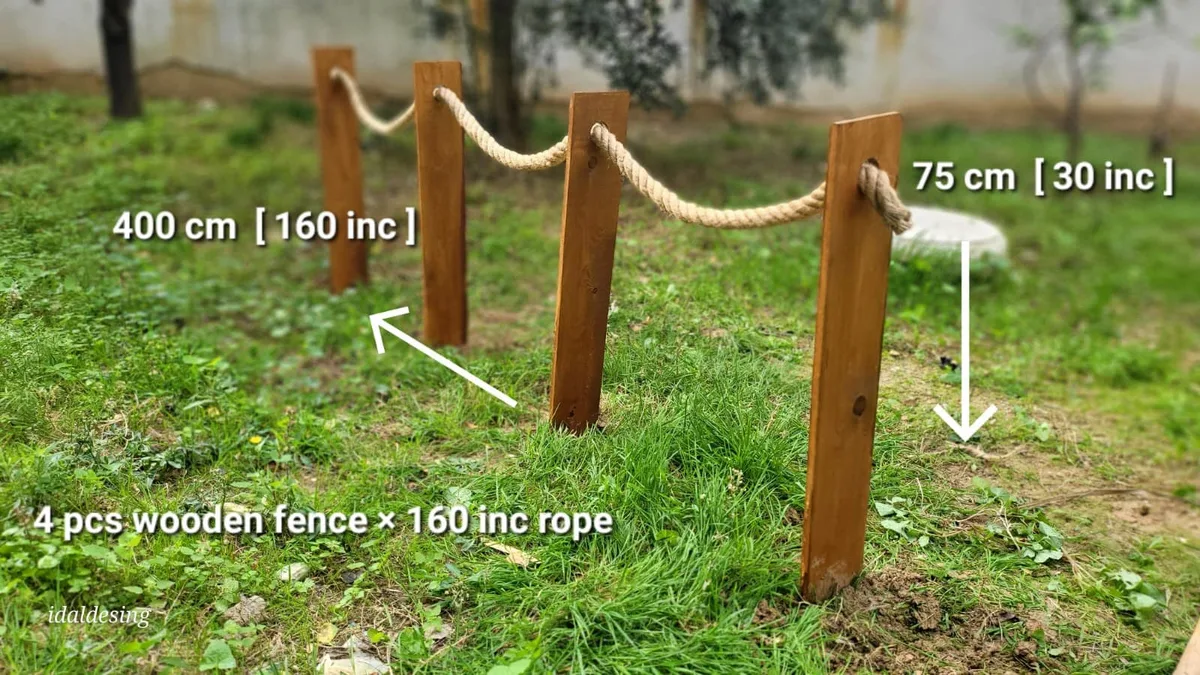
What you'll need
| Item | Specification |
|---|---|
| Twisted edging rope | 16 to 20mm diameter |
| Wooden or bamboo stakes | 30 to 45cm total length |
| Mallet or club hammer | For driving stakes cleanly |
| String guide line and pegs | Marks the border run |
| Scissors or sharp knife | For cutting rope to length |
Mark and plan your line first
Stretch a taut string guide between two anchor pegs along the exact line you want the border to follow. This is the step most people skip. Step back 3 metres once the rope is in and every wobble becomes clearly visible.
The guide line costs five minutes. Fixing a wavy run without one costs much longer.
Drive stakes at the right angle
Angle each stake 15 to 20 degrees away from the garden bed. That outward lean creates backward resistance as the rope pulls forward. Vertically driven stakes tilt inward under tension within weeks.
Aim for 15cm buried and 15 to 20cm above ground. That depth-to-exposure ratio determines long-term stability.
Thread and tension the rope
If using jute or sisal, pre-soak the rope for 30 to 60 minutes before threading. Tie a clove hitch at the first stake, then work along the run, looping or knotting at each post. Keep tension consistent throughout.
Don't pull hard enough to bow the stakes outward. A controlled, even pull at each station is all you need.
Handling corners and curves
Add a dedicated pivot stake at every corner. This stake carries the full tension load of the turn, so drive it at least 20cm deep and angle it more aggressively than the run stakes. For curves, reduce spacing from 60 to 90cm down to 30 to 40cm.
Closer spacing lets the rope follow the arc naturally rather than cutting across it in short straight segments.
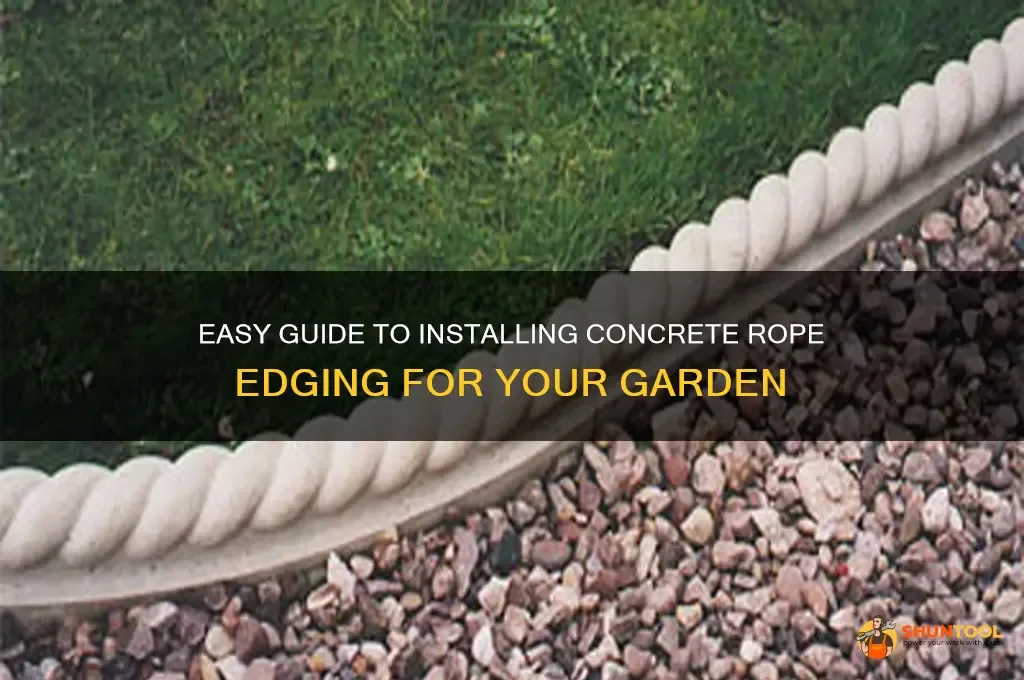
Mistakes That Make Rope Edging Look Sloppy
Most rope edging problems trace back to a small set of installation errors. Catching these before you start saves a full reinstall later.
No guide line: Installing rope by eye almost always produces a wavy border. Set a string guide before driving a single stake.
Vertical stakes: Straight-down stakes have no backward resistance. They tilt inward under rope tension within weeks, dragging the rope down with them. Always angle outward 15 to 20 degrees.
Skipping the pre-soak: Natural fiber rope stretches when it first gets wet. The first rain after a dry installation causes noticeable sag. Soak jute or sisal for 30 to 60 minutes before threading.
Wide spacing on curves: A 90cm gap on a curved run lets the rope travel in straight segments between each post, undermining the shape. Cut spacing to 30 to 40cm on any curved section.
Rope diameter too thin: A 10mm rope reads as string against lawn or gravel, not edging. Use 16mm at minimum for the rope to register visually and hold its form.
Loose terminal knots: The end stakes carry the entire tension of the run. A loose knot allows the whole line to go slack over time. Double-knot or use a timber hitch at both ends.
Stakes too close to a fixed edge: Driving stakes within 5cm of a path or kerb leaves no room for the outward angle. Keep stakes at least 8 to 10cm from any hard boundary.
How Long Rope Edging Lasts and How to Make It Last Longer
As of 2026, manufacturer product specifications and aggregate buyer feedback consistently point to these lifespan ranges:
- Jute: 1 to 3 years (shorter in wet or cold climates)
- Sisal: 2 to 5 years
- Twisted polypropylene: 5 to 10 or more years
The biggest enemy of natural fiber rope is sustained contact with damp soil. Where rope rests directly on the ground in poorly drained spots, rot sets in fastest. Keeping the rope slightly lifted above the soil surface extends its useful life noticeably.
In wetter climates, inspect the edging every spring. Look for sections that feel soft, fibrous, or unusually dark. Replacing a damaged section doesn't mean pulling up the whole run.
Untie the rope either side of the bad length, thread in a fresh section, and retie.
For gardeners committed to natural materials, replacing jute annually fits the seasonal rhythm. It sits comfortably alongside cutting back perennials or refreshing bark mulch.
If you'd rather reduce replacement frequency, stepping up to 20mm or thicker rope makes a real difference on high-traffic edges. Thicker rope resists compression and softening for longer. Heavier-gauge options are worth comparing before you commit to a material.
Frequently Asked Questions
How do I stop garden rope from sagging between stakes?
Pre-soak natural fiber rope for 30 to 60 minutes before installation. This pre-expands the fibers so the rope dries taut rather than stretching once wet. If an existing run has already sagged, re-tension by untying at the nearest stake and pulling the slack through.
Reducing stake spacing to 50cm or less also helps on longer runs.
What is the best rope diameter for garden edging?
A 16mm to 20mm diameter works best for most gardens. Thinner rope (10 to 12mm) disappears against lawn and gravel at a distance. Anything over 25mm becomes difficult to tie and tends to overpower smaller borders.
For a driveway or front-garden boundary, 20mm is the most commonly specified size.
How far apart should stakes be for rope edging?
Space stakes 60 to 90cm apart on straight runs and 30 to 40cm on curves. Wider gaps on curves let the rope cut across the arc rather than follow it, undermining the shape. On very long straight runs, 75cm is a reliable middle ground that holds tension without making the line look overcrowded.
Can garden rope edging be used on a slope?
Yes, rope edging works well on gradual slopes. Drive stakes slightly deeper on the downhill side to compensate for soil movement. On steeper gradients, use shorter spacing of 50 to 60cm to keep the rope following the contour rather than bridging across dips.
Natural fiber rope handles these contours more forgivingly than rigid edging alternatives.
How do I secure the rope at the end of a run?
Use a double knot or timber hitch at the terminal stake at each end of the run. These points carry the highest tension, and a slip here lets the whole line go slack. For extra security, wrap the rope twice around the stake before knotting, then bury the tail 5cm into the soil.

Similar Posts