How to Make a Rope Garden Border Step by Step
Founder & Lead Horticulturist at Gardener Expert · RHS Master of Horticulture, Certified Professional Horticulturist (CPH) · 16+ years in residential organic gardening, plant propagation, and structural plant training
Knowing how to make a rope garden border is simpler than most people expect. No power tools, no concrete, no specialist knowledge required. A length of rope, a handful of stakes, and a free afternoon are all you need.
Natural fiber ropes like jute and manila come in diameters from ½ inch to 1½ inches. That one measurement has more visual impact than most people realize. Get the scale right for your garden and everything else falls into place.
Quick Answer
Making a rope garden border takes just three steps. Mark your border line, drive in stakes, then thread the rope. Space stakes 12 to 18 inches apart on straight runs.
Secure each end with a clove hitch knot. As of 2026, a 10-metre border typically costs under $30 to install.
Why Rope Works So Well as a Garden Border
Most edging options make you choose between cost and flexibility. Metal holds a crisp line but fights curves. Brick looks sharp but needs a proper foundation and costs significantly more.
Rope sits in a different category: it's affordable, flexible, and visually warm.
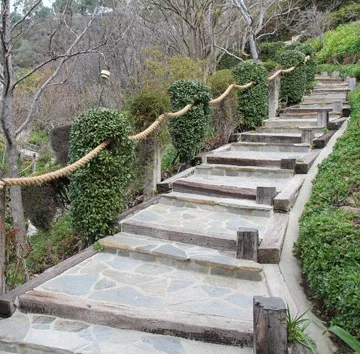
From a practical standpoint, rope follows curved garden beds without any cutting or specialist fitting. You adjust the tension as you go. For cottage gardens and coastal-themed spaces, a rope border fits in from day one.
It also requires no digging, which makes it a good option for renters or anyone who wants an easy-to-remove border.
Natural jute and manila ropes weather to a honey-brown tone that softens gradually over the season. If you already use plant-friendly hemp cord in your beds for plant support, the same material carries naturally across to border work.
Choosing the Right Rope: Jute, Sisal, Manila, or Synthetic
The rope you pick affects how long the border lasts, how it looks, and whether it's safe near food crops. Here's how the four main options compare.

| Rope Type | Material | Outdoor Lifespan | Best For |
|---|---|---|---|
| Jute | Corchorus plant fiber | 1–2 seasons | Cottage gardens, vegetable beds |
| Sisal | Agave plant fiber | 2–3 seasons | Rustic and natural garden styles |
| Manila | Abaca plant fiber | 2–4 seasons | Damp climates, longer-lasting look |
| Polypropylene | Synthetic plastic | 5–10 years | Coastal gardens, wet or shaded spots |
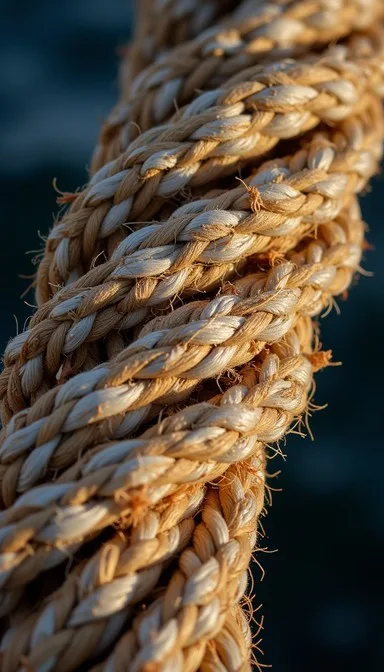
Natural fiber ropes are the most popular choice for aesthetic reasons. They age gracefully, they're fully biodegradable, and they suit almost any garden style. The downside is lifespan.
In consistently wet climates, natural fiber can start rotting within a single growing season.
If you're in the UK or a similarly damp region, manila holds up the longest of the three. For most other gardens, a budget-conscious jute option knots cleanly and is easy to source locally. For longer runs under more tension, a heavier braided rope handles the load without stretching out of shape.
Synthetic rope lasts significantly longer, but often looks harsh in a naturalistic garden. It's the better call for coastal spots, where salt air degrades natural fiber faster.
On diameter: a ¾-inch rope reads well in most average-sized gardens. Go to 1 inch or 1½ inches for a wide path or a large formal bed. A ½-inch rope tends to disappear against mulch or bare soil.
Tools and Materials You'll Need
You won't need more than one hardware store trip. Gather this before you start.
| Item | Notes |
|---|---|
| Rope (¾-inch diameter) | Natural fiber or synthetic, depending on climate |
| Timber stakes or U-staples | 10–12 inch length, pointed for driving |
| Mallet | Protects stake tops better than a metal hammer |
| Measuring tape | For spacing and calculating total rope length |
| String line or garden hosepipe | For marking the border path |
| Spray paint or chalk | For ground marking |
| Utility knife | For clean rope cuts |
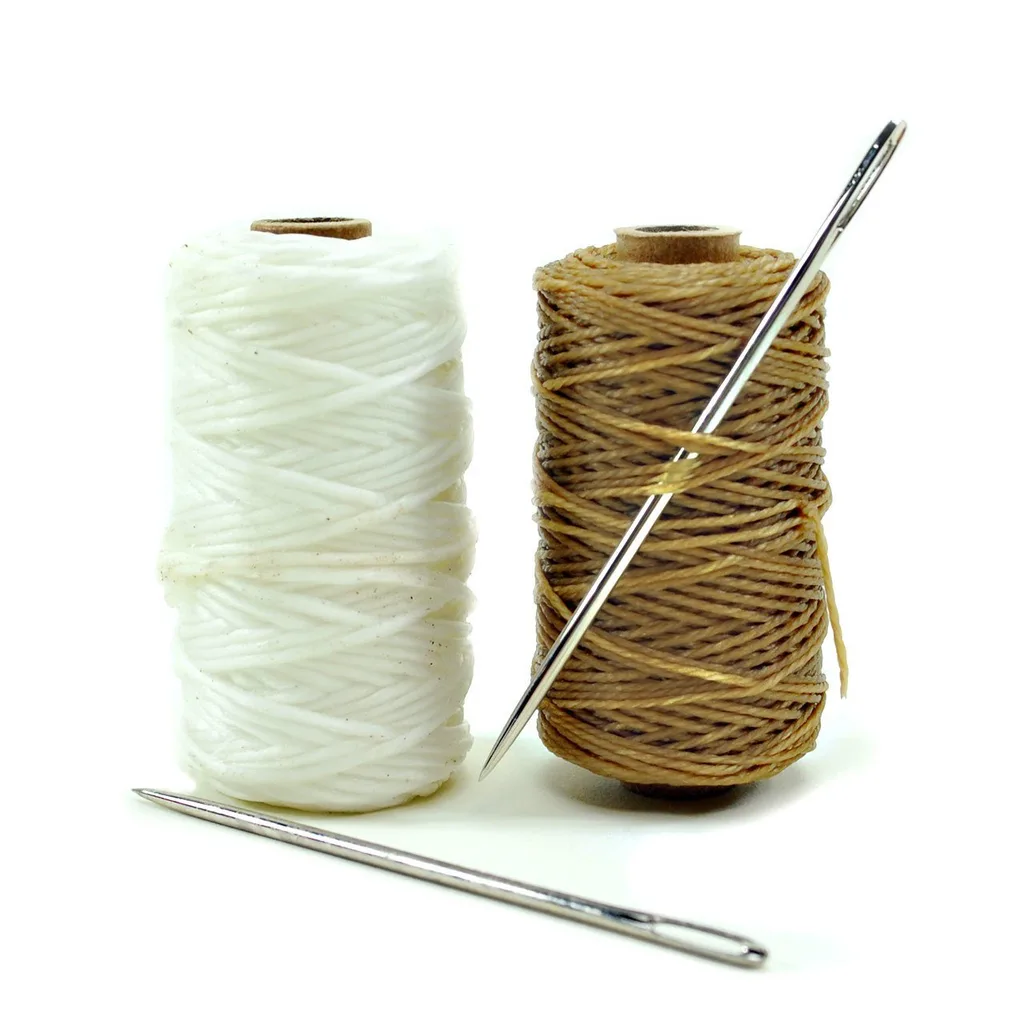
| Heat gun or binding twine | For sealing fraying cut ends |
Timber dowel stakes around 12 inches long work reliably in most soils. For sandy or loose ground, go longer (14 to 16 inches) so the stake anchors properly and resists the rope's outward pull.
Measure your full border length, then add 10 to 15 percent for knots and joins. Running short mid-project is frustrating. Cordage that holds tension without stretching is the key spec to look for when buying rope.
How to Make a Rope Garden Border Step by Step
Work through these stages in order. Each step sets up the next.
Marking out the border line
Lay a hosepipe or string line along the path you want the border to follow. Step back and view it from several angles. Adjust the curve until it looks right from every viewpoint.
Mark the final position with spray paint or chalk.
A line that looks intentional before the stakes go in will look intentional when the project is finished. Take your time here.
Driving in the stakes
For straight runs, space stakes every 12 to 18 inches. For curves, reduce that to 6 to 10 inches so the rope bends smoothly without kinking.
Drive each stake at a slight inward angle, around 5 to 10 degrees toward the garden bed. This counteracts the outward pull of the rope once it's tensioned. Use a mallet rather than a metal hammer to protect the stake tops.
Leave 3 to 4 inches of stake above the soil. Too high and it looks unfinished. Too low and mulch drift buries it by the end of the season.
Attaching and tensioning the rope
Start at the first stake. Wrap the rope around it twice and tie off with a clove hitch knot. This knot won't slip under tension.
Run the rope from stake to stake along your marked line. At each stake, loop the rope once around before continuing. Pull it firm as you go, but don't overdo it.
Over-tensioning bows the stakes inward and makes the whole run look strained.
Handling corners and curves
For 90-degree corners, place a dedicated corner stake. Wrap the rope fully around it and restart the run in the new direction. This keeps tension clean and stops the corner from dragging adjacent stakes out of alignment.
For gradual curves, the tighter stake spacing does most of the work. Let the rope follow the arc naturally. If it kinks, ease the tension slightly and re-loop at the nearest stake.
Finishing the ends cleanly
At the final stake, wrap the rope twice and tie a square knot. Trim excess rope close to the knot. For natural fiber, wrapping the cut end with binding twine stops unraveling over the season.
Per guidance from the Royal Horticultural Society (rhs.org.uk), clean finishing on garden structures adds meaningfully to both visual appeal and functional lifespan.
If you're tying up crops or plant supports nearby, using cord suited to vegetable beds keeps the materials consistent right across the space.
Common Mistakes That Ruin the Look
Most rope borders that look sloppy come down to one of these five problems.
Stakes too far apart. Rope sags between stakes set more than 18 inches apart. On curves, the effect is worse. Keep spacing tight and the rope stays taut.
Rope that's too thin. A ½-inch rope disappears against soil and mulch. Go to ¾ inch as a minimum for any border that needs to read clearly from a distance.
Stakes driven in straight. A vertical stake has nothing to resist the horizontal pull of the rope. Angle each one 5 to 10 degrees inward and they stay put all season.
No end treatment. Untreated cut ends fray fast outdoors. A few wraps of binding twine or a quick heat-gun seal takes 30 seconds and adds months of life to the border.
No corner stakes. Running rope around a corner without a dedicated stake puts uneven stress on the adjacent ones. The corner gradually pulls apart. One extra stake at every turn prevents it entirely.
How Long Will Your Rope Border Last
Lifespan depends almost entirely on rope material and climate.
Natural fiber rope (jute, sisal, manila) typically lasts one to three seasons outdoors. In wet, shaded spots, that shrinks to a single season. In dry, sunny gardens, manila can hold up for three to four years with minimal care.
UV-stabilized polypropylene lasts five to ten years in most conditions. The tradeoff is appearance: synthetic rope doesn't soften or weather the way natural fiber does.
To extend the life of a natural fiber border:
- Keep mulch from piling against the rope (trapped moisture accelerates rot)
- Use taller stakes to lift the rope slightly above wet ground in damp spots
- Replace degraded sections individually rather than pulling the whole border out
A rope border is also easy to refresh. New rope on the same stakes gives you a sharp, updated look in an afternoon. You can also use the replacement as a chance to try a different diameter or explore other fiber types that better suit your garden's style.
Frequently Asked Questions
Can I use any type of rope for a garden border?
Most natural and synthetic rope types work, but not all perform equally. Jute, sisal, manila, and polypropylene are the most practical choices. Avoid nylon (it stretches under tension) and stay away from chemically treated or reclaimed rope near vegetable gardens, where residual chemicals can leach into the soil.
How do I stop the rope from sagging between stakes?
Tighten your stake spacing. On straight runs, 12 to 15 inches between stakes holds tension cleanly. Check after the first week and retighten by re-looping at the nearest stake.
Sag almost always comes from stakes that are too far apart or rope that wasn't pulled firm during installation.
Do I need to treat natural rope to make it last longer?
There's no reliable coating that significantly extends natural fiber life outdoors. The better approach is practical: choose manila for damp climates, keep mulch away from direct rope contact, and plan to replace it every one to two seasons. Treating rope with oils or waxes can trap moisture and speed up rot rather than slow it.
How do I secure rope to stakes without it slipping?
A clove hitch at the start and a square knot at the end are both slip-resistant and easy to tie without tools. At intermediate stakes, a single full loop around each stake before continuing the run adds enough friction to stop the rope from shifting. Simple wraps with no knot look neat but loosen within weeks.
Can I make a rope garden border along a curved path?
Yes, and rope handles curves better than most edging materials. Bring stakes to 6 to 8 inches apart on any curve so the rope follows the arc without kinking. Laying a hosepipe along your intended path before you start is the easiest way to mark a smooth, consistent curve before a single stake goes in.
Similar Posts