How to Use a Twine Dispenser Like a Pro
Knowing how to use a twine dispenser properly saves you more time than you'd expect. A twine dispenser is a container with an integrated cutter blade that holds a spool of twine and lets you pull and cut clean lengths with one hand. Without it, you're chasing a loose ball of string across the worktop and reaching for scissors every single cut.
Most standard dispensers handle spool sizes between 100 and 500 feet. As of 2026, four formats dominate the market: box-style, wall-mounted, tabletop, and handheld. Each loads differently and routes the twine along a different path.
Here's what you need to know, starting with the parts inside the unit.
Quick Answer
To use a twine dispenser, open the lid and seat the spool inside. Thread the free end through the internal guide hole. Pull twine to the length you need.
Press or draw the twine across the blade to cut. Reload by lifting the lid and dropping in a fresh spool.
Know Your Dispenser: Parts, Types, and How They Differ
Before you load a spool, understand what you're working with. Every dispenser shares four core components regardless of style.
The spool cavity holds the twine roll inside the body. The feed guide is a hole, slot, or tube that directs twine toward the exit. The dispensing hole is where the twine emerges from the unit. The cutter blade sits near the exit, either recessed into a slot or mounted along one edge.
The four main types each handle these components differently:
| Type | Common Use | Loading Style |
|---|---|---|
| Box-style | Kitchen, crafts | Hinged or removable lid |
| Wall-mounted | Shed, garage, mailroom | Bracket-mounted, vertical feed tube |
| Tabletop | Garden, butchery | Weighted base, open-top cavity |
| Handheld | On-the-go, tight spaces | Manual spool grip, blade on housing |
Box dispensers are the most common for home use. You open the lid, drop the spool in, and route the twine through a hole in the top or side panel. Wall-mounted units run the twine down a vertical feed tube.
Tabletop models sit on a heavy base with a slit or arm cutter at the top. Handheld dispensers grip the spool directly, with the blade built into the casing.
Your dispenser type tells you exactly where to thread.
Choosing the Right Twine Before You Load
The most common cause of jams is a mismatch between twine diameter and the dispenser's guide hole. Most household dispensers are rated for 1mm to 3mm twine. Heavy-duty tabletop and farm-grade models handle 4mm to 6mm cord.
Material matters as much as diameter:
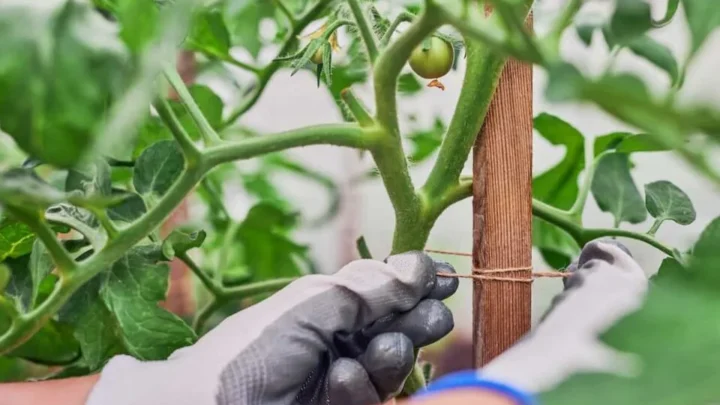
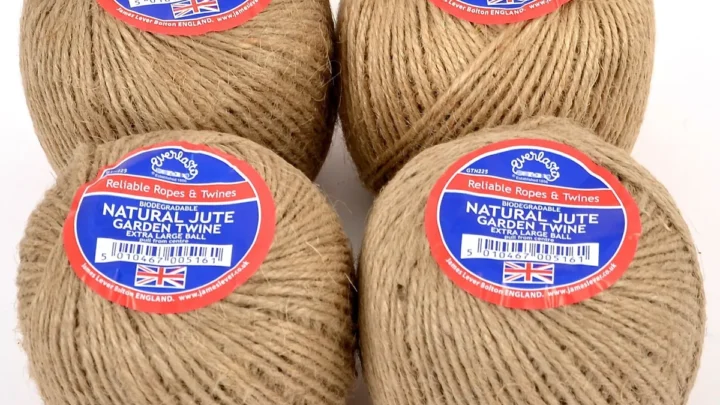
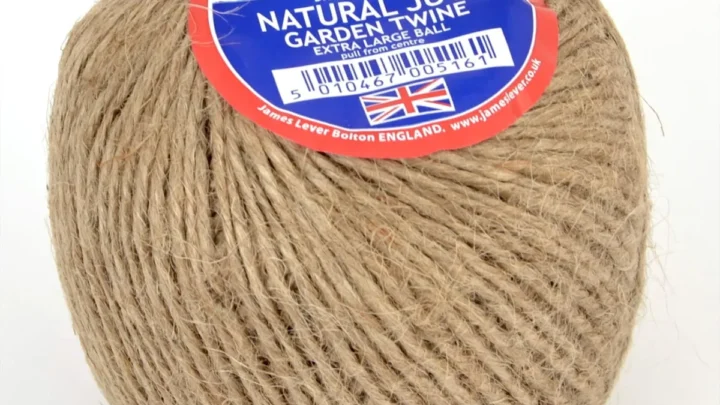
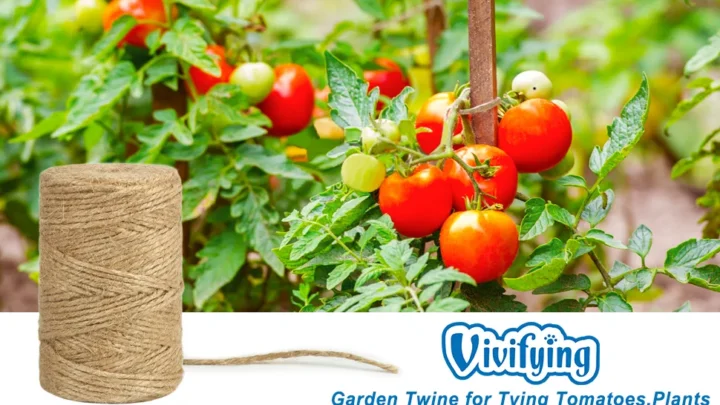
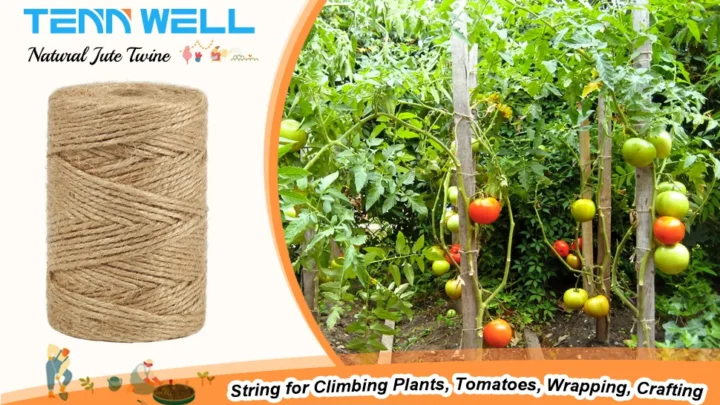
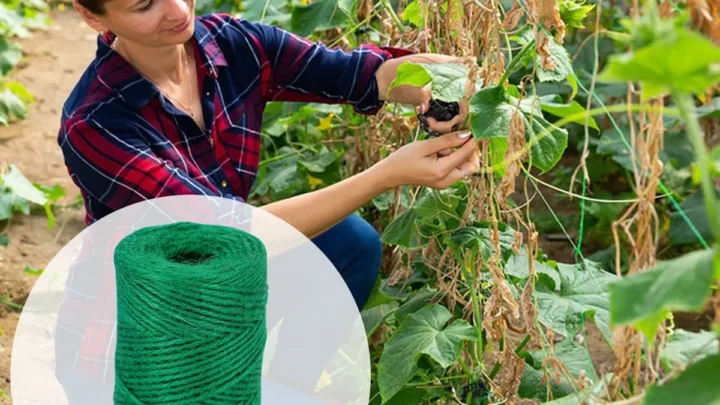
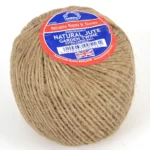
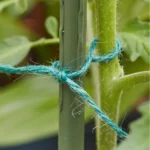
- Jute twine is natural, biodegradable, and feeds smoothly through most guide holes. It's a practical choice for tying plants to garden supports and training vines.
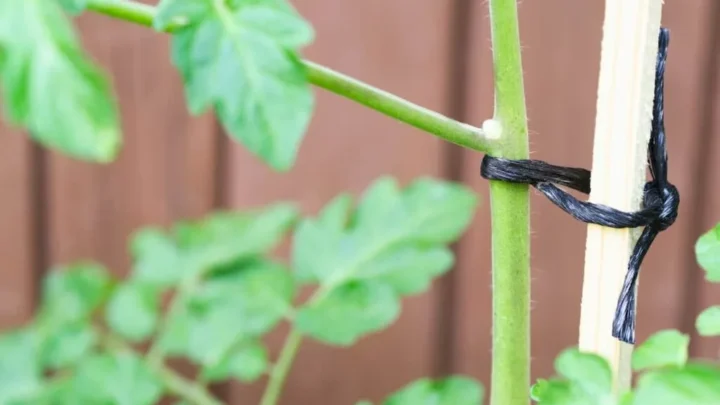
- Hemp twine is stronger than jute at a similar thickness and well suited for supporting climbing vegetables like tomatoes and beans.
- Cotton twine (butcher's twine) is food-safe and heat-resistant. Use it in kitchen dispensers for trussing poultry or tying roasts.
- Polypropylene twine is waterproof and strong, but its stiffness can jam narrow guide holes.
- Sisal twine grips well, but its coarse fibres can snag on tight feed guides.
For garden use, natural fibre cordage breaks down safely in soil and leaves no synthetic residue. For tasks that need real holding strength, a heavy-gauge natural twine is worth the small extra cost over thinner options.
How to Load, Thread, and Use a Twine Dispenser Step by Step
These steps apply to most box-style and tabletop dispensers. Wall-mounted units follow the same logic, with the feed path running vertically through the tube instead.
Step 1: Open the Dispenser and Seat the Spool
Open the lid or access panel. Place the spool inside with the twine unwinding from the bottom of the roll upward. That's the direction that feeds cleanly through the guide.
Reverse it, and the twine binds immediately at the first pull.
Sit the spool flat with no tilt. A wobbly spool rubs against the cavity walls on every draw, causing friction and eventual jamming.
Step 2: Thread the Twine Through the Guide
Locate the feed guide inside the body. In box-style units, it's a small hole or eyelet in the lid or side wall. In wall-mounted models, it's a vertical tube.
Push the free end of the twine through the guide from the inside outward, then route it through the exterior exit hole. Pull out 4 to 6 inches of twine to leave a working tail. If the guide hole is tight, a short piece of stiff wire helps push the twine through.
Step 3: Pull, Measure, and Cut
Hold the dispenser steady with the base weight or your free hand. Pull the twine smoothly to your required length. Avoid jerking.
A sharp pull can unspool a large loop inside the cavity.
To cut, press the twine firmly against the blade and draw it across in one clean motion. Most blades need a downward press or a side-swipe, depending on where they're positioned. A firm stroke gives a clean cut.
A tentative tap frays the end and causes the next pull to snag.
Common Mistakes That Cause Jams, Tangles, and Rough Cuts
Aggregate reviews and verified buyer feedback consistently flag the same errors.
Seating the spool backward. If the twine unwinds against the feed direction, it loops and jams at the guide hole. Pull the spool out, flip it, and re-thread.
Using twine that's too thick. Forcing a 5mm cord through a 2mm guide locks up instantly. Match the twine diameter to the dispenser's rated range before loading.
Losing the tail. Cutting twine flush with the exit hole leaves nothing to grip on the next pull. Leave 3 to 4 inches of tail hanging outside the dispenser after each cut.
Jerking the line. A sharp pull unravels a large loop inside the cavity. Steady, even tension keeps everything feeding correctly.
Ignoring a dull blade. A worn blade tears instead of cuts. The frayed end then catches on the guide during the next pull. Swap the blade when cuts start looking ragged on models that support it.
For non-serviceable units, a fine-grit sharpening stone can restore a working edge.
Overfilling the cavity. A spool that's too large rubs the interior walls on every pull. Stick to the spool sizes on the dispenser label. If you're using a wider-gauge natural twine for garden work, confirm it fits the rated diameter before loading.
Blade Safety and Food-Safe Twine: What You Need to Know
The integrated blade on a twine dispenser is sharp enough to break skin on contact. Treat it with the same respect you'd give an open box cutter.
Keep fingers clear of the blade slot at all times. Always press the twine against the blade, not your fingers toward it. Take extra care when threading around the blade area during loading.
For kitchen use, the twine material matters as much as safe blade handling. The USDA Food Safety and Inspection Service specifies that twine in direct contact with meat must be made from food-safe materials. For home cooks, this means cotton or linen twine labelled food-safe or oven-safe.
Polypropylene and nylon twines are not food contact-safe. Under oven heat, synthetic fibres can off-gas and transfer compounds directly to the food.
Check packaging for "food-safe" or "USDA-approved" language before using any twine in a kitchen dispenser. If the dispenser came pre-loaded with unlabelled twine, replace it before you cook with it.
Keeping Your Dispenser Clean and the Spool Fresh
Natural twines like jute and sisal shed fibres with every pull. That lint builds up in the guide hole and blade area quickly and is the leading cause of feed problems between spool changes.
To clear a blocked guide hole, push a thin wire or pipe cleaner through from the exit side. This dislodges compacted lint back into the cavity where you can remove it by hand. Do this every few spools when using natural fibre twine regularly.
Wipe the blade with a dry cloth after each session. Residue from kitchen use coats the blade edge and dulls it faster than normal wear alone. For metal dispensers, a light application of food-grade mineral oil on the blade prevents rust in humid storage conditions.
When replacing the spool, inspect the feed guide for cracks or wear. Plastic guide holes chip over time and create snag points. If threading feels harder than it used to, run fine-grit sandpaper around the guide edge to smooth any burrs before reloading.
Store your dispenser away from direct sunlight when it's loaded with jute or sisal. UV exposure degrades natural fibres faster than most people expect, even inside a closed box dispenser.
Frequently Asked Questions
Why does my twine keep jamming inside the dispenser?
The most common cause is a backward-seated spool. Twine should unwind from the bottom of the roll upward as it feeds toward the guide. A reversed spool creates slack that loops and jams before reaching the exit hole.
The second most likely cause is twine that's wider than the guide hole's rated diameter.
Can I use any type of twine in a dispenser?
Not every twine suits every dispenser. Check the diameter range on your dispenser's label before loading. Polypropylene and nylon twines work mechanically but aren't suitable for food contact.
For garden work, jute and hemp feed reliably through most standard dispensers rated for 1mm to 3mm cord.
How do I stop the tail from slipping back inside the dispenser?
Leave at least 4 inches of tail hanging from the exit hole after every cut. A small strip of adhesive tape across the exit hole between uses anchors the tail in place. A light overhand knot at the very end of the twine also stops it from pulling back through entirely.
Do all twine dispensers have replaceable blades?
No. Many consumer-grade box dispensers have fixed, non-replaceable blades. Commercial and heavier tabletop models more commonly include blade replacement as a serviceable feature.
If your blade is fixed and dull, a fine-grit sharpening stone applied to the cutting edge can restore enough sharpness for clean cuts.
Is a twine dispenser safe to use around children?
Most standard dispensers have at least a partially exposed blade near the exit slot. Manufacturer guidance for open-top tabletop units recommends keeping them out of reach of young children. Wall-mounted models positioned at adult height reduce access risk considerably.
Box dispensers with recessed blades are the safest option for kitchens where children are present.

Similar Posts